For outstanding views of the North Cascades, put the Cascade Pass and Sahale Arm hike on your list.
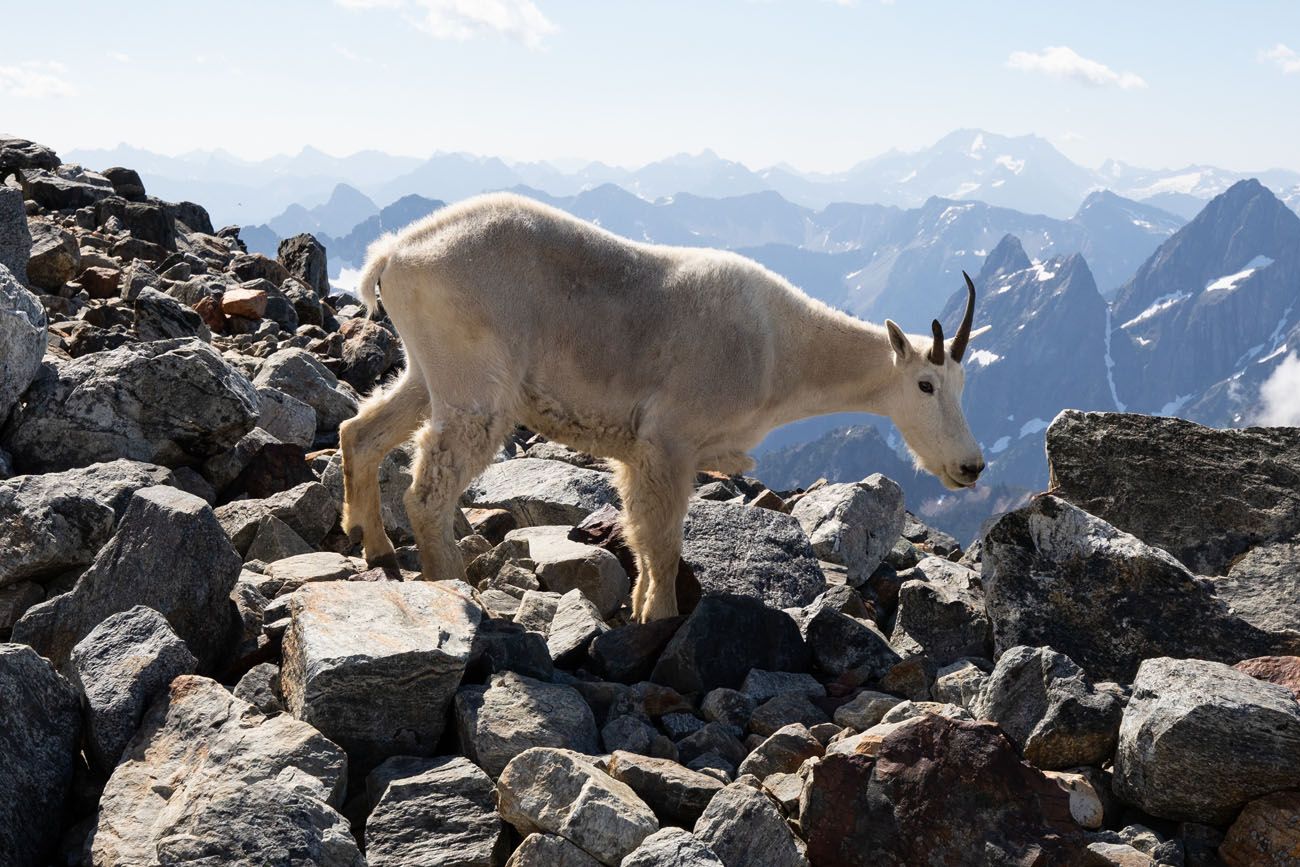
Often labeled as the best day hike in North Cascades National Park, the Sahale Arm hike is gorgeous every step of the way. You’ll hike through evergreen forests, through fields of heather and wildflowers, past marmots, mountain goats, and maybe even bear. Once at the Sahale Glacier Camp, you get to enjoy spectacular views over Doubtful Lake and layers of jagged, snow-capped peaks.
This was our final hike after a six-week road trip through the national parks of Colorado and Washington state and it was one of the best. That’s saying a lot.
The Cascade Pass and Sahale Arm hike is a tough one but it is absolutely worth it. In this post, we cover everything you need to know to have the best experience.
Cascade Pass to Sahale Arm Hiking Stats
Distance: 11.7 miles out-and-back
Difficulty: Hard
Total Elevation Gain: 4,120 feet
Starting Elevation: 4,000 feet
Elevation at Sahale Glacier Camp: 7,600 feet
Length of Time: 5.5 to 7.5 hours
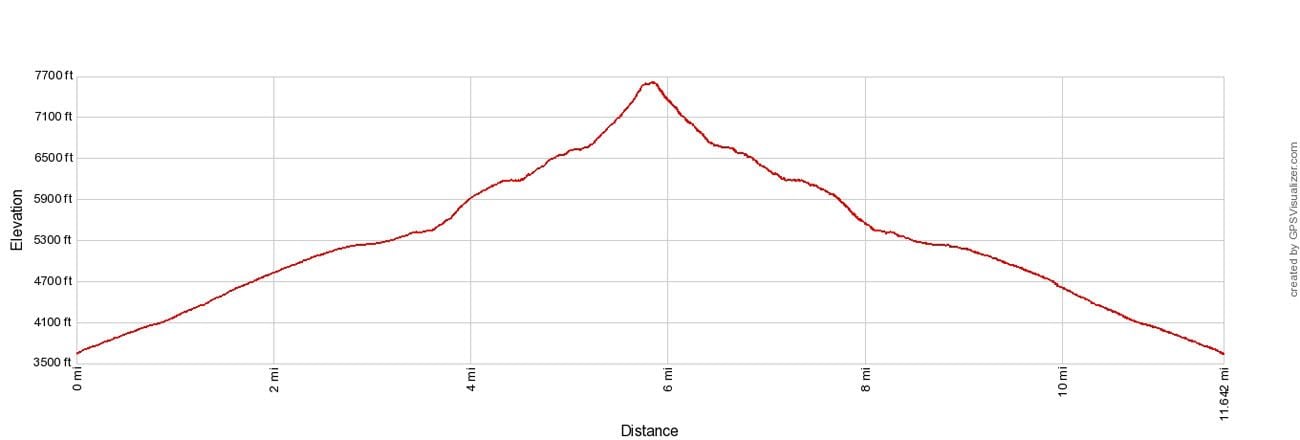
Elevation profile
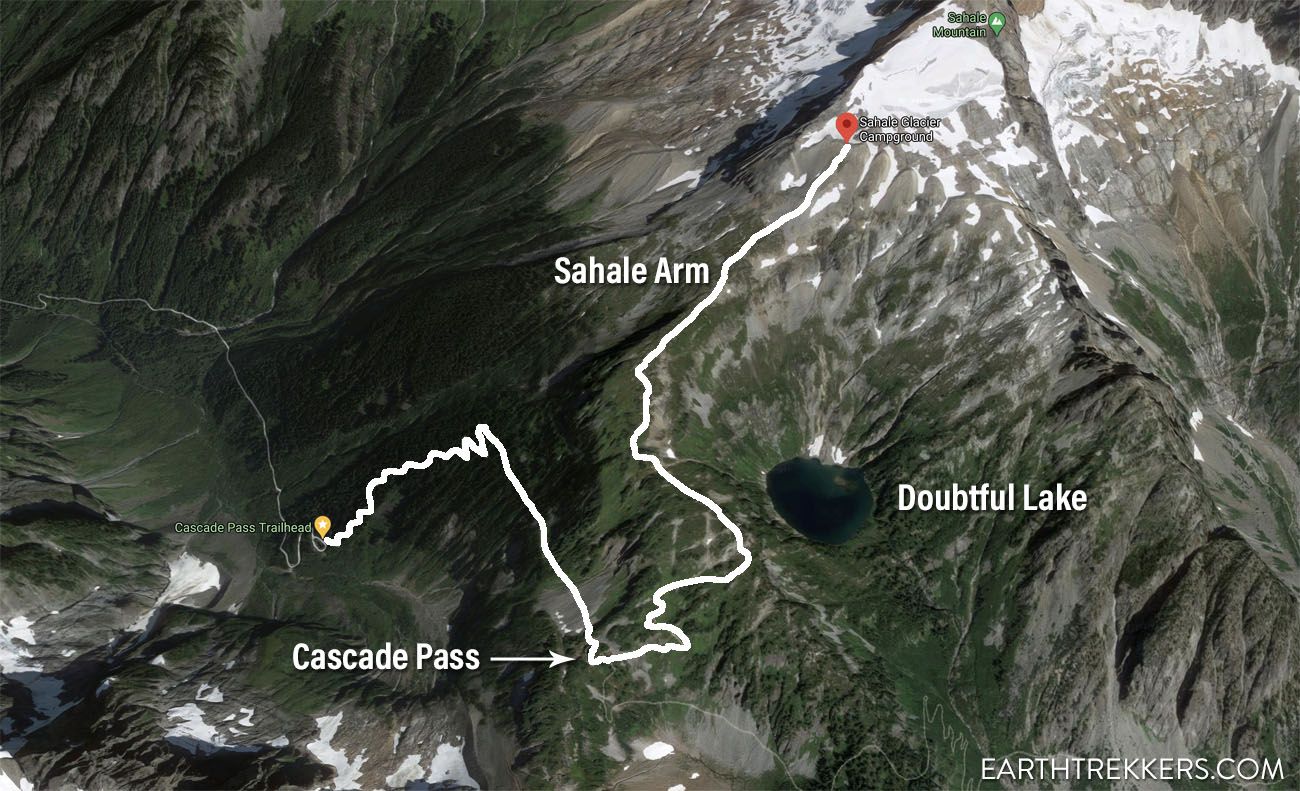
Please practice the seven principles of Leave No Trace: plan ahead, stay on the trail, pack out what you bring to the hiking trail, leave areas as you found them, minimize campfire impacts, be considerate of other hikers, and do not approach or feed wildlife.
Cascade Pass and Sahale Arm Hike
Step-By-Step Trail Guide
Getting to the Trailhead
The trailhead is located at the very end of Cascade River Road. This road is 23 miles long and the final 13 miles are a compacted dirt road with a thin layer of loose gravel. It takes approximately one hour to drive down this road.
This road is suitable for standard cars but we recommend having a SUV for any unpaved road, just in case road conditions worsen, for greater ground clearance, and for hardier tires. And as with any unpaved road, we recommend that you know how to change a flat tire. This road is not suitable for RV’s because of the switchbacks and narrow sections.
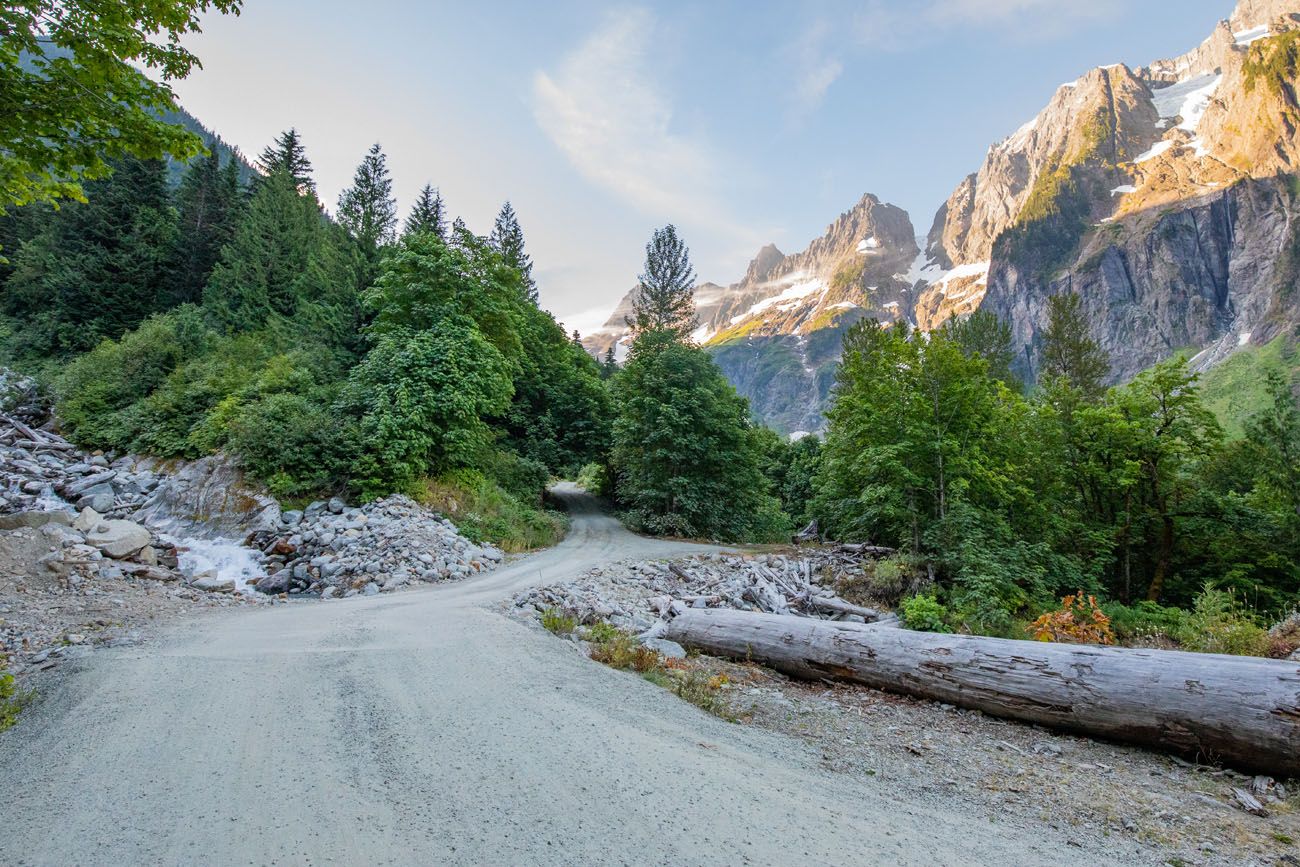
During autumn, winter, spring, and early summer, the last 3 miles of the road is closed. This road typically ropens in mid to late July.
When the final stretch of the road is closed, you can park near the gate but just know that you are adding 6 miles onto this hike. And it is a very steep uphill walk to get to the trailhead. You can get updates on road conditions on the NPS website.
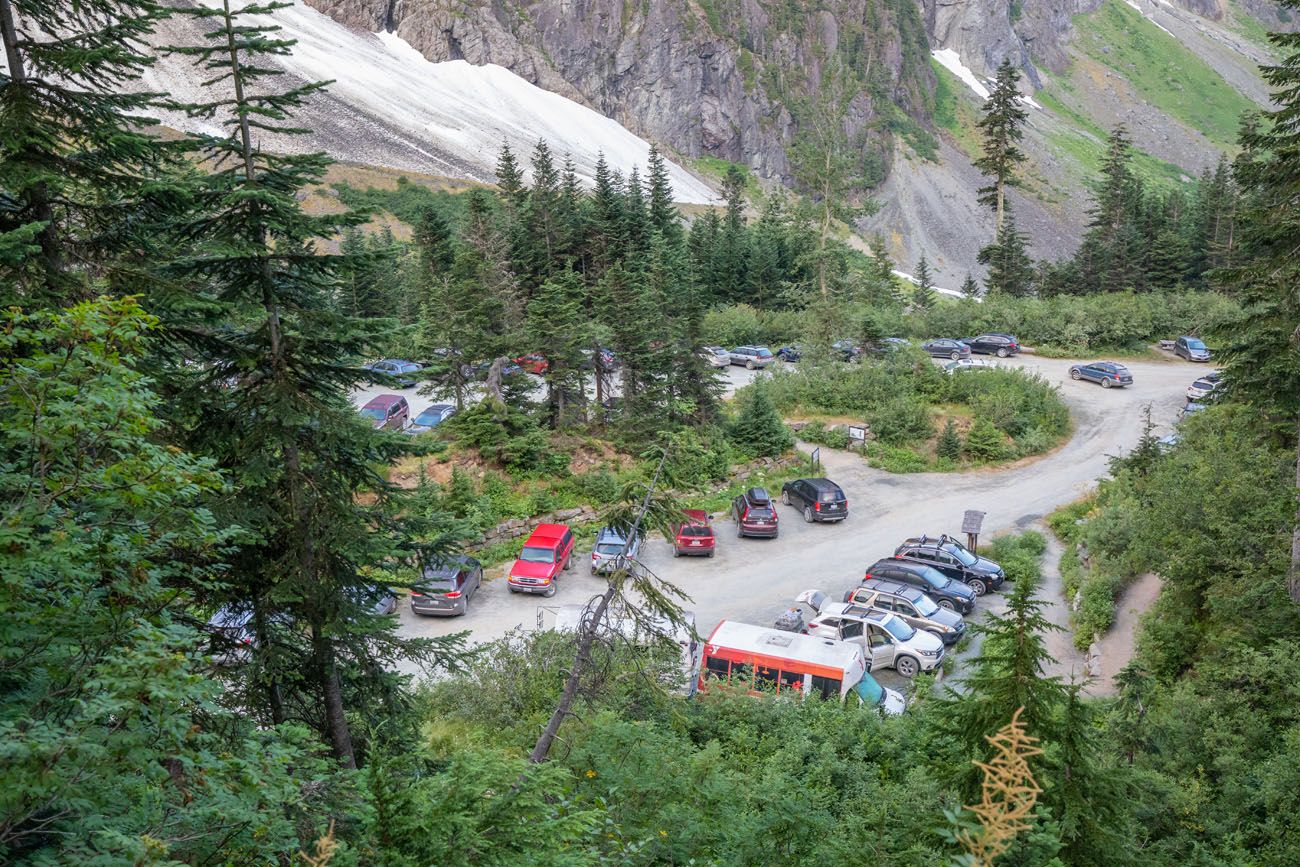
A view of the parking lot from one of the first switchbacks on the trail.
Section 1: The Switchbacks
This trail wastes no time in gaining elevation. From the parking area, the trail zig-zags up the side of the mountain.
If you want, you can count the switchbacks as you go…we counted 36.
The switchbacks start immediately, the first being just a few steps from the trailhead, and they will continue for 2.7 miles with 1,500 feet of total ascent.
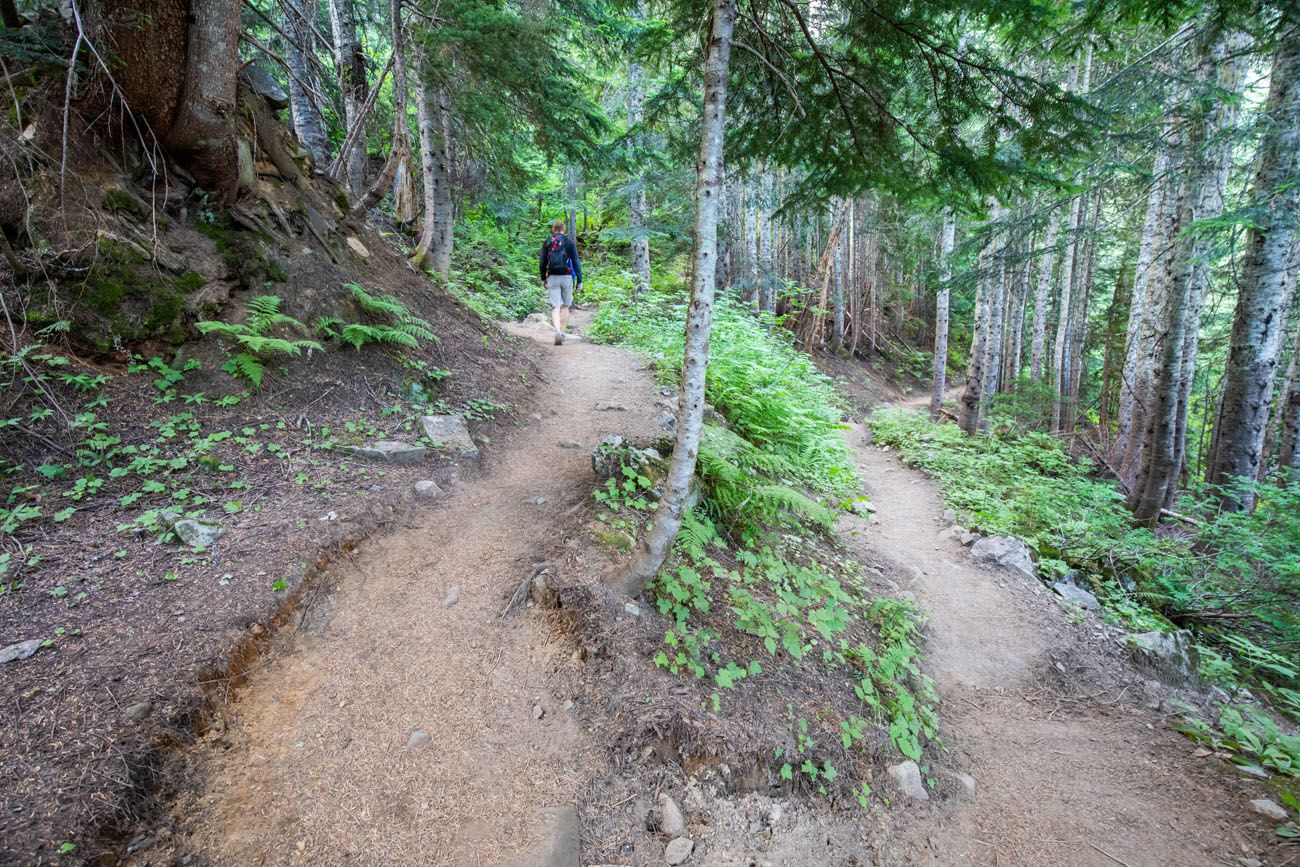
In terms of difficulty, it is a moderate hike up this section of the trail, but because the ascent is continuous for almost three miles, some may consider it a moderate-to-tough ascent. Once you reach the last switchback of this section, you will have completed a little more than a third of the total ascent up to the Sahale Glacier Camp.
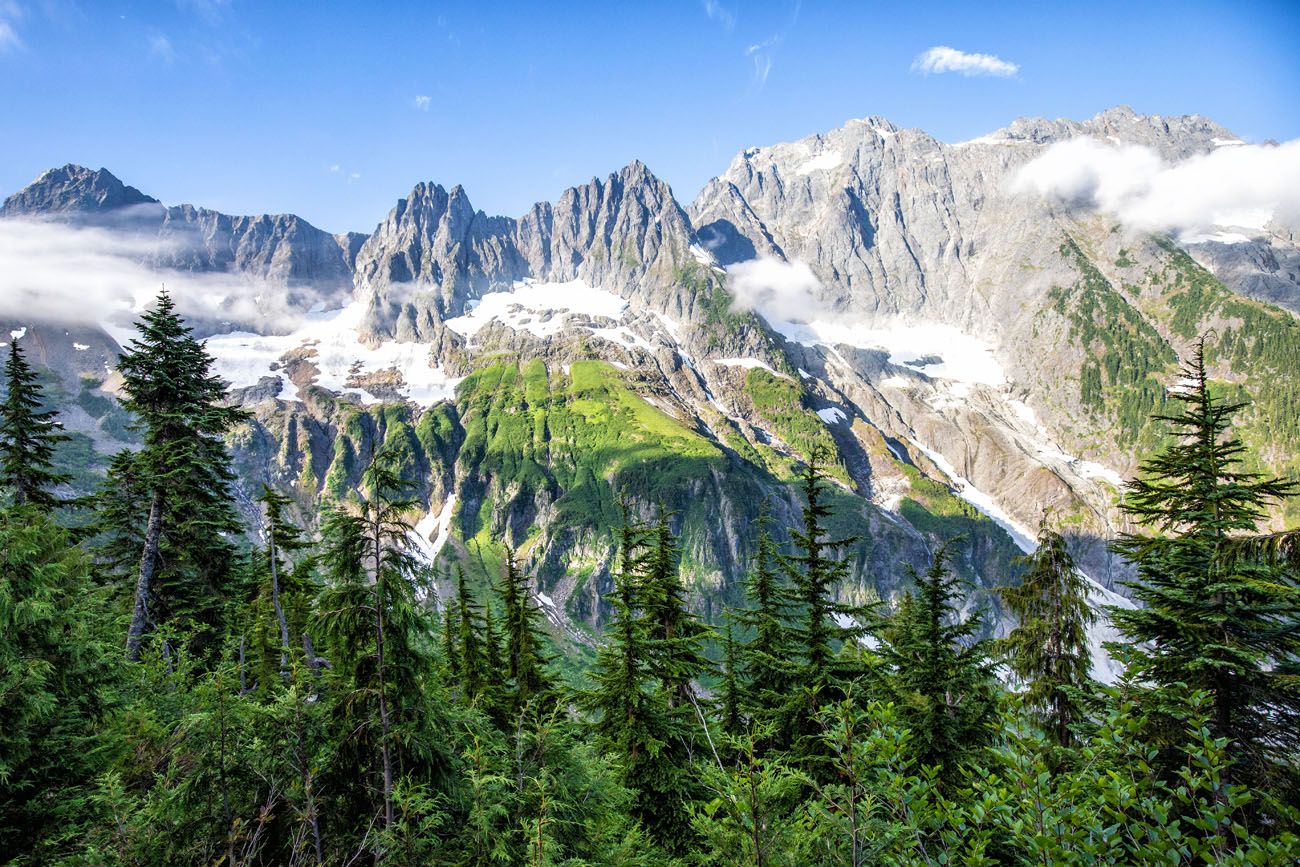
This entire section is in a forest so there’s not a whole lot to look at here. It’s all about climbing up to Cascade Pass, although you do get brief glimpses of nearby mountains through the clearings in the trees.
Section 2: Cascade Pass
From the last switchback you have just under a mile to go until you reach Cascade Pass. This section of the trail levels out a bit and becomes easier with only 300 feet of total ascent over its 0.9-mile distance. It is a nice break, with very nice views of the towering mountains to your right. Enjoy this brief respite from climbing because there is still a lot to go.
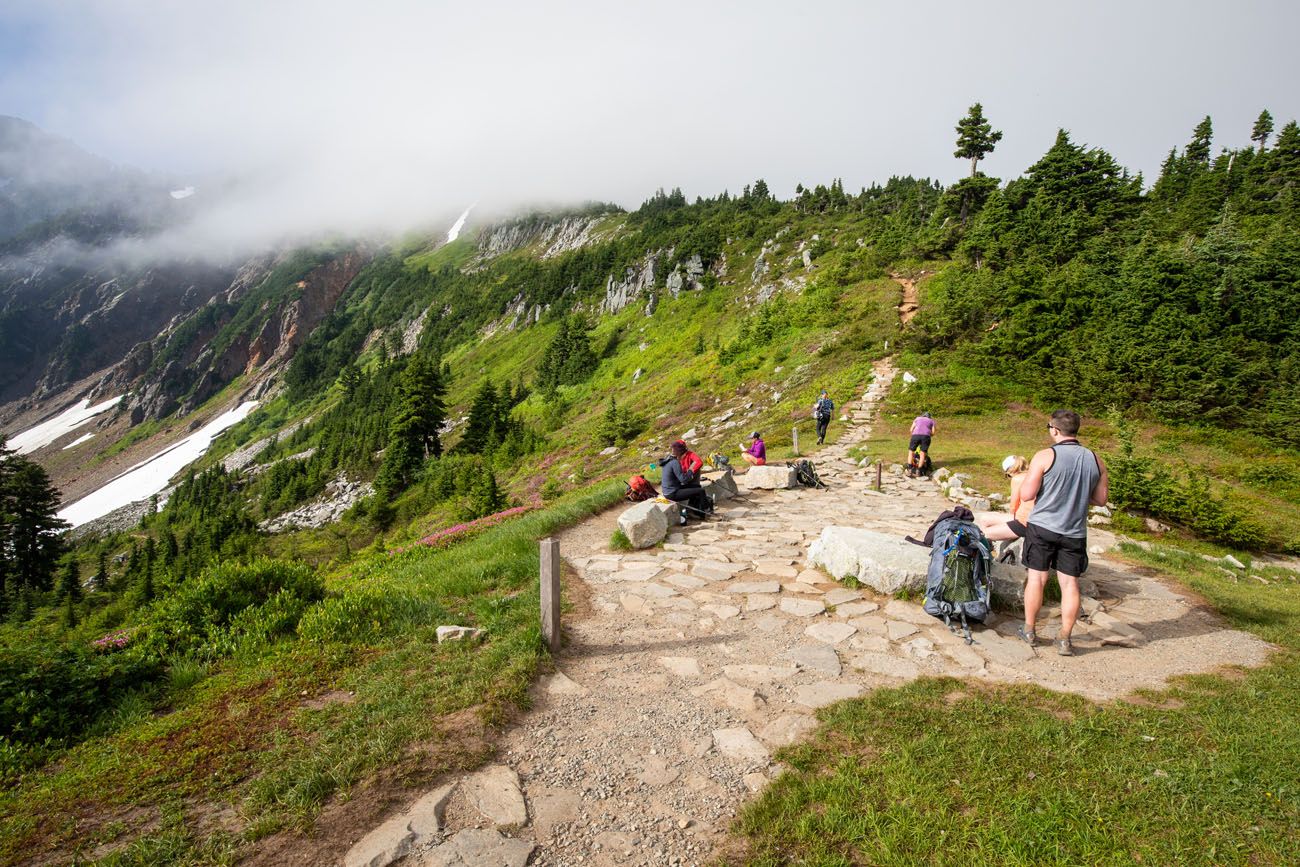
Once you reach Cascade Pass you will be standing at an elevation of 5,400 feet.
Cascade Pass
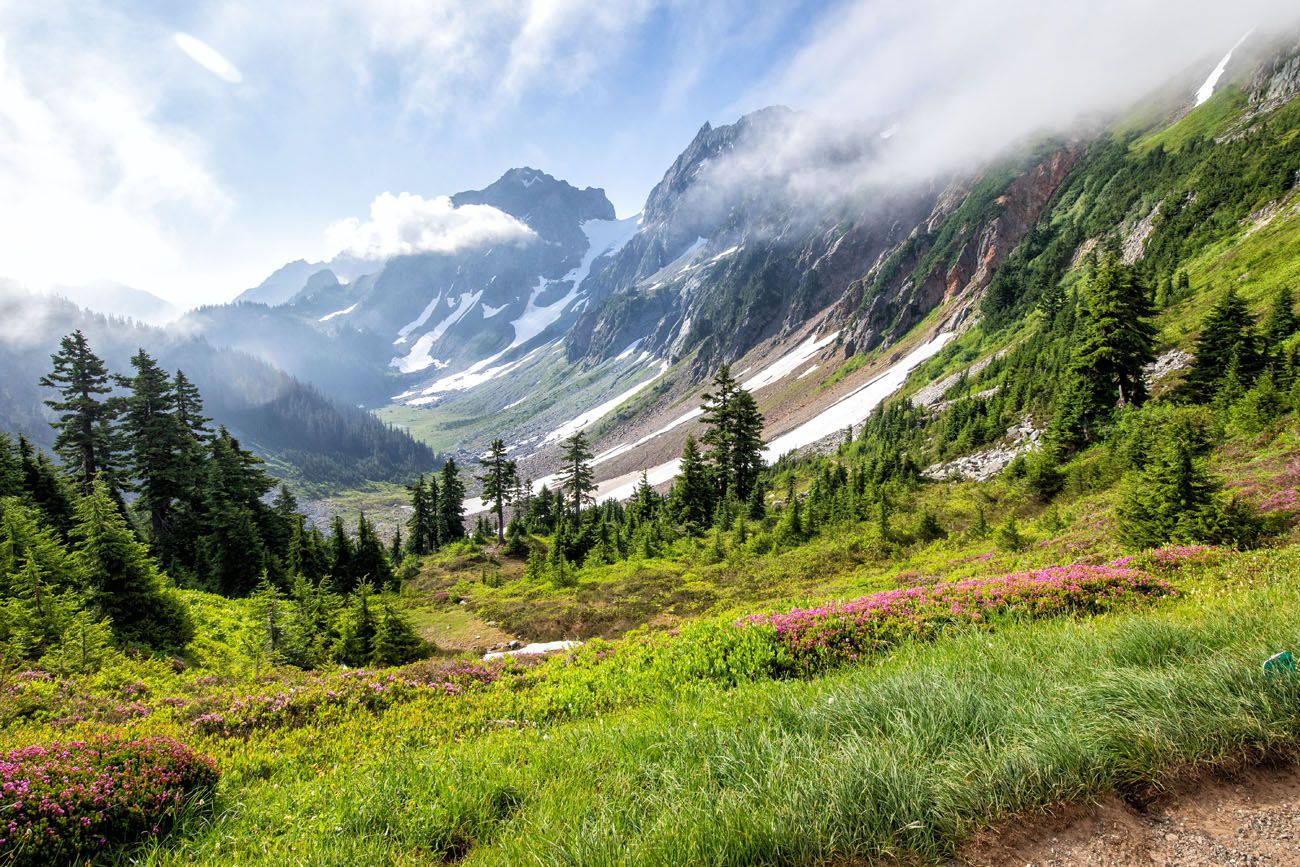
The view from Cascade Pass
Section 3: Up to the Sahale Arm
Just beyond Cascade Pass, look for the vertical sign post indicating a trail split. Take the split to the left (towards Sahale Arm).
This part of the trail lasts 0.8 miles and will add another 650 feet of total ascent. It starts off with a gradual incline but transitions into another set of switchbacks that feel steeper than those you did earlier.
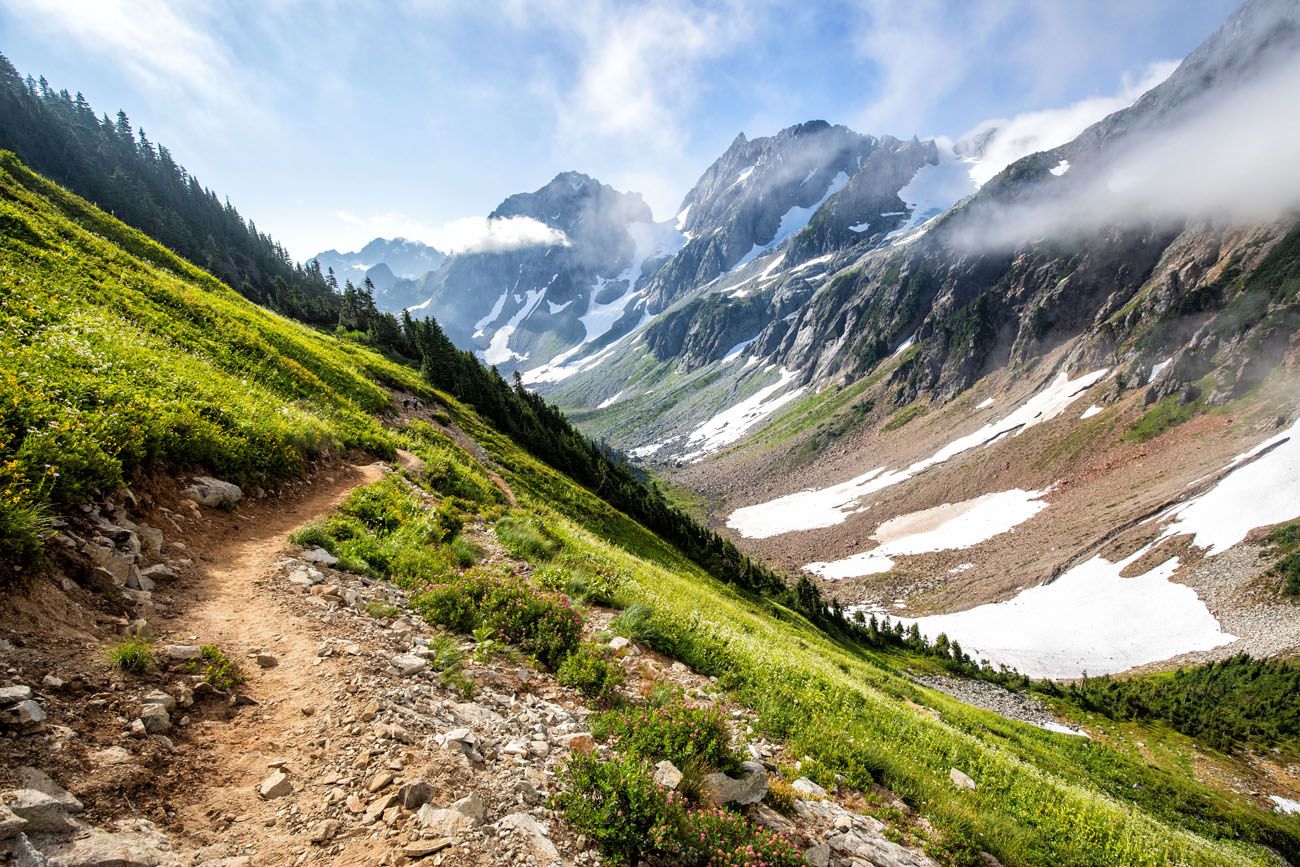
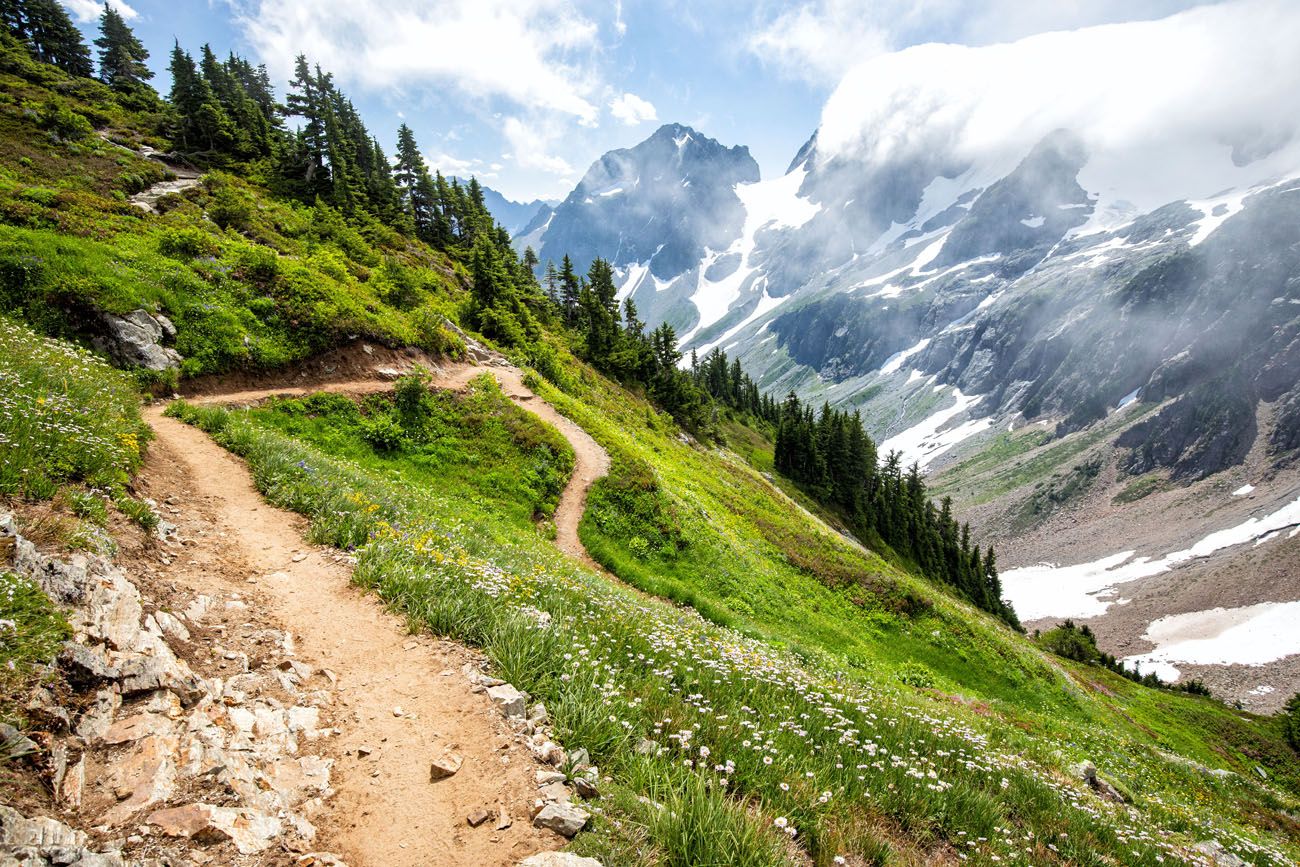
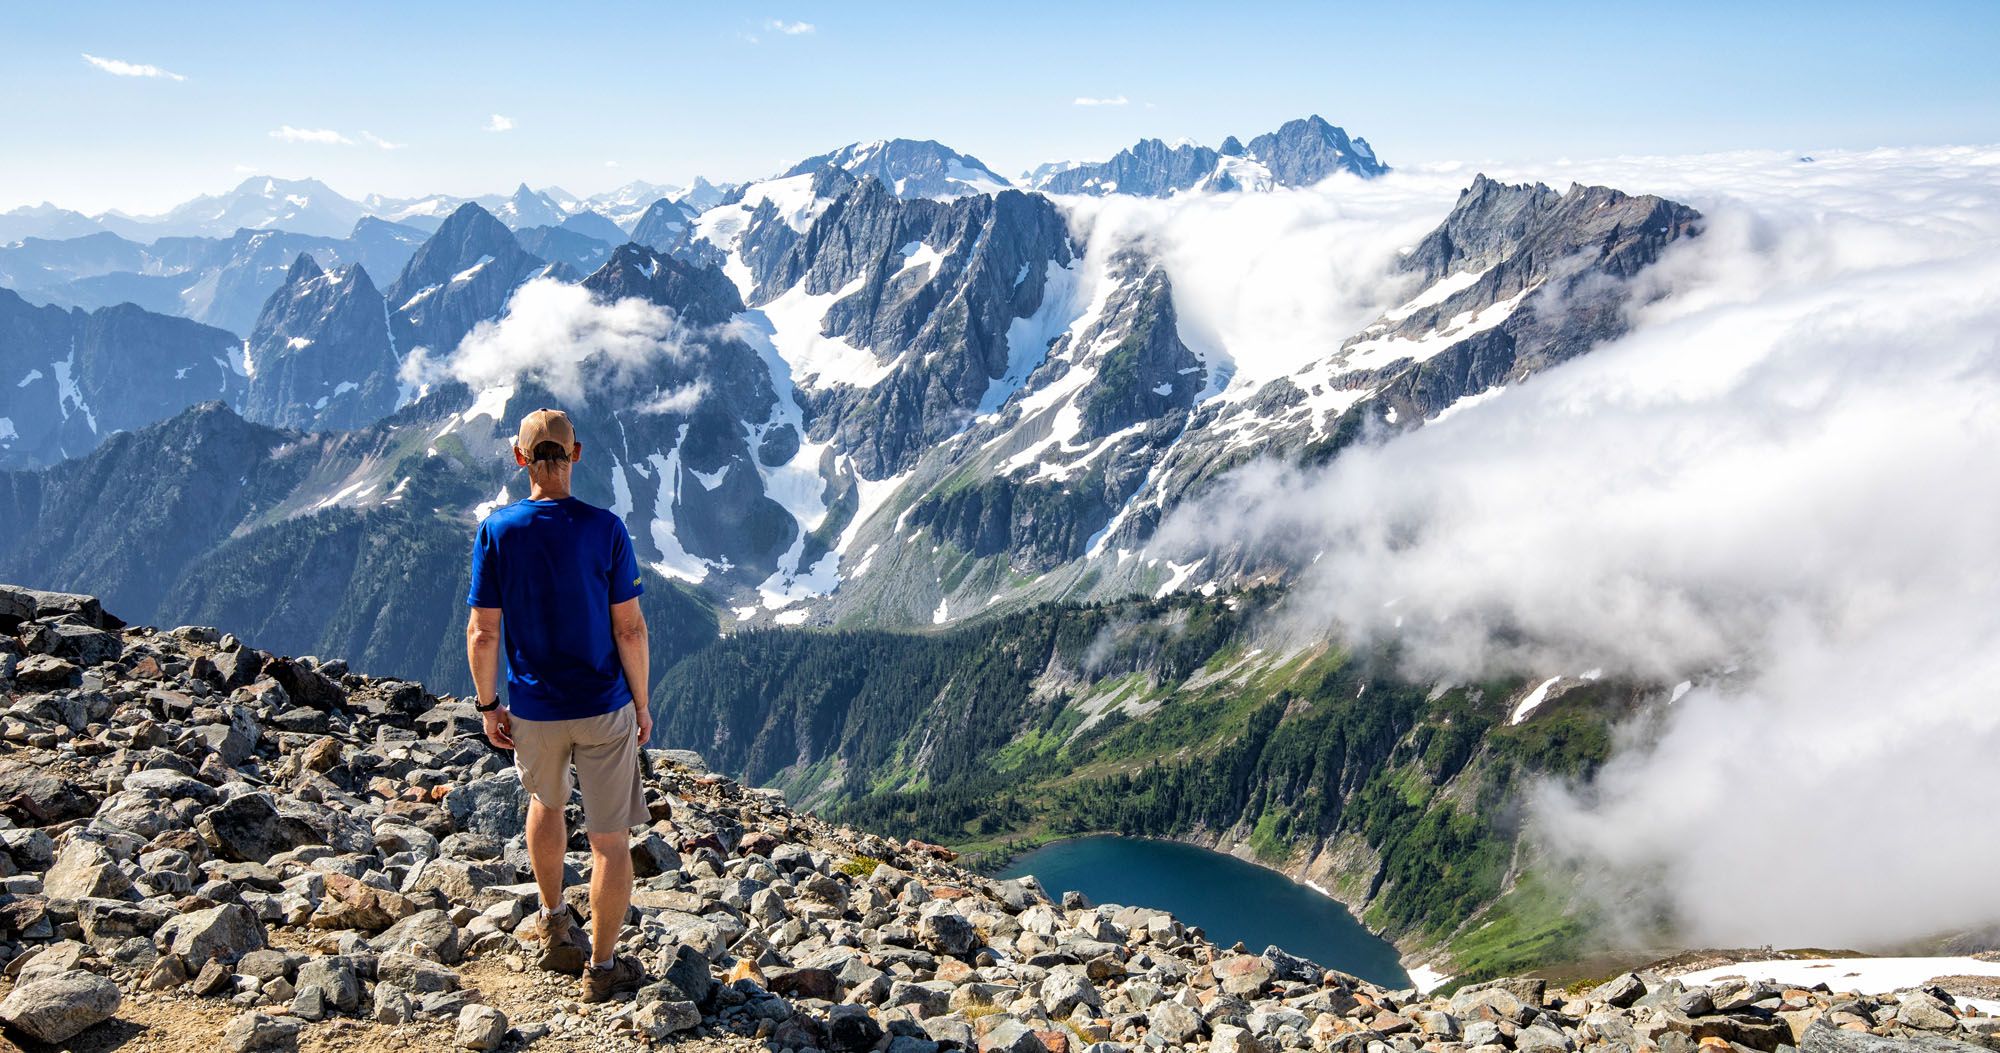
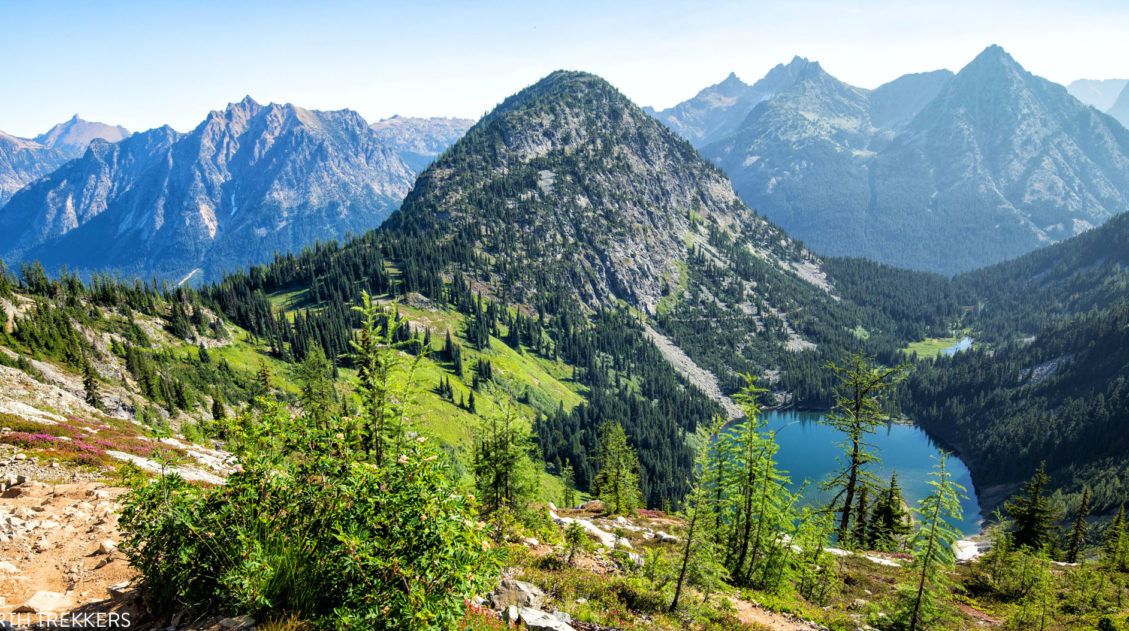
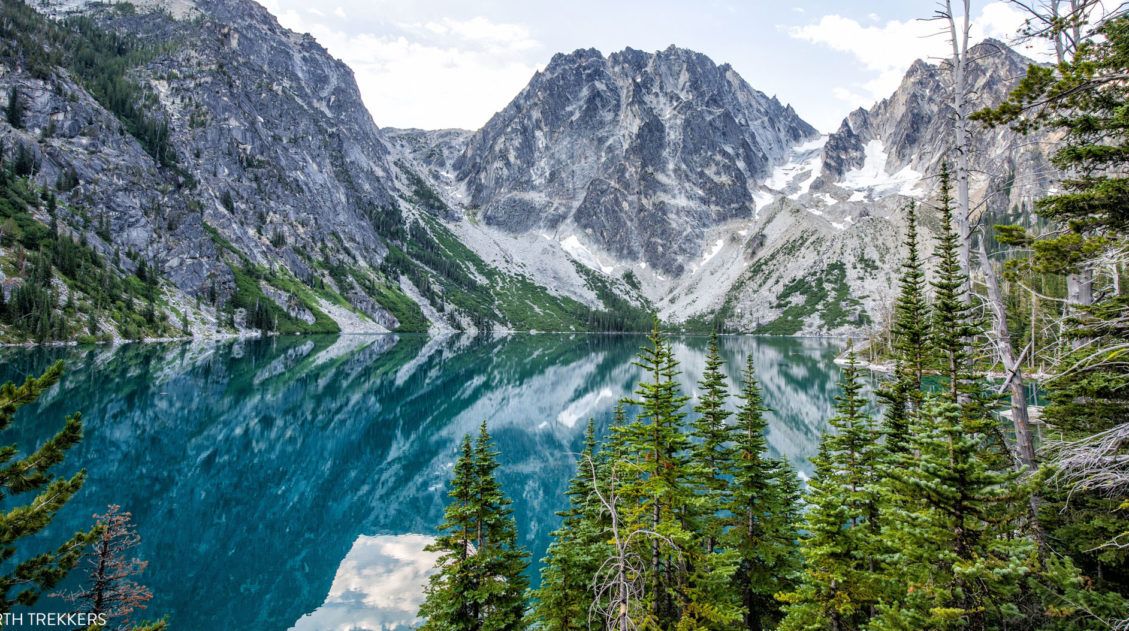
After the switchbacks you come out onto a ridgeline, the Sahale Arm, and the view in front of you is incredible. Sahale Mountain towers above you. And yes, you will be standing up there. Doubtful Lake sits in the valley below.
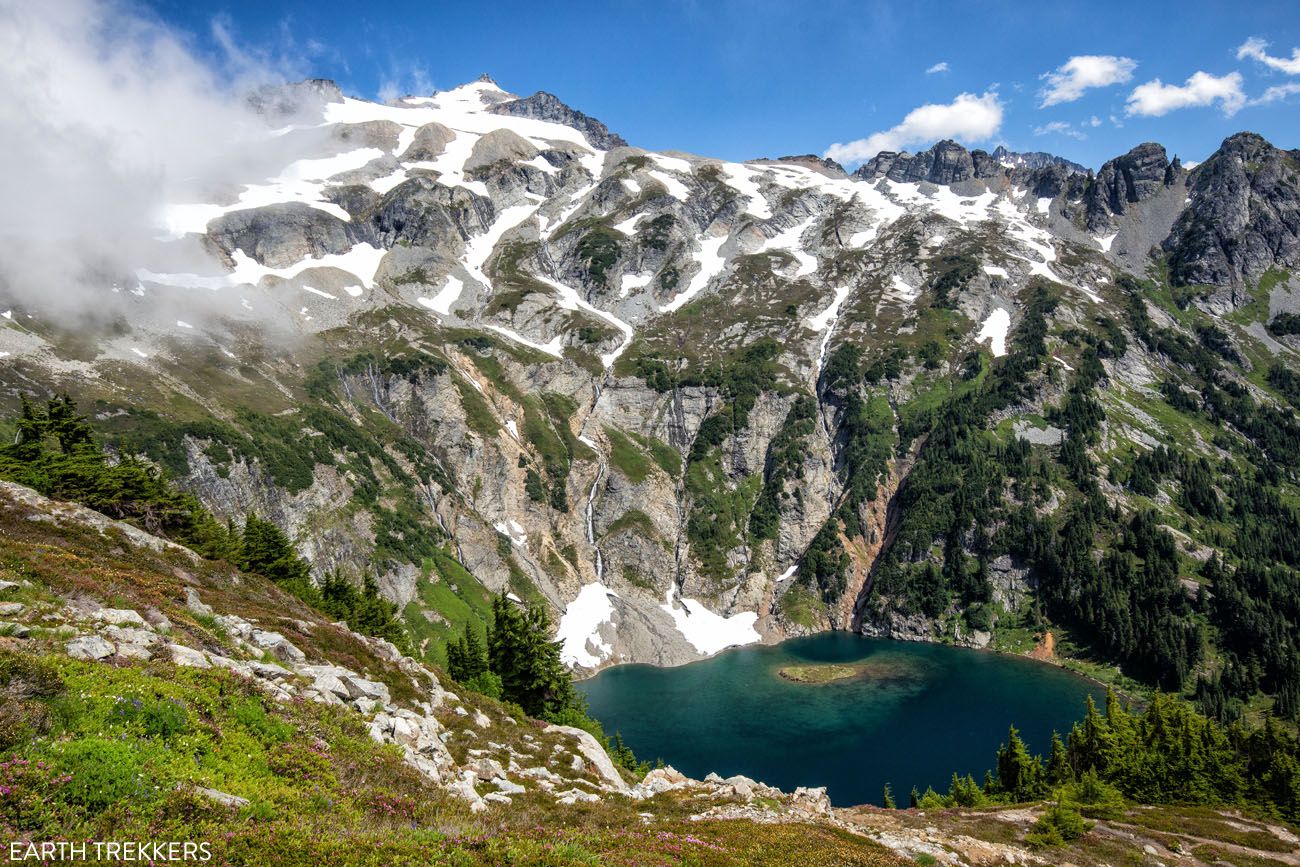
Continue following the trail until you reach the vertical sign post indicating a split in the trail. Take the split to the left to continue onwards toward Sahale, otherwise you’ll end up hiking down to Doubtful Lake.
Section 4: Sahale Arm
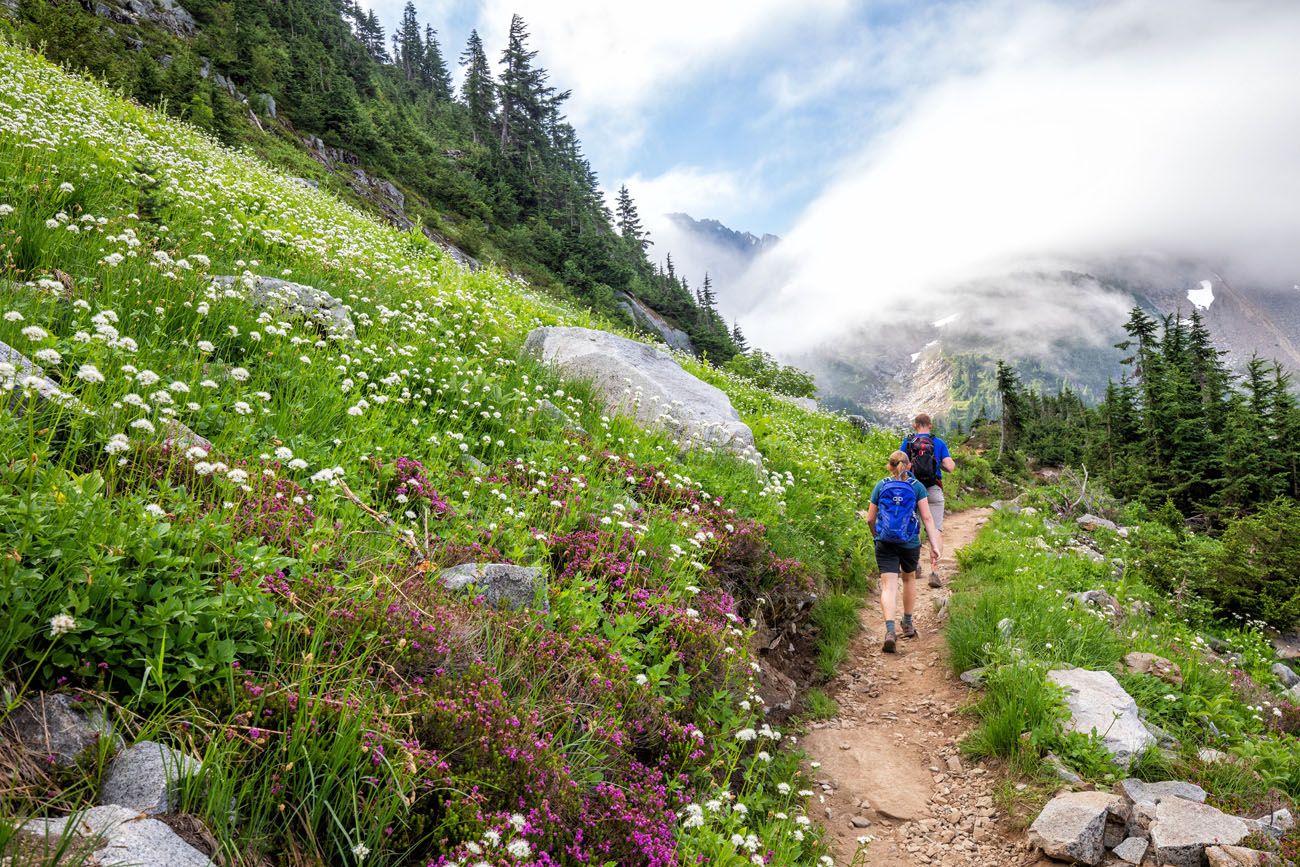
The Sahale Arm is the ridgeline that circles around Doubtful Lake. This portion of the trail winds its way through fields of wildflowers and is a good area for spotting marmots.
For one mile you hike along this ridge. You are still climbing, but it’s more gradual here. Enjoy it because the hike ends with one last challenging climb up to Sahale Glacier Camp.
On the day we did this, clouds were blowing in from the west. This entire section of trail, from Cascade Pass to the base of the final climb up to the glacier camp, was completely clouded in. We could not see Sahale Mountain or Doubtful Lake. In fact, we even considered turning around. I’m glad we didn’t because we eventually hiked high enough to get higher than those stubborn clouds. And later in the day, most of the clouds did burn off (which is when we took these photos).
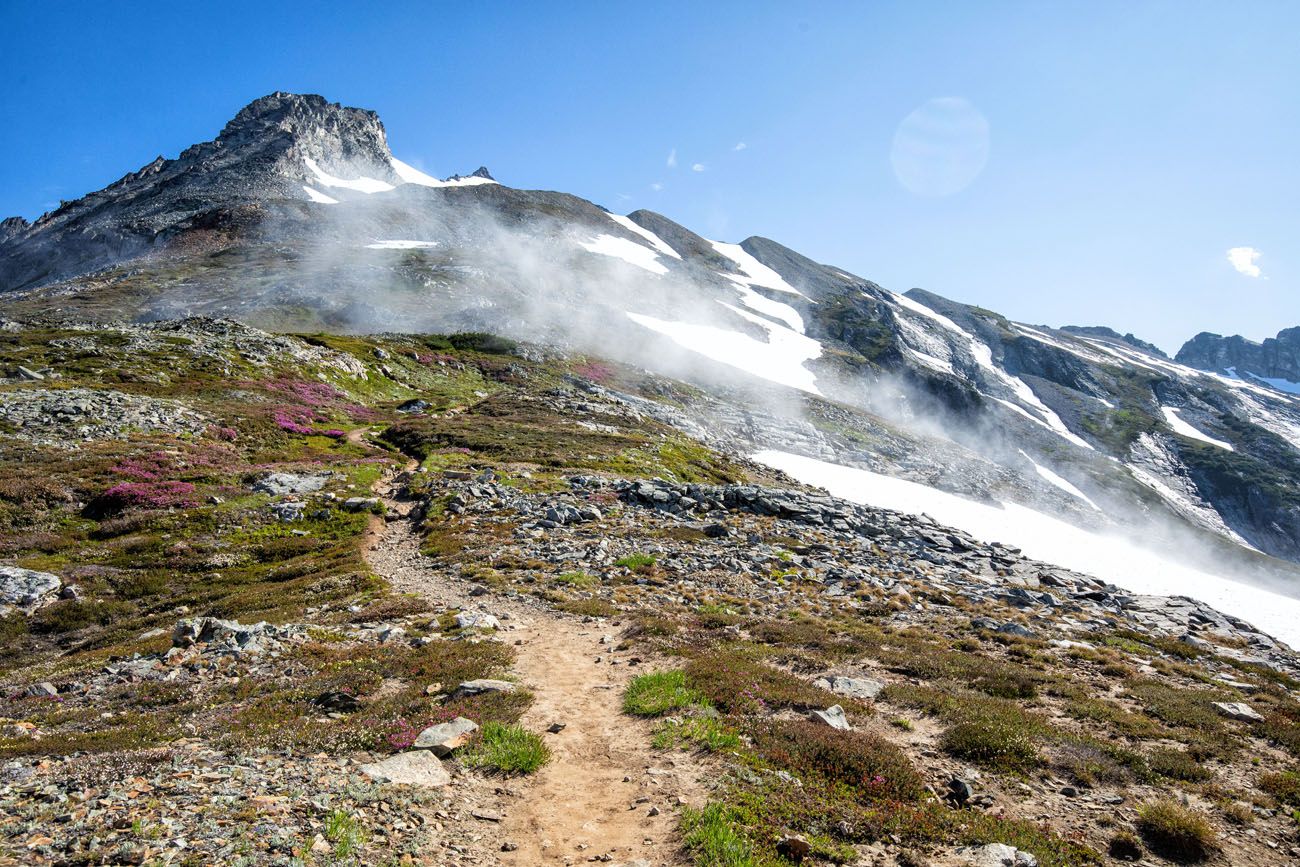
Looking up at the final climb.
Section 5: The Final Ascent to Sahale Glacier Camp
The final ascent up to Sahale Glacier Camp is only 0.6 miles long but adds another 950 feet of elevation. This is the toughest part of the hike.
Parts of this trail can be slippery as a result of the steep incline combined with loose dirt and rocks. As you hike this section of the trail, look for cairns to help guide you up the mountain.
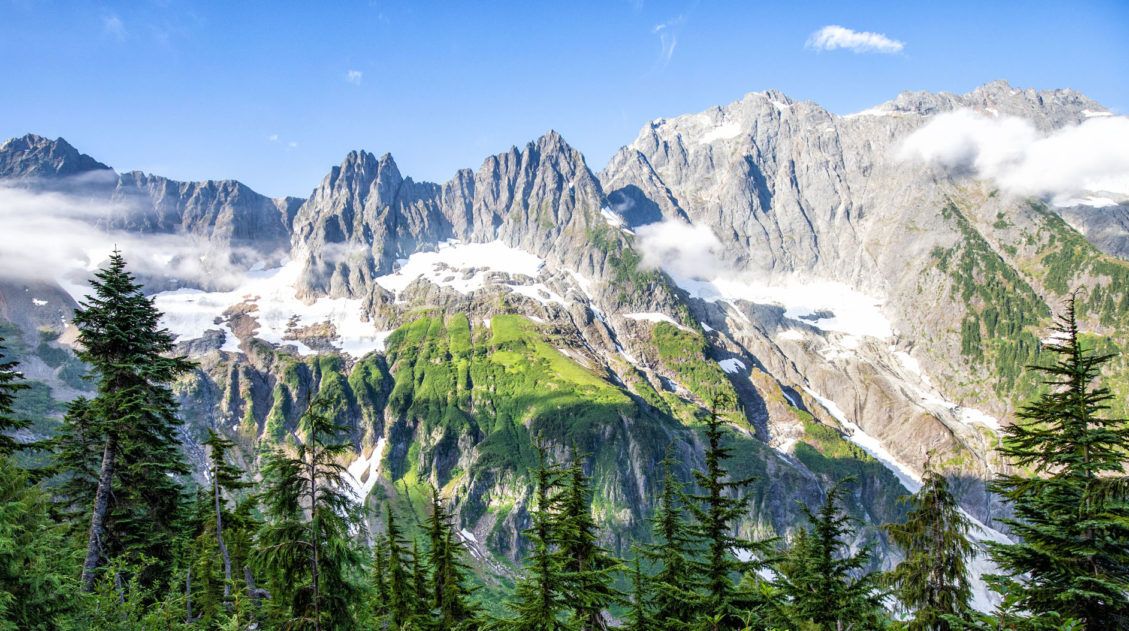
When you pause to catch your breath, enjoy the views of the mountain peaks in the distance. The views keep getting better the higher you go.
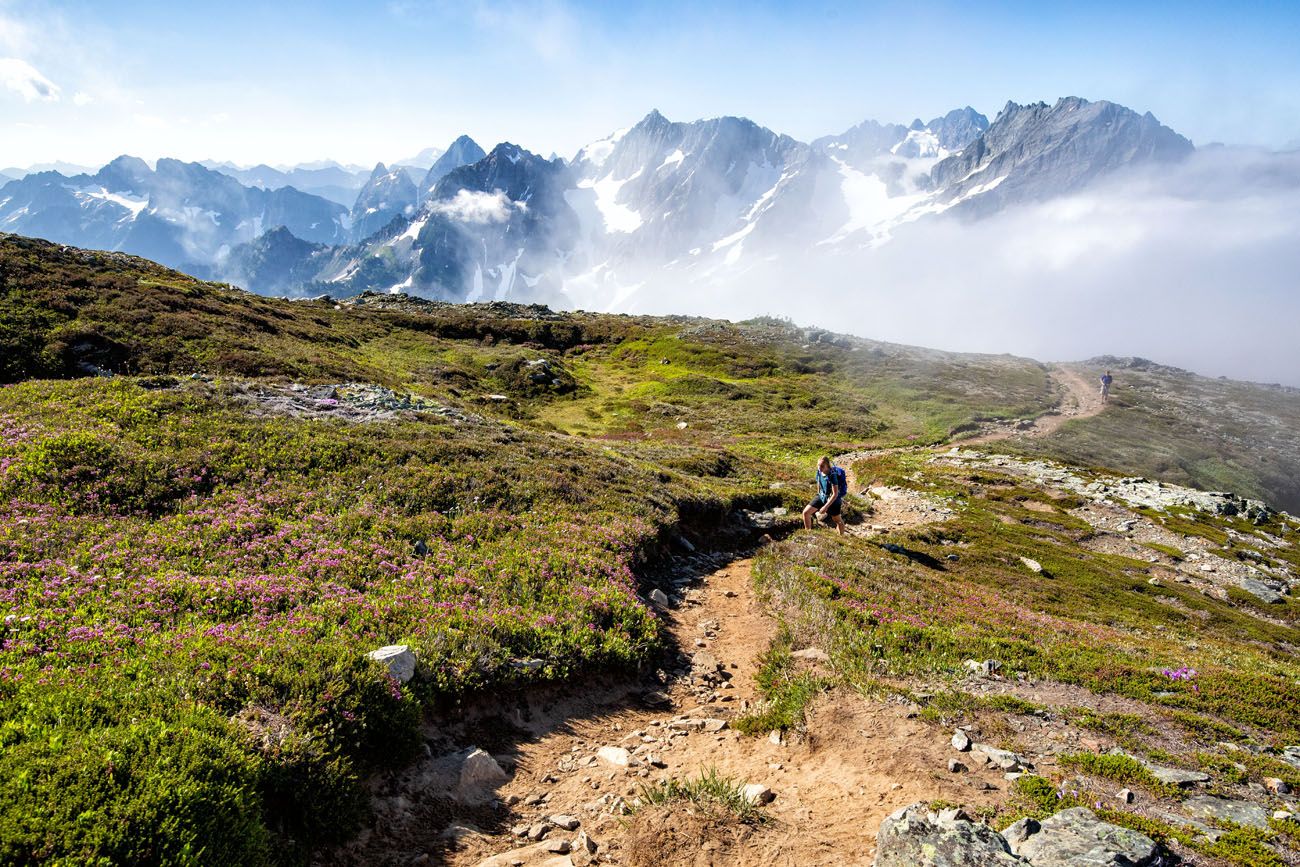
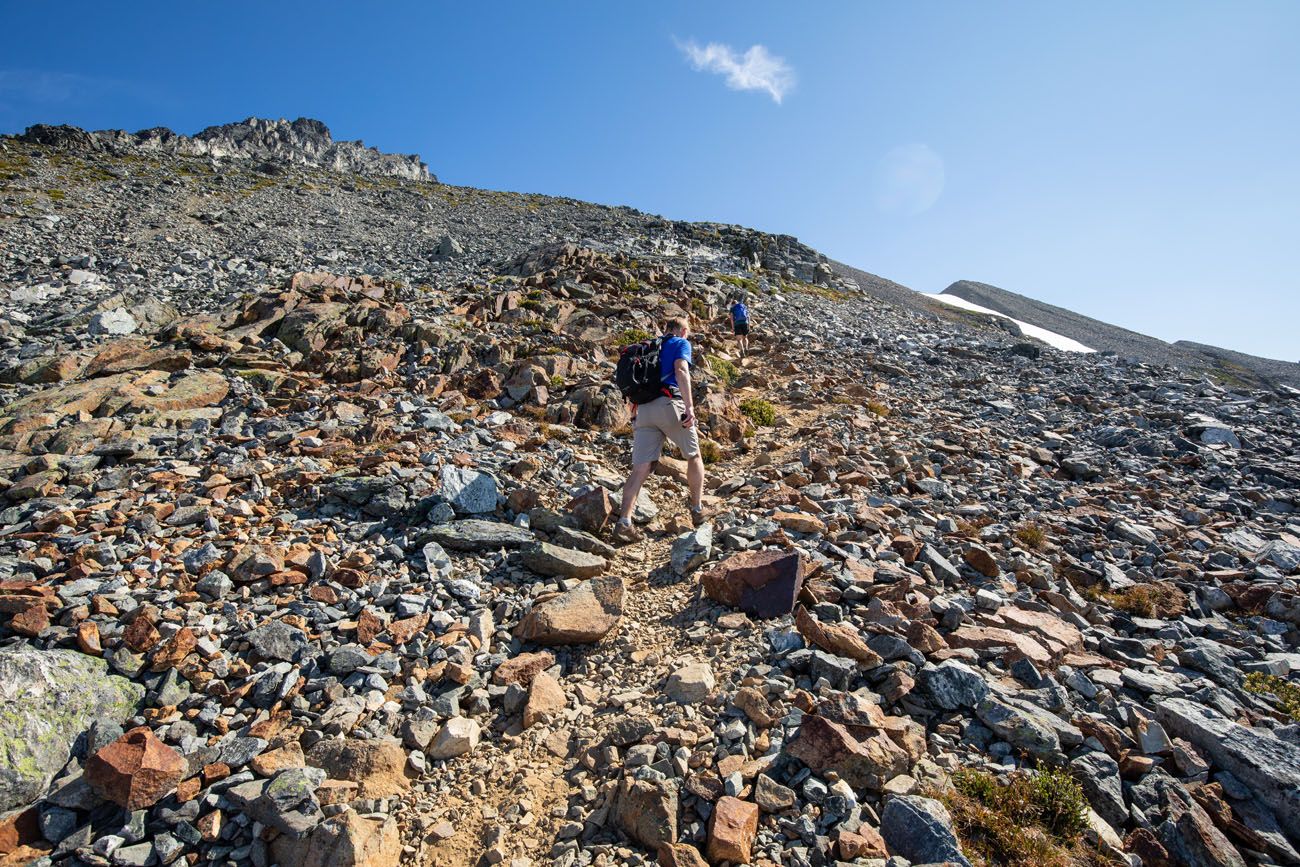
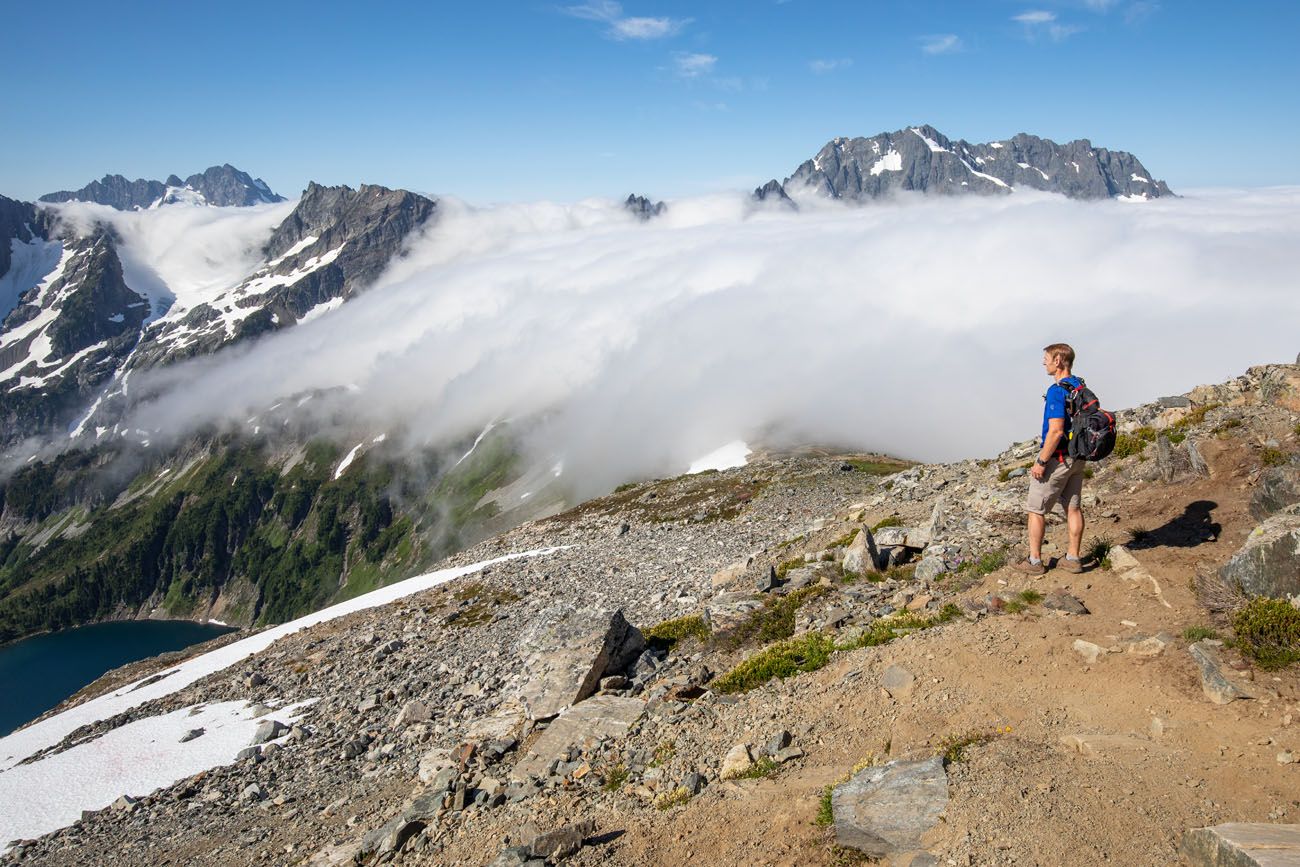
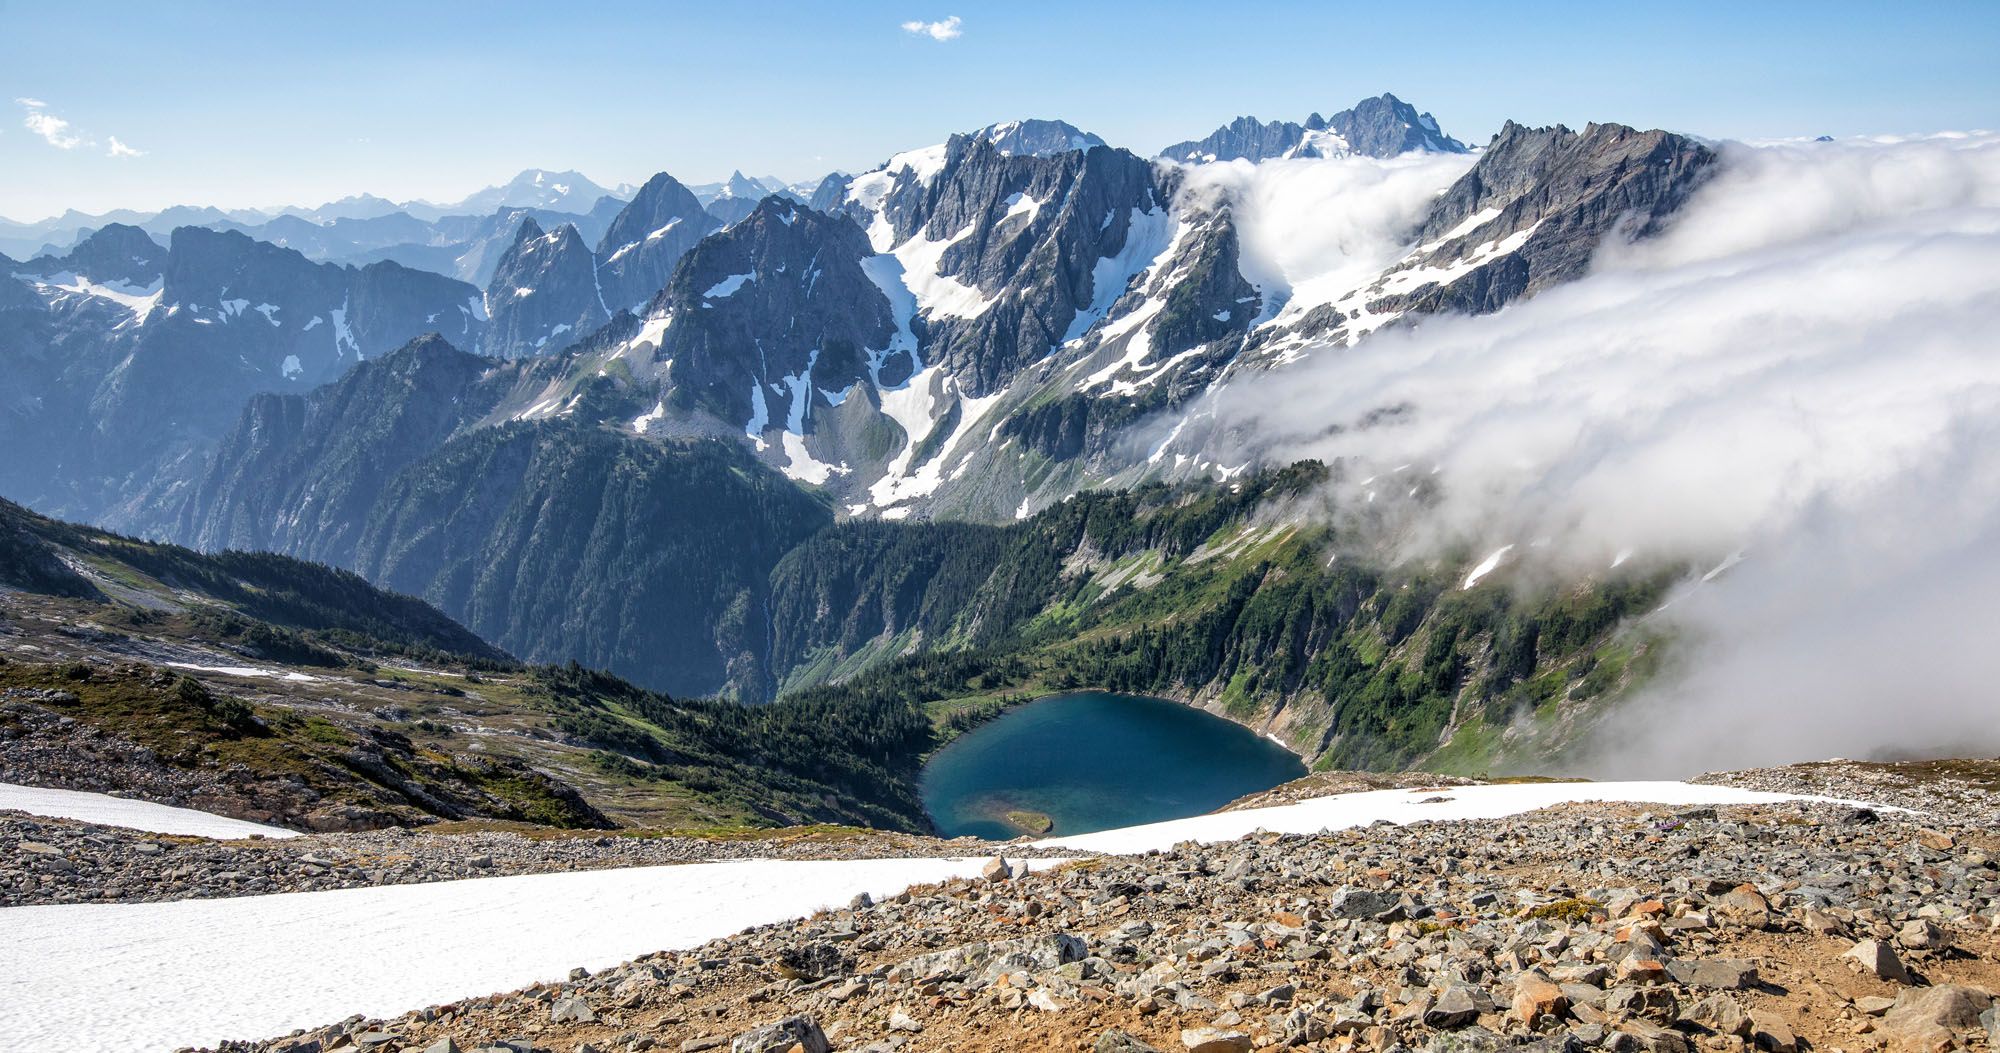
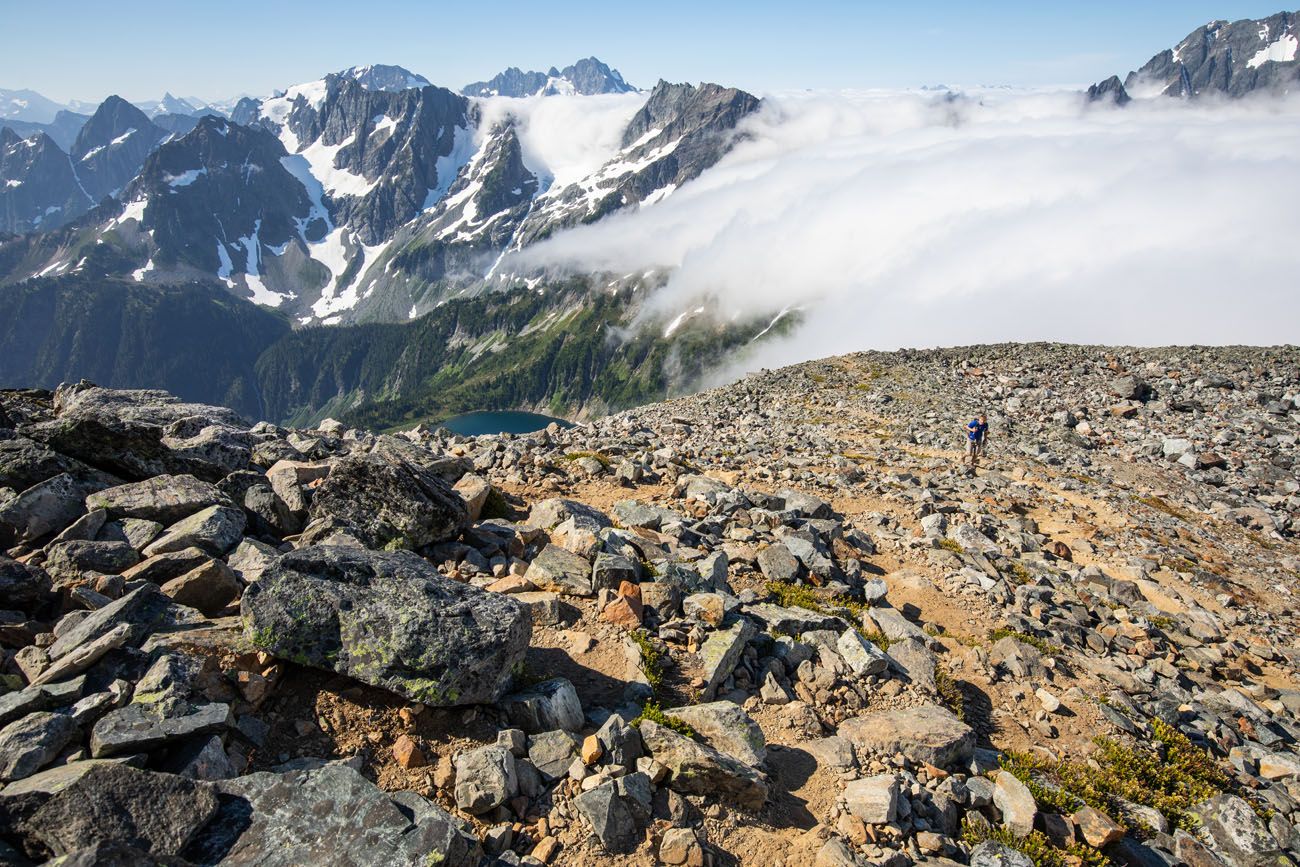
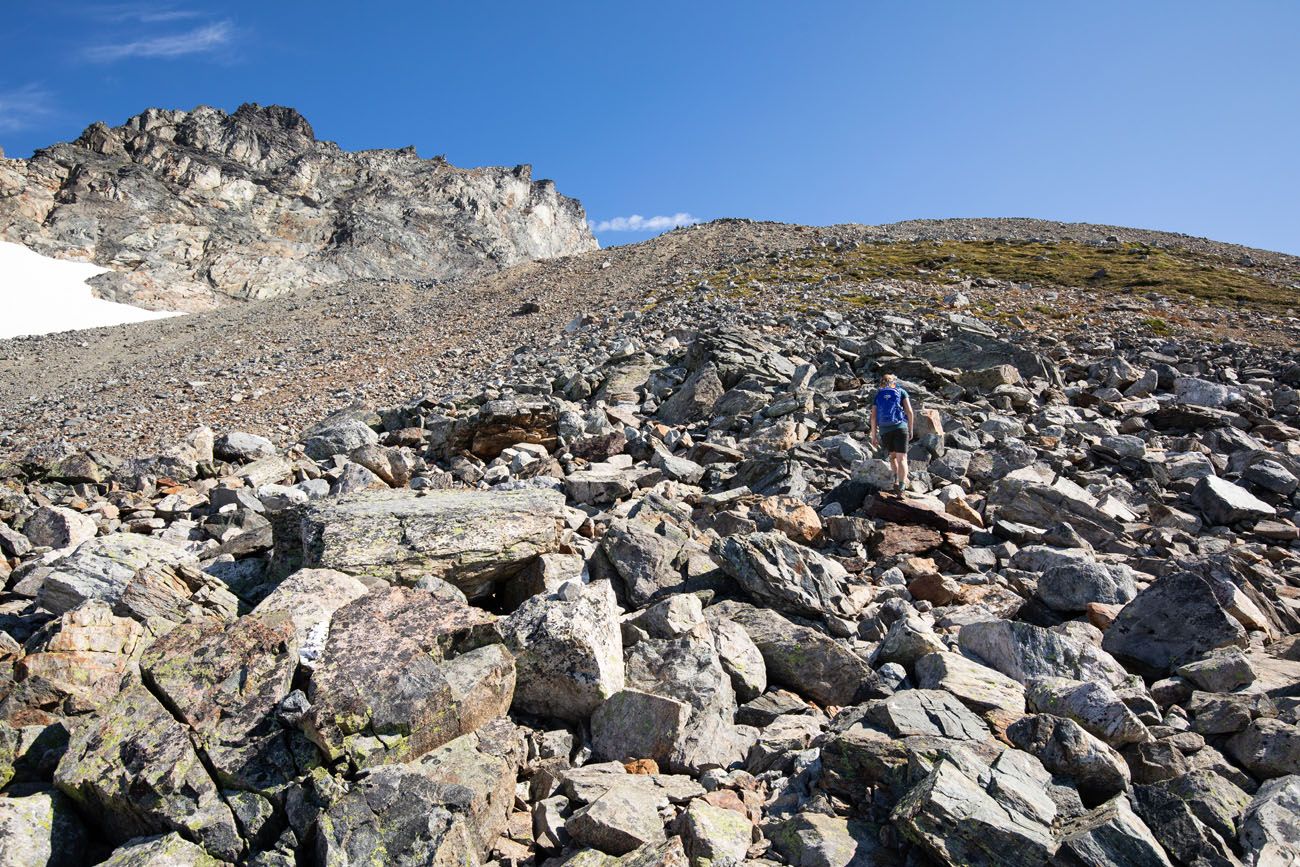
Final rocky climb to the Glacier Camp.
The trail tops out at Sahale Glacier Camp. You are now standing at 7,600 feet and have panoramic views of the North Cascades.
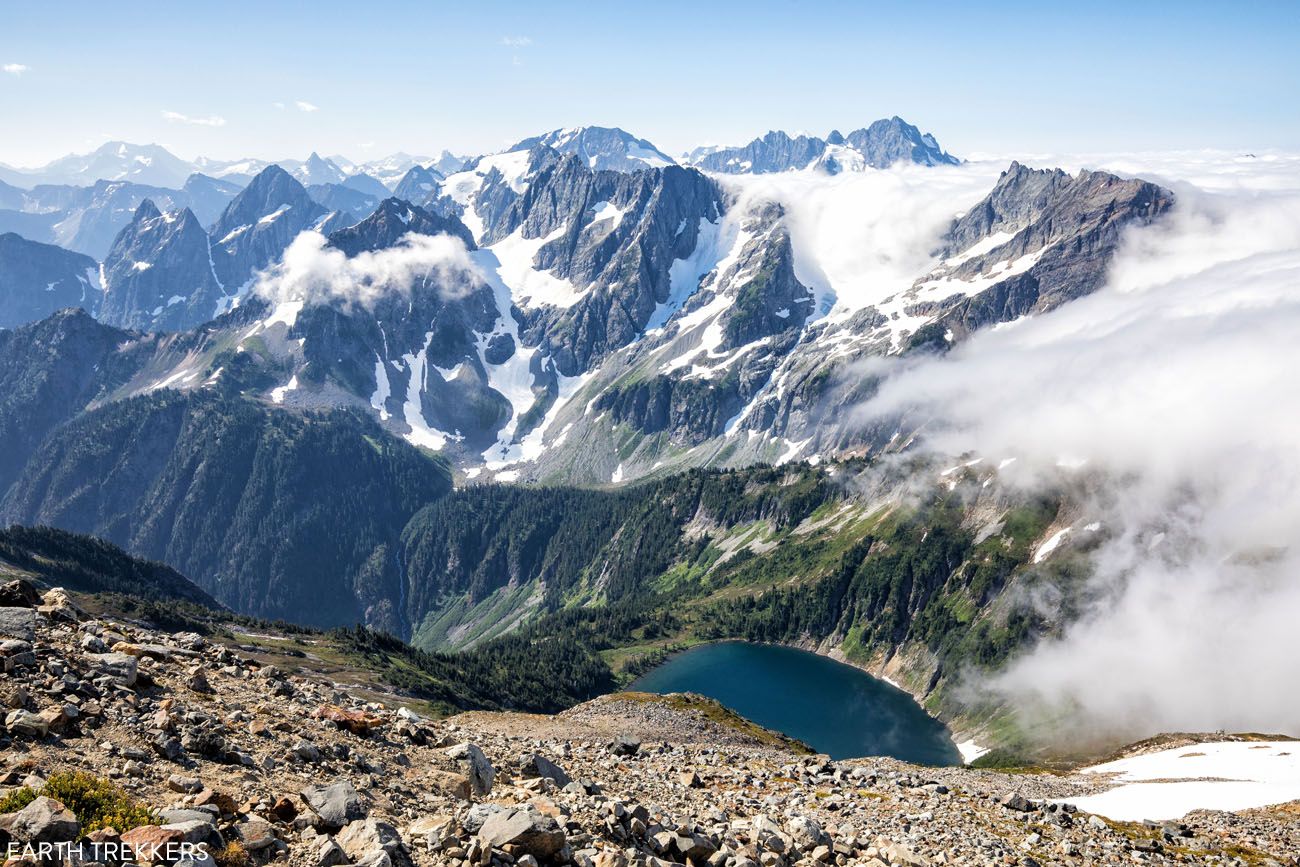
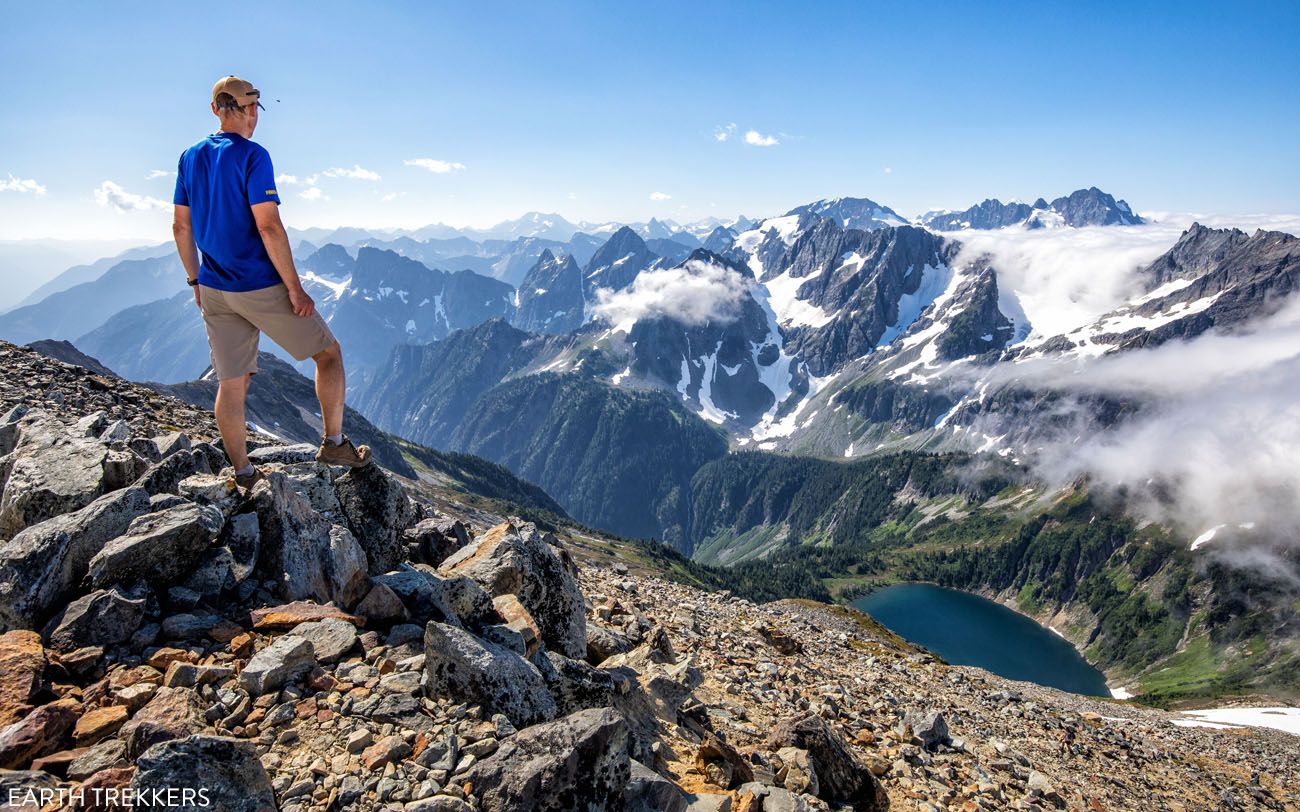
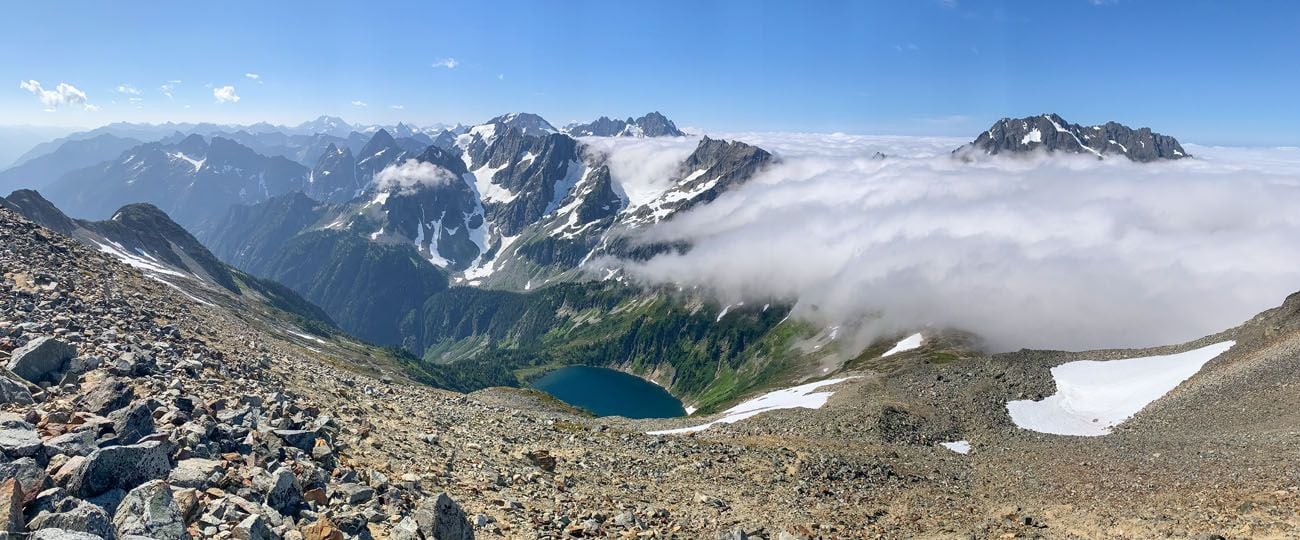
iPhone panorama
With proper gear, it is possible to continue your hike up the glacier. But it is tough. Only those with proper equipment and experience glacier hiking should continue hiking from here.
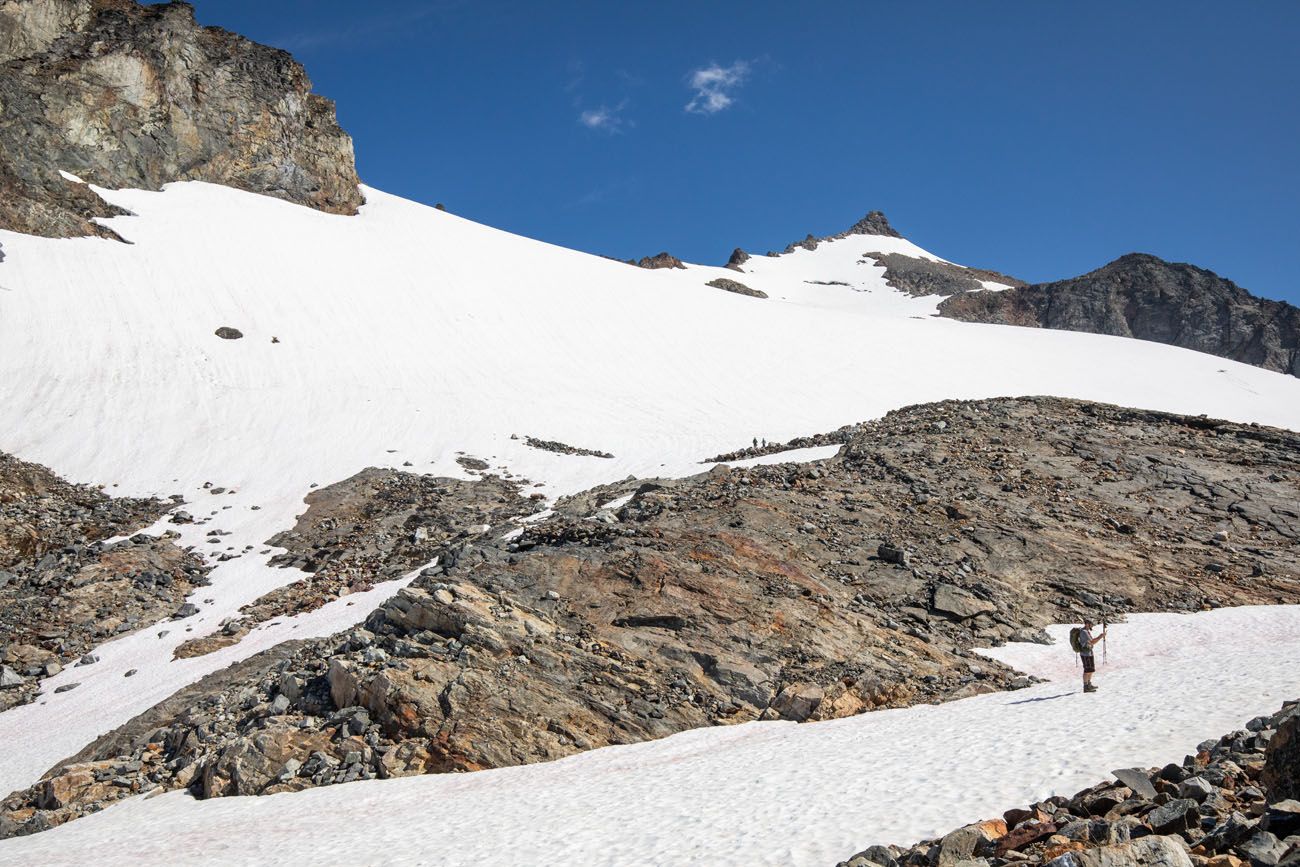
Looking up at Sahale Glacier and the peak of Sahale Mountain.
The Return Hike
It’s all downhill from here. There will be a few, brief uphill climbs as you head back to your car, but for the most part, it’s downhill the entire way.
About Our Experience
We did the Cascade Pass and Sahale Arm hike in early August. The weather report predicted clear skies but instead, clouds blew in from the west during our hike.
The sky was perfectly clear during our drive along Cascade River Road. Once the clouds moved in, it was amazing how quickly they clouded in the Sahale Arm. Fortunately, once up at the glacier camp, we were high enough to look out over the clouds. The clouds began to break up midday.
We did this hike in five and a half hours, which includes time at the glacier camp for photos and lunch. It’s a fairly fast time but we had just spent the past six weeks hiking the national parks.
Tips to Have the Best Experience
Get updates on the road status and trail closures on the National Park Service website before you go.
Leave no trace. When you are in the park, practice the seven principles of Leave No Trace. This includes packing out what you bring into the park, be considerate of other hikers, stay on the trail, and do not remove anything from the park.
Do not expect your cell phone to work. We had minimal cellular service on this hike. There is also no cellular service along most of Cascade River Road, which means you won’t get reception for most of the drive to the trailhead. Don’t depend on your phone to call for help, talk to friends, or to send photos to friends and family.
What to Bring on the Hike
Hiking shoes. We recommend hiking shoes. This is a long, tough hike and early in the season it is possible that you will have to hike through some snow. When we did this in August 2020 there was no snow on the trail.
Hiking poles. There is a lot of elevation gain and descent on this hike and hiking poles can help ease the stress on your legs and knees.
Water and snacks. At least 2 liters of water in the summer.
Sunscreen, hat, and sunglasses. For most of the hike there is very little shade.
Camera. Even a smartphone will do.
Essential Hiking Gear: What Should You Bring on a Day Hike?
If you are new to hiking or are curious about what you should bring on a hike, check out our Hiking Gear Guide. Find out what we carry in our day packs and what we wear on the trails.Where to Stay
Marblemount is the closest place to stay. From here, it’s just a straight shot down Cascade River Road to the trailhead. We stayed at the Buffalo Run Inn. It’s nothing fancy, but it’s clean, the rooms are large, and the Wi-Fi works well. There are also a few restaurants within walking distance.
In Newhalem, a 20-minute drive from Marblemount, there are campgrounds.
Concrete, also a 20-minute drive from Marblemount, is the closest good-sized town near the trailhead, and there are several hotels, lodges, and restaurants here.
If you have any questions about the Cascade Pass to Sahale Arm hike, let us know in the comment section below.
More Information about Washington State
If this is part of a bigger road trip through the USA, visit our United States Travel Guide and Washington Travel Guide for more inspiration and travel planning tips.
Comments 26