Awe-inspiring, challenging, exhausting, unforgettable…these are all words to describe the trek across the Grand Canyon. If you are up for a big adventure, hiking the Grand Canyon rim-to-rim is one for the bucket list.
This is the land of extremes. In the summer months, the temperature can fluctuate along the trail as much as 80 degrees in one day. You will descend nearly one mile to the Colorado River and then climb back up the other side.
Along the way, you will face heat, cold, fatigued legs, exhaustion, joy, and maybe even despair. You’ll rejoice at the jaw-dropping views, hike on steep, dusty trails, walk through narrow canyons and shady, lush oases, and thoroughly immerse yourself in one the United States most iconic landscapes.
Once you hike rim-to-rim, you will never look at the Grand Canyon the same way again.
Most people hike rim-to-rim on a two or three day backpacking trip. If you are extremely fit and fast, it is possible to hike the Grand Canyon rim-to-rim in one day.
On June 9, 2019, Tim and I hiked the Grand Canyon rim-to-rim in one day. It’s a massive day hike and not a decision to be made lightly. During the course of one day, we hiked 23.5 miles, descended and then climbed back up nearly a mile in elevation, all while battling high temperatures. It was an incredibly awesome experience.
We have so much information to share with you that it could not all fit into one article. In this article (part 1 of our two part series) learn about the hiking trail. Part 2 covers the planning, training, and logistics to have a successful hike.
Overview of the Rim-to-Rim Hike
This information is for the hike on the North Kaibab Trail to Bright Angel Campground to the Bright Angel Trail.
Distance: 23.5 miles one-way
Elevation Change: 5761 feet elevation loss (North Kaibab trailhead to Bright Angel Campground) and 4380 feet elevation gain (Bright Angel Campground to the South Rim on the Bright Angel Trail). As a reference, there are 5,280 feet in one mile.
Difficulty: Extremely strenuous
Length of Time: Usually done as a two or three-day backpacking trip. As a day hike, the median time is 12 hours.
Permits: None needed for the day hike. You will need a permit to camp in one of the campgrounds (if you do this as a backpacking trip). Or, you can enter your name in the lottery for Phantom Ranch.
When to Go: The road to the North Rim is open from May 15 through October 15. Expect high temperatures in June, July, August, and September, with the heat index reaching 130 degrees on parts of the trail.
The hiking distances and elevation data in this article were taken from the National Park website.
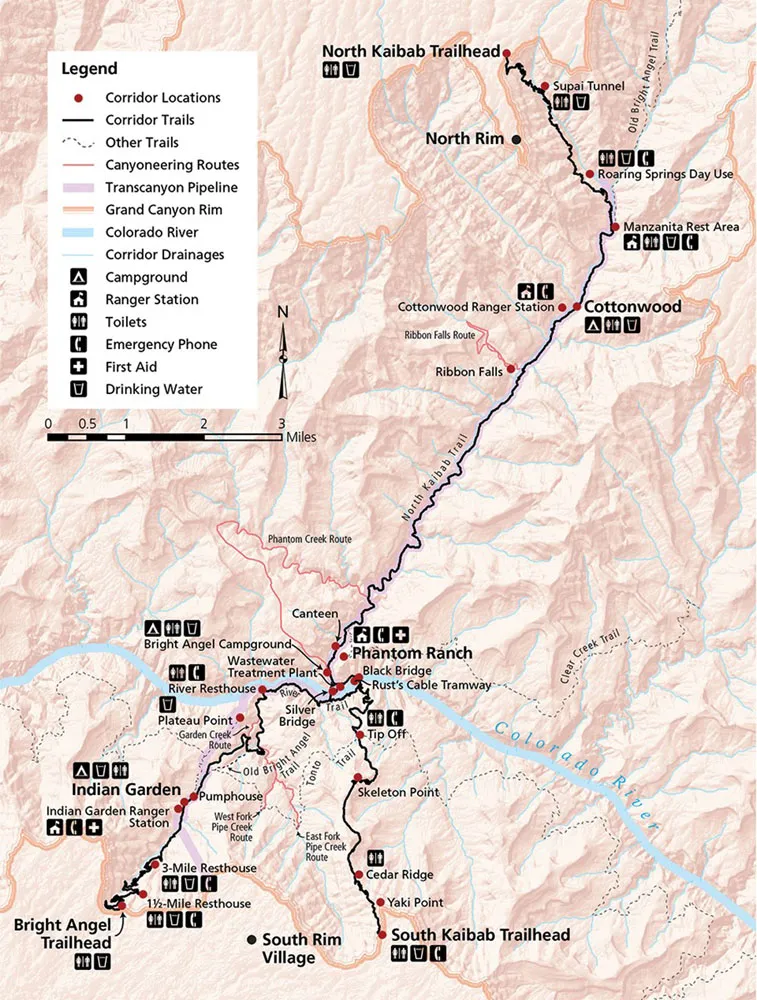
Map of the trail (from the NPS website).
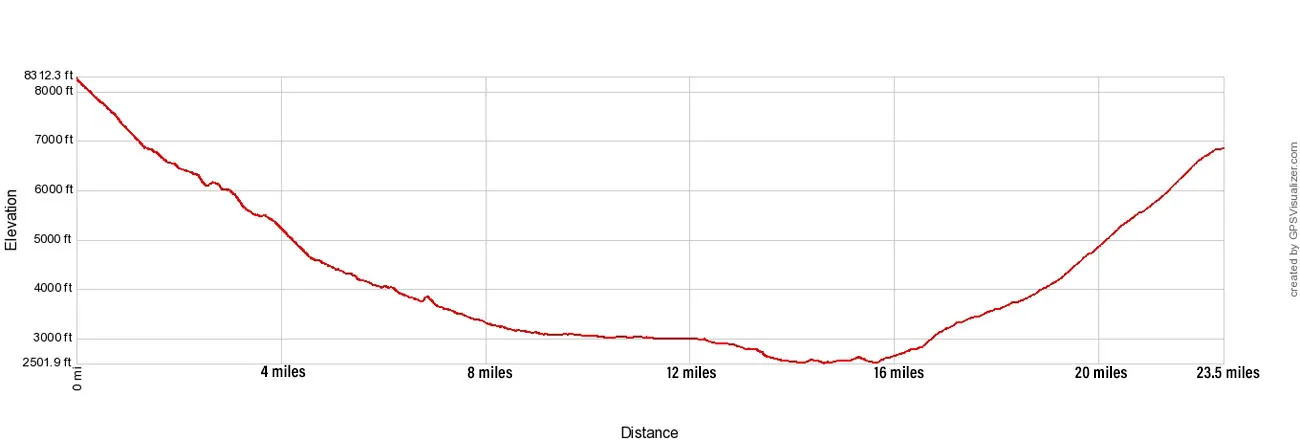
Elevation profile of the hike, starting on the North Rim and ending on the South Rim.
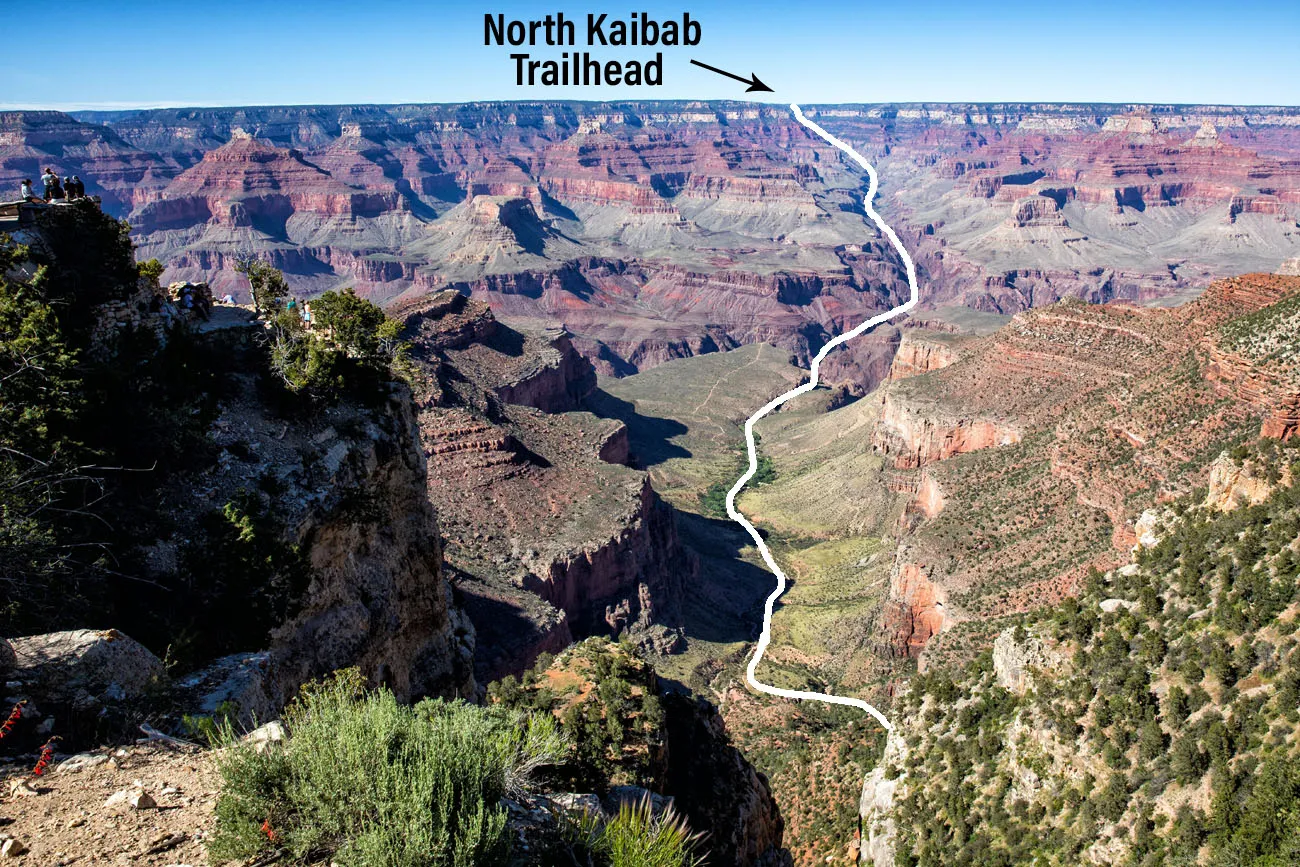
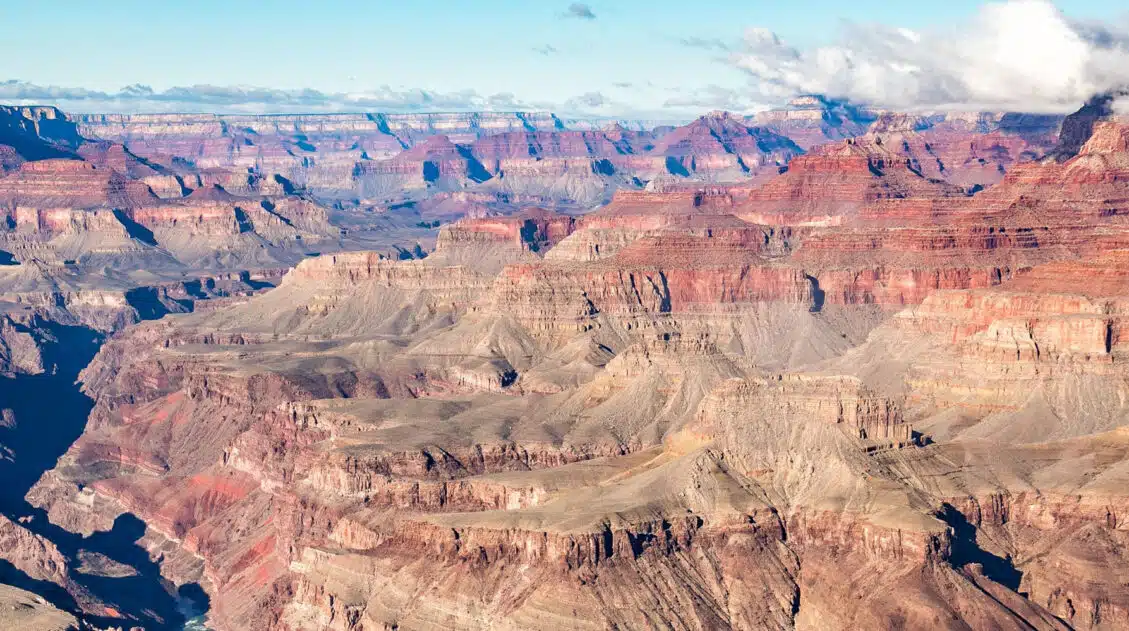
The view from the Bright Angel trailhead. The white line is the approximate location of the trail from the North Rim to the South Rim.
Please practice the seven principles of Leave No Trace: plan ahead, stay on the trail, pack out what you bring to the hiking trail, leave areas as you found them, minimize campfire impacts, be considerate of other hikers, and do not approach or feed wildlife.
The North Kaibab Trail
Getting to the Trailhead
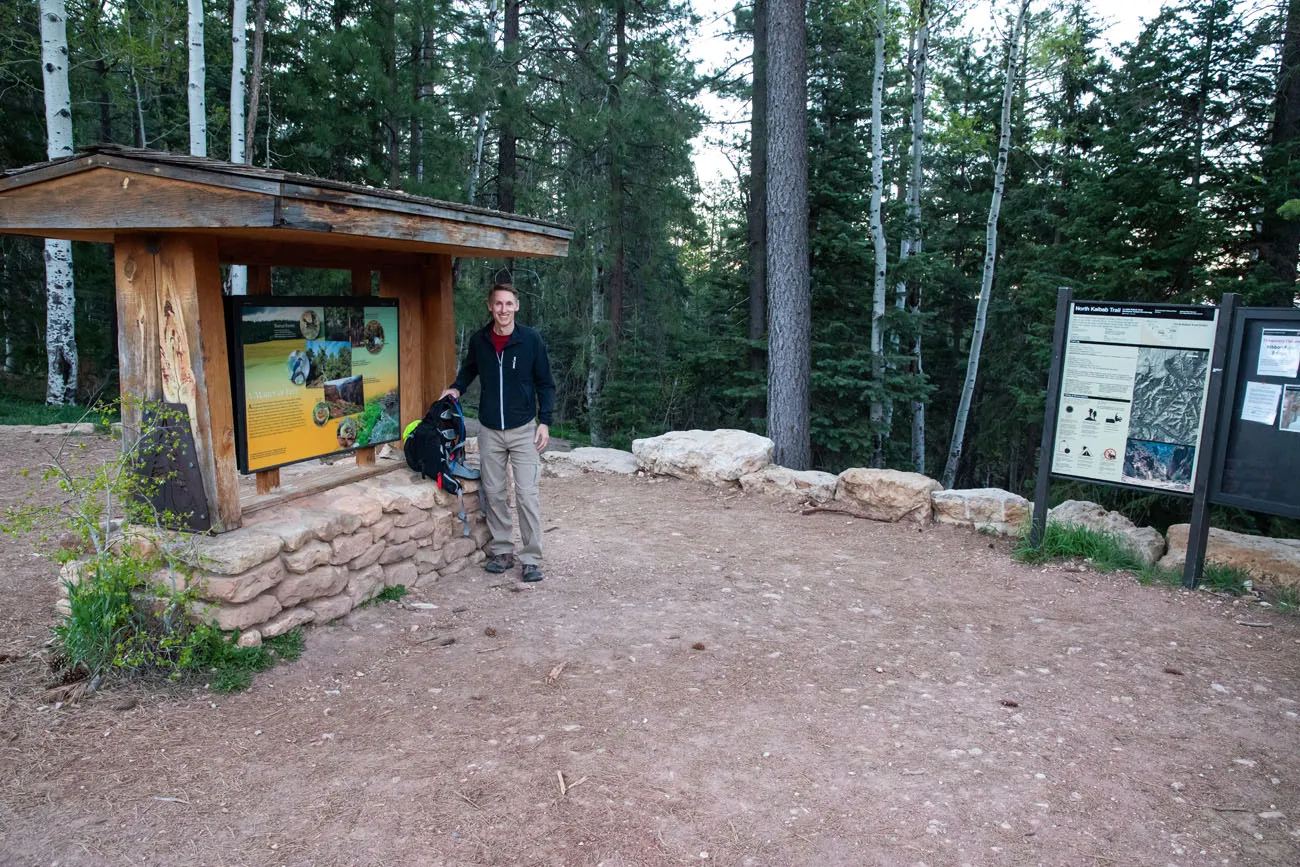
The trailhead is located two miles north of the North Rim Visitor Center and Grand Canyon Lodge. The Grand Canyon Lodge runs a free shuttle service multiple times in the morning to the North Kaibab Trailhead. When we did this, the available times were 3 am, 4 am, 5 am, 5:30 am, 6 am, and 7 am.
You can put your name on the list the day before your hike. You will do this at the reception desk at the lodge when you check in. We tried to do it over the phone but they wanted to see us in person before they would write our name on the list.
In early June, sunrise was at 5 am. We took the 5 am shuttle. It’s just a 5-minute drive to the trailhead.
PRO TRAVEL TIP: I recommend starting the hike no later than sunrise. With a headlamp you can start even earlier. During the summer months, you want an early start to beat the heat. The box, a narrow canyon that is 4 miles long, is notorious for being one of the hottest sections of the hike. Try to get through this before 10 am.
Overview of the North Kaibab Trail
Starting Elevation: 8241 feet
Ending Elevation (at Bright Angel Campground): 2480 feet
Elevation Loss: 5,761 feet
Distance: 14 miles
Length of Time: 5 to 7 hours
As you hike down the North Kaibab Trail, there are several landmarks along the way. Here are their distances and elevations from the North Kaibab trailhead.
North Kaibab Trailhead: 8241 feet
Supai Tunnel: 6800 feet, 1.7 miles
Roaring Springs: 5220 feet, 4.7 miles
Manzanita Rest Area: 4600 feet, 5.4 miles
Cottonwood Campground: 4080 feet, 6.8 miles
Ribbon Falls: 3720 feet, 8.4 miles
Bright Angel Campground: 2480 feet, 14 miles
From the rim to the Colorado River, it is essentially a downhill walk the entire way. There will be a few, brief sections where you walk uphill, but these give your legs a nice break from the constant downhill pounding they take.
The steepest downhill section is between the trailhead and Cottonwood Canyon. Once you get to Cottonwood Canyon, the descent is more gradual, which actually makes it easier to pick up the pace.
We started at 5:10 am. It was a very, very chilly 41° Fahrenheit. I wore shorts and Tim had zip-off hiking pants. We also wore a short-sleeve shirt and a jacket. Gloves would have been nice since our fingers literally went numb. But the cold doesn’t last long, since temperatures quickly warm up as you descend into the belly of the canyon.
Trailhead to Cottonwood Canyon
Cottonwood Canyon is roughly the halfway point on the North Kaibab Trail.
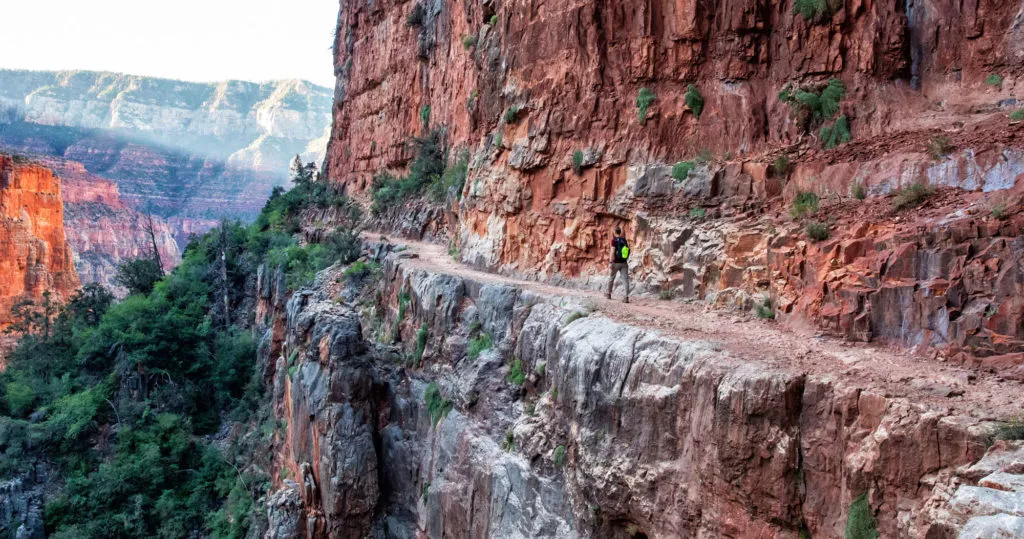
The first section of trail, from the trailhead to Roaring Springs, is the most spectacular of day, in my opinion. The red, dusty trail quickly descends into the canyon, switch-backing its way along the canyon walls. You will walk through Supai Tunnel, past small waterfalls, and along sections of trail that cling to the cliffs.
If you have issues with heights or walking on exposed trails, this part of the hike might be challenging for you.
Here are some photos of the trail between the trailhead and Roaring Springs.
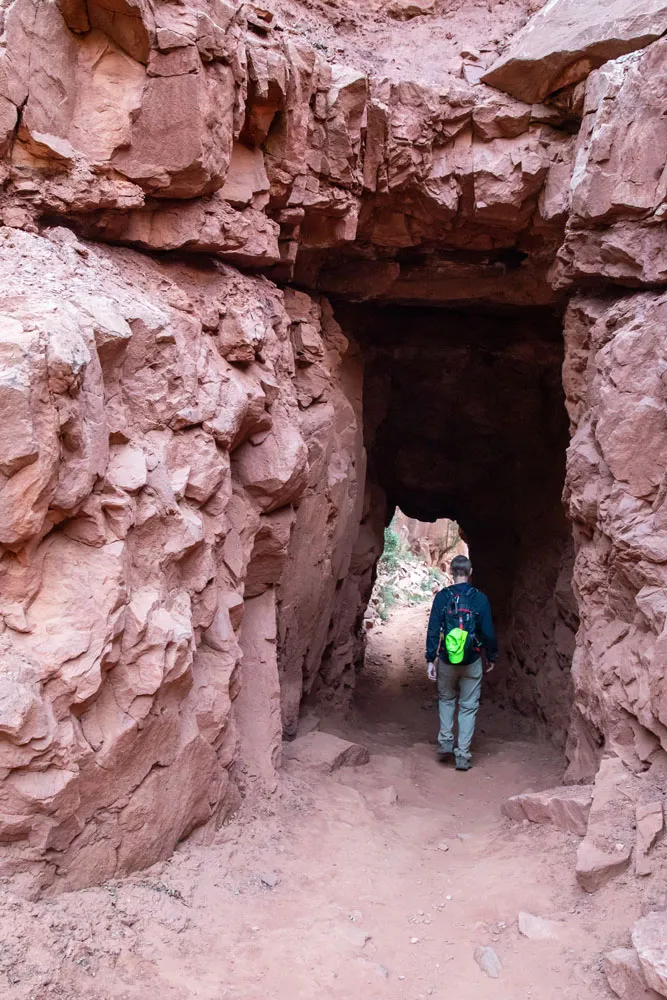
Supai Tunnel
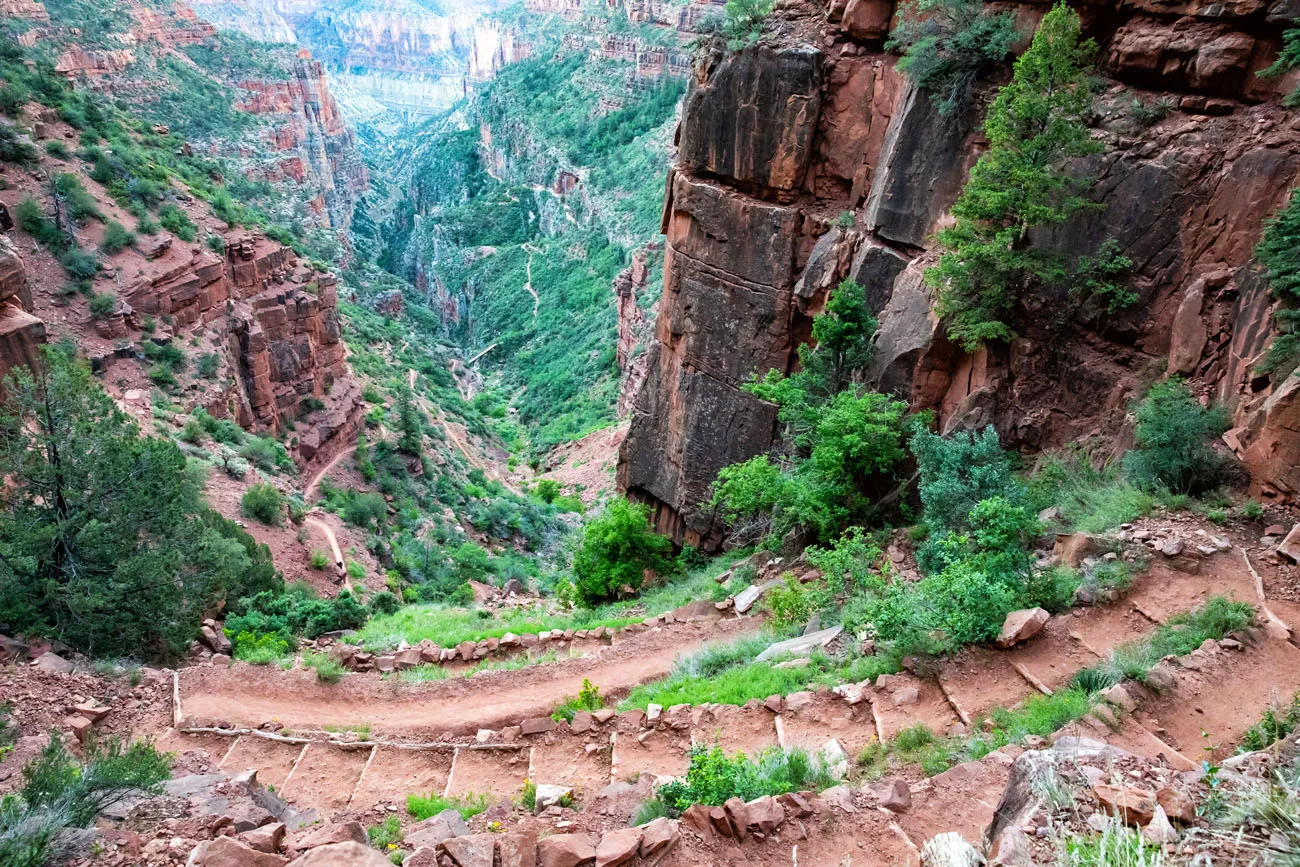
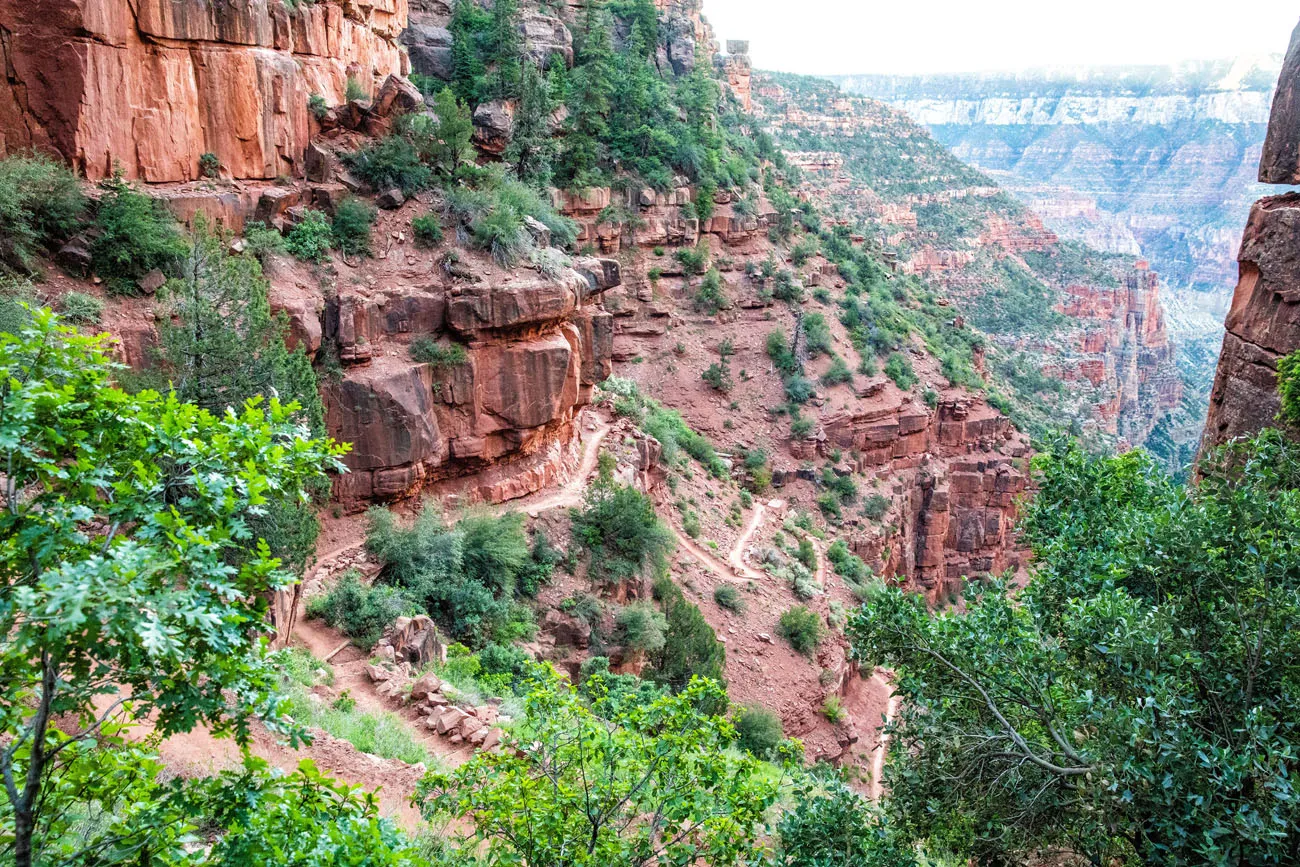
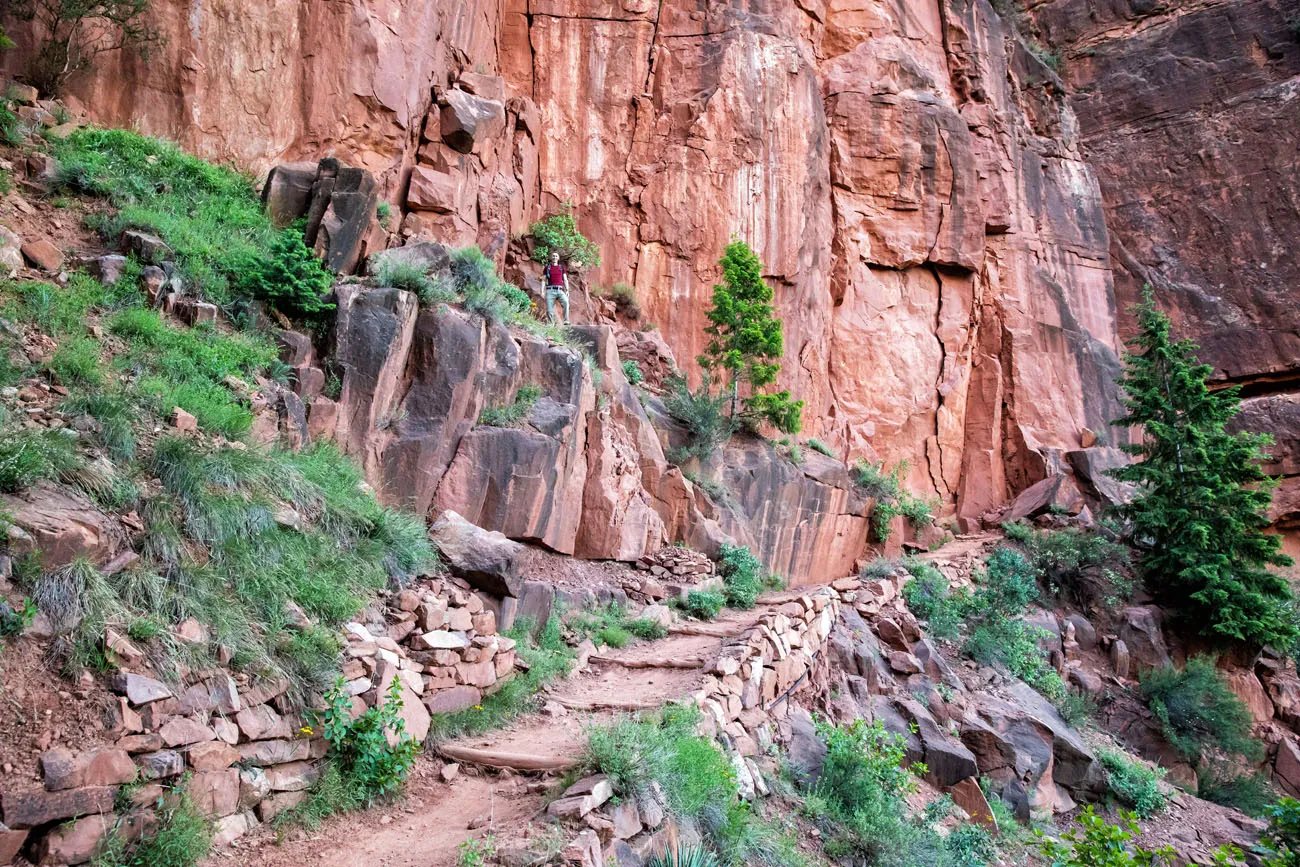
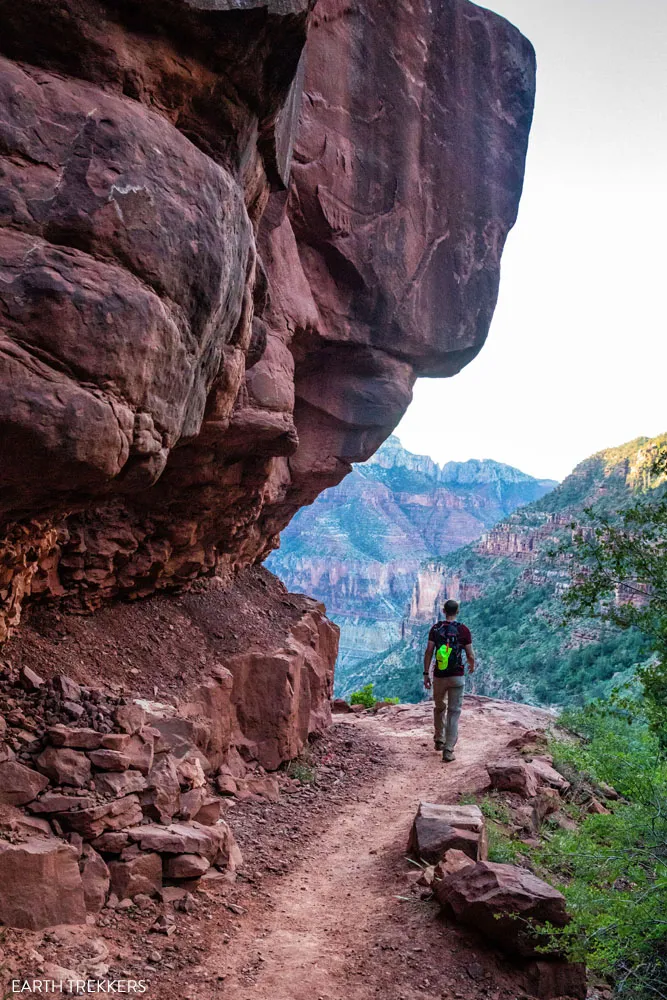
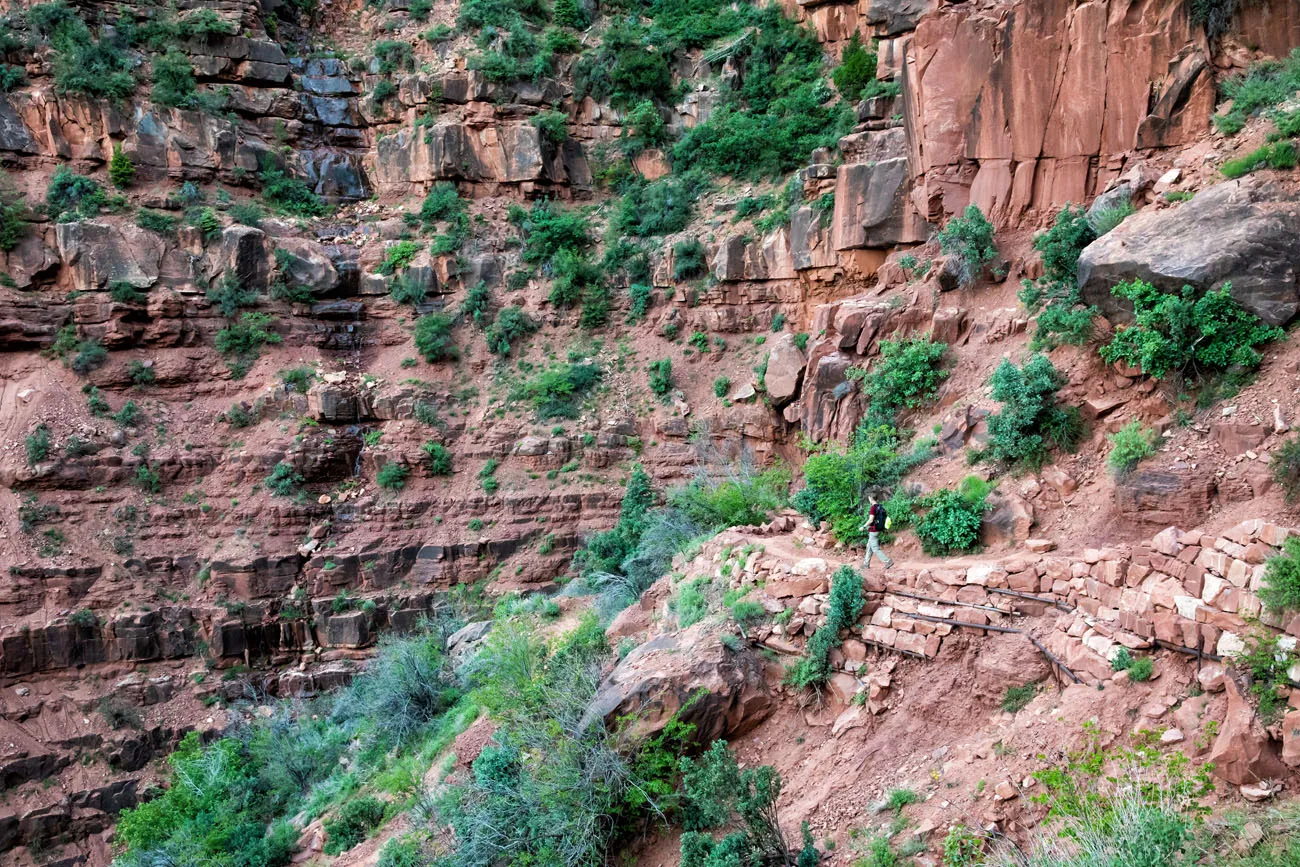
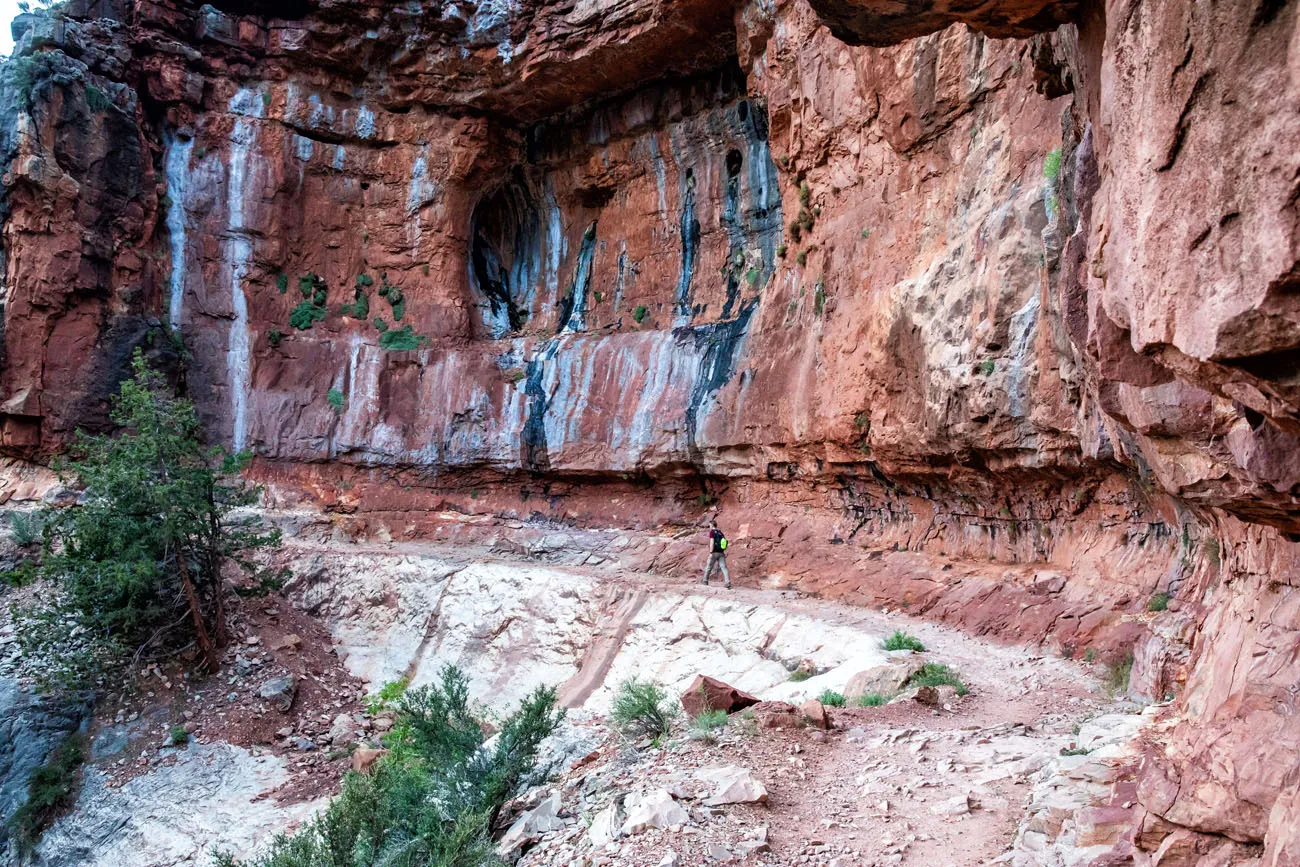
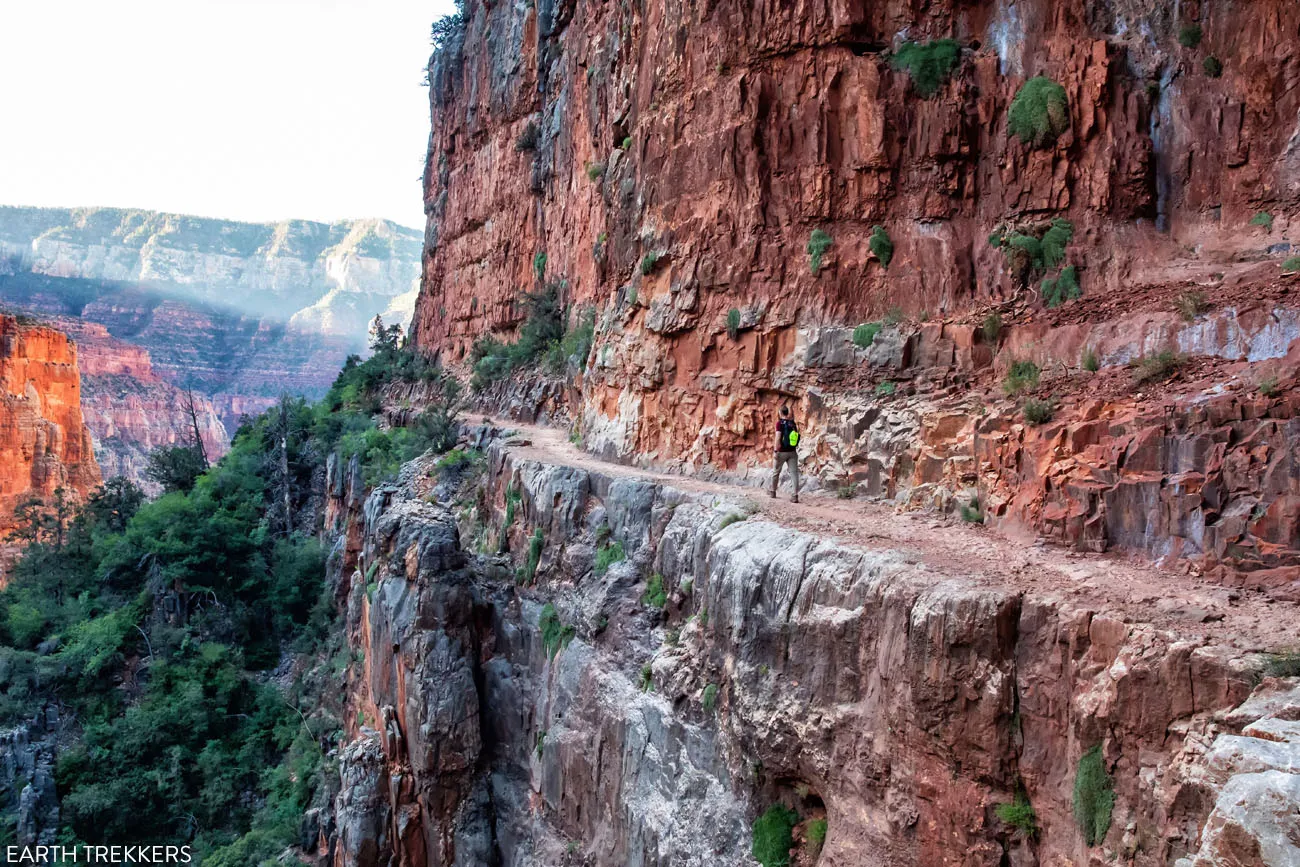
PRO TRAVEL TIP: There are water stations at Supai Tunnel, Roaring Springs, Manzanita Rest House, and Cottonwood Campground. However, due to water line breaks and a seasonal schedule, water is not always available at each of these stations. During our visit, water was not available at Supai Tunnel or Roaring Springs. Updates are posted at the trailhead and you can also learn more about water availability the day before your hike at the visitor center.
At Roaring Springs, you can see a waterfall that pours right out of the cliffs. This waterfall forms Bright Angel Creek and provides the drinking water for Grand Canyon National Park.
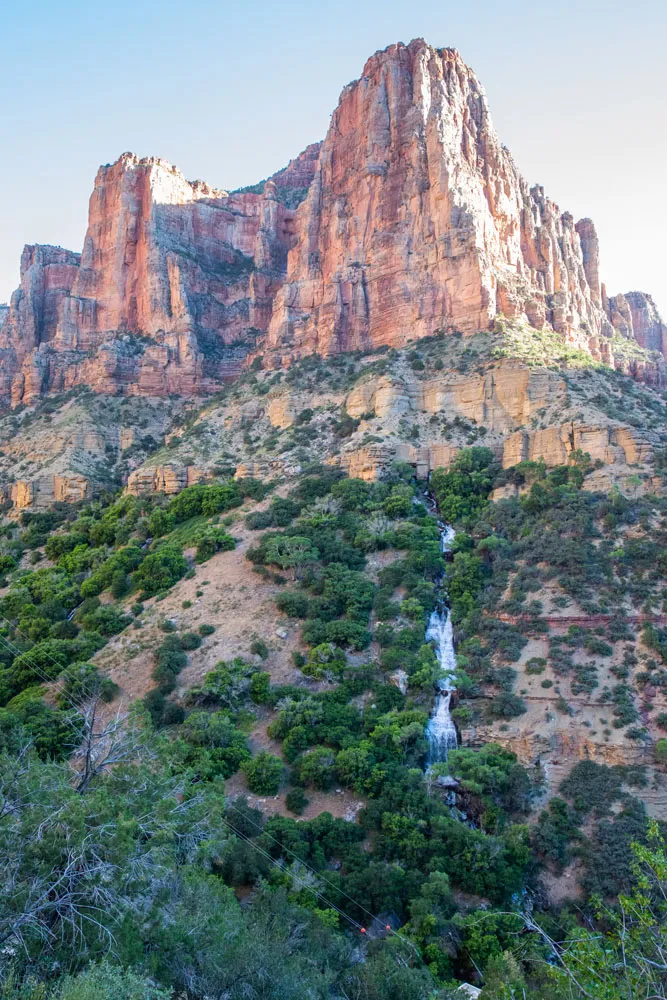
The trail continues past Manzanita Rest Area (toilets and water are available here) to Cottonwood Campground.
Cottonwood Campground to Bright Angel Campground
Restrooms and water are available at Cottonwood Campground. With a permit, you can camp here overnight, making this the first stop if you are backpacking across the Grand Canyon.
From Cottonwood Campground, the trail continues its descent towards the Colorado River. It’s not as steep now, so it’s easier to walk at a faster pace. The views also aren’t quite as spectacular, so we stopped less frequently for photos.
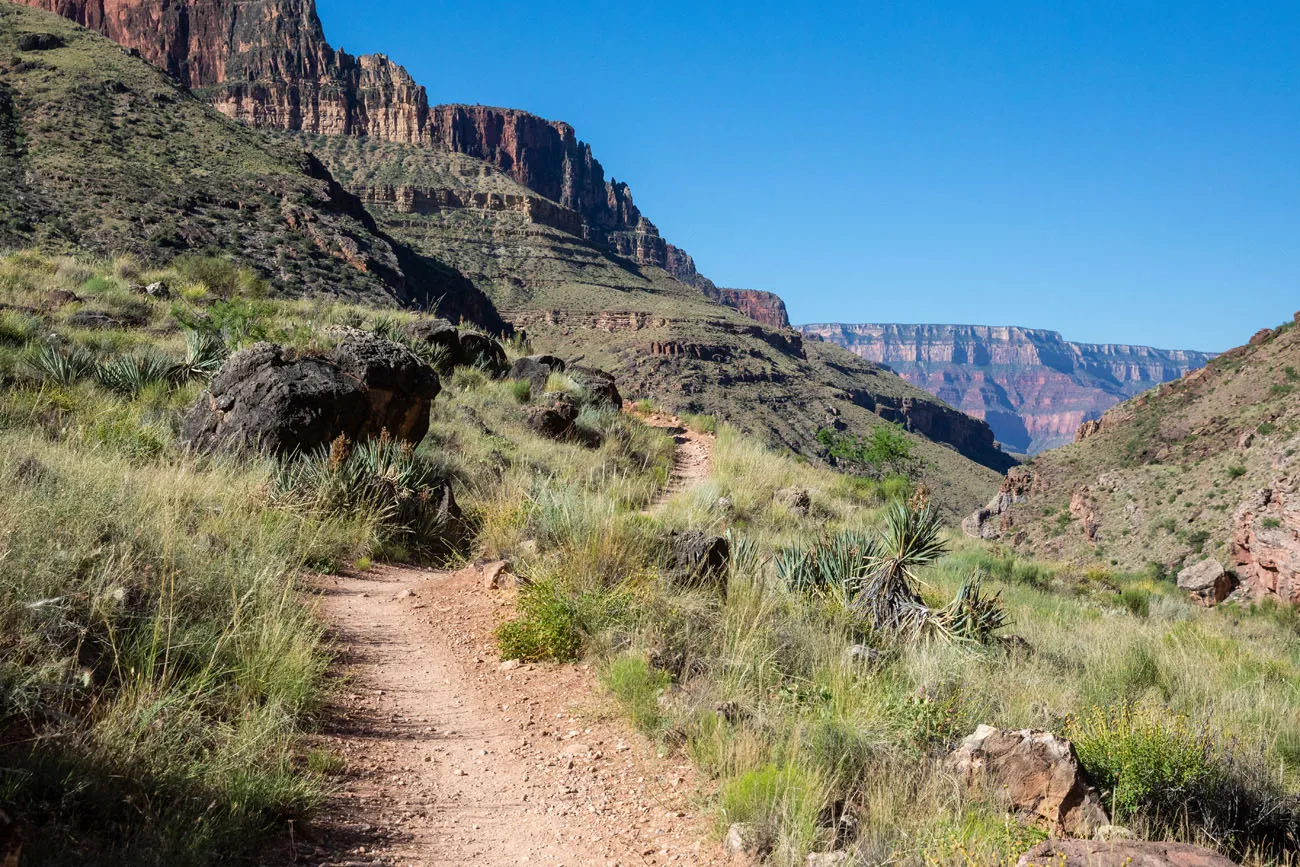
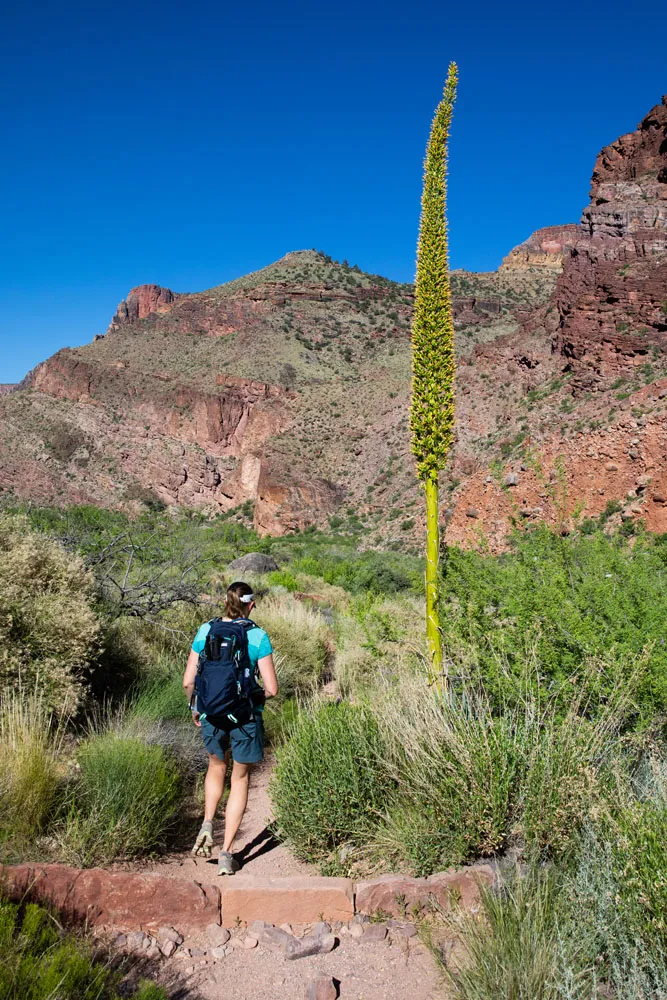
Ribbon Falls, just south of Cottonwood Campground, makes a very nice detour. It’s a short hike to a waterfall and lush oasis in the canyon. However, during our visit, the bridge was damaged so we were unable to cross the creek to Ribbon Falls.
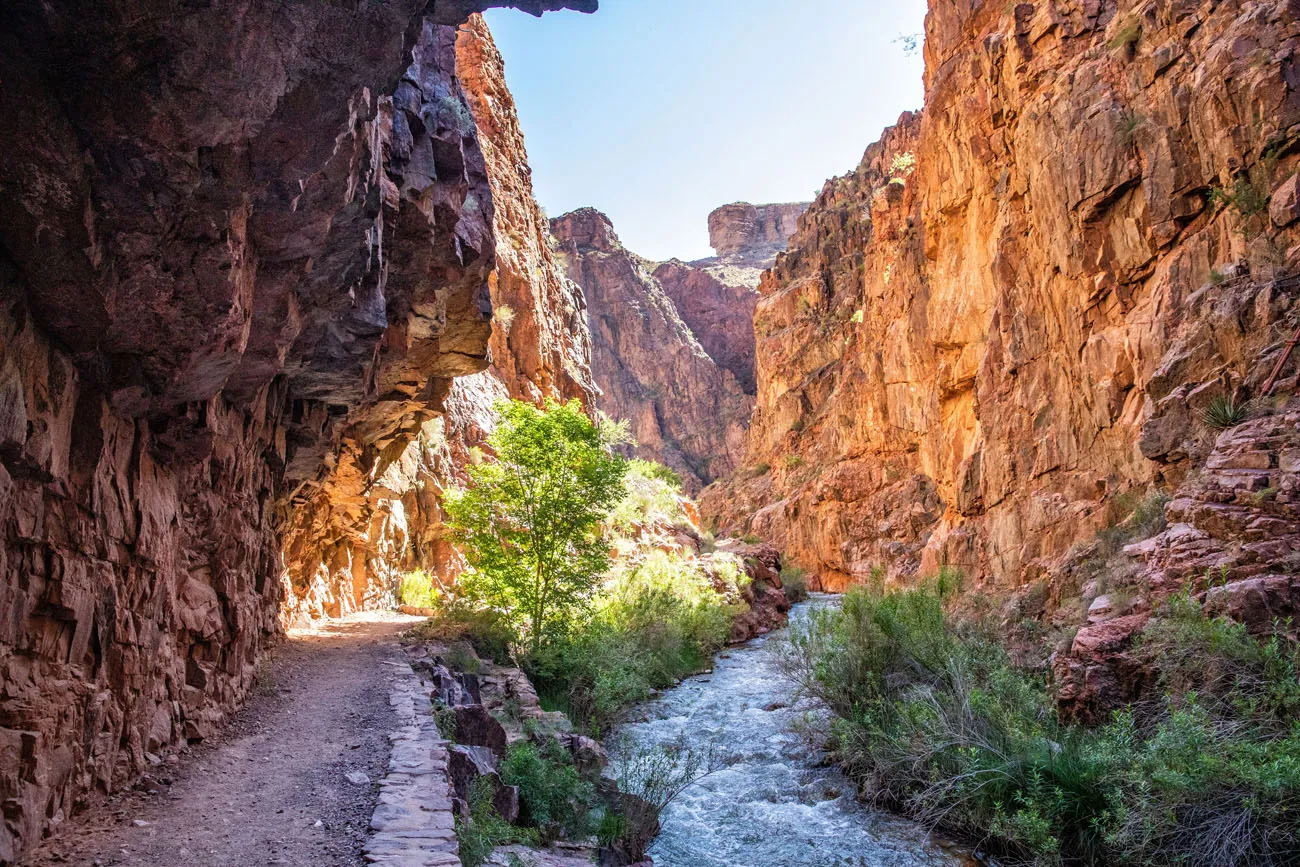
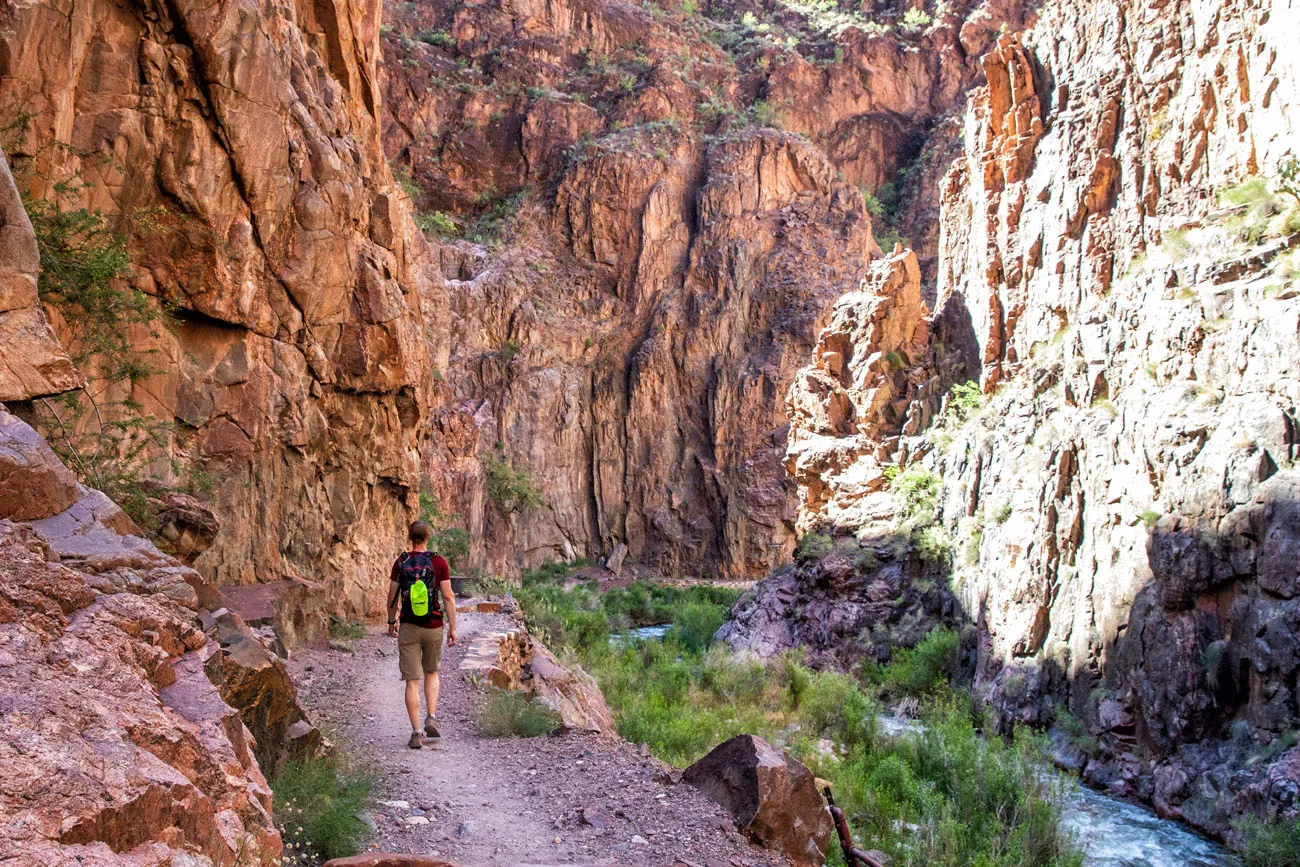
A short distance past Ribbon Falls you enter the infamous “box.” The canyon narrows at this point. These tight canyon walls and the lower elevation here are the perfect ingredients for extremely high temperatures in the summer months. Midday, it can get up to 130 degrees inside of the box. This stretch of trail lasts about four miles, ending near Phantom Ranch.
We hiked through the box between 9 am and 10 am. Since we were here relatively early in the day, temperatures were pleasant. In fact, the thermometer on my backpack read a mere 82 degrees. It was a wonderful, beautiful part of the hike, and since we saw no one else on this section of trail, it was one of the highlights of our day.
Phantom Ranch
Phantom Ranch is a great place to stop and take a break. Ideally, get here by 10 am. We arrived right past 10 am, so it took us 5 hours to hike here from the trailhead. We moved at a fast pace, passing everyone else that we saw on the trail. However, we were most likely the only day hikers.
At Phantom Ranch, there is a small restaurant that offers cold drinks, ICE!, snacks, and food. They even have air-conditioning.
We sat inside, gulped down glasses of lemonade, reapplied sunscreen, ate some food, all in preparation for part 2 of our big day.
PRO TRAVEL TIP: The water at Phantom Ranch is chlorinated. It’s safe to drink but it tastes like you are drinking water out of a swimming pool. Consider bringing an electrolyte mix or Gatorade powder to mask the taste of the water.
What a difference 30 minutes makes. By the time we hit the trail again, at 10:45, it felt like temperatures skyrocketed. It’s just a short, flat walk through Bright Angel Campground and it felt like it was well over 100 degrees.
Just 9.5 miles to go.
Bright Angel Trail
Overview of the Bright Angel Trail
Starting elevation: 2480 feet
Ending elevation: 6860 feet
Elevation Gain: 4380 feet
Distance: 9.5 miles
Length of Time: 5 to 8 hours
The Bright Angel Trail is shorter and has less elevation gain than the North Kaibab Trail.
The South Kaibab Trail will also get you back up to the South Rim. However, it is more exposed and has more elevation gain than the Bright Angel Trail, and it does not have water stations. During the summer months, avoid hiking up the South Kaibab Trail.
You will need the water at each station on the Bright Angel Trail. We filled up at each station and it was amazing how much water we needed to avoid becoming dehydrated.
As you hike up the Bright Angel Trail, there are several landmarks along the way. Here are their elevations and distances from the Bright Angel Campground.
River Resthouse: 2480 feet, 1.5 miles
Indian Garden: 3800 feet, 4.7 miles
3 Mile Resthouse: 4748 feet, 6.5 miles
Bright Angel Trailhead: 6860 feet, 9.5 miles
Along the Colorado River
By the time you are at rock bottom, your legs will be fatigued and one giant climb still stands before you and the top of the rim.
Cross over the river at the Bright Angel Suspension Bridge.
The trail follows the Colorado River for roughly one mile. You will walk through deep sand in spots and this slows down your progress. It also traps the sun’s heat and this was one of the hottest parts of the hike.
On the day we did this, the heat index got up to 130 degrees at Phantom Ranch. It felt like it was well over 100 degrees at this point in the hike.
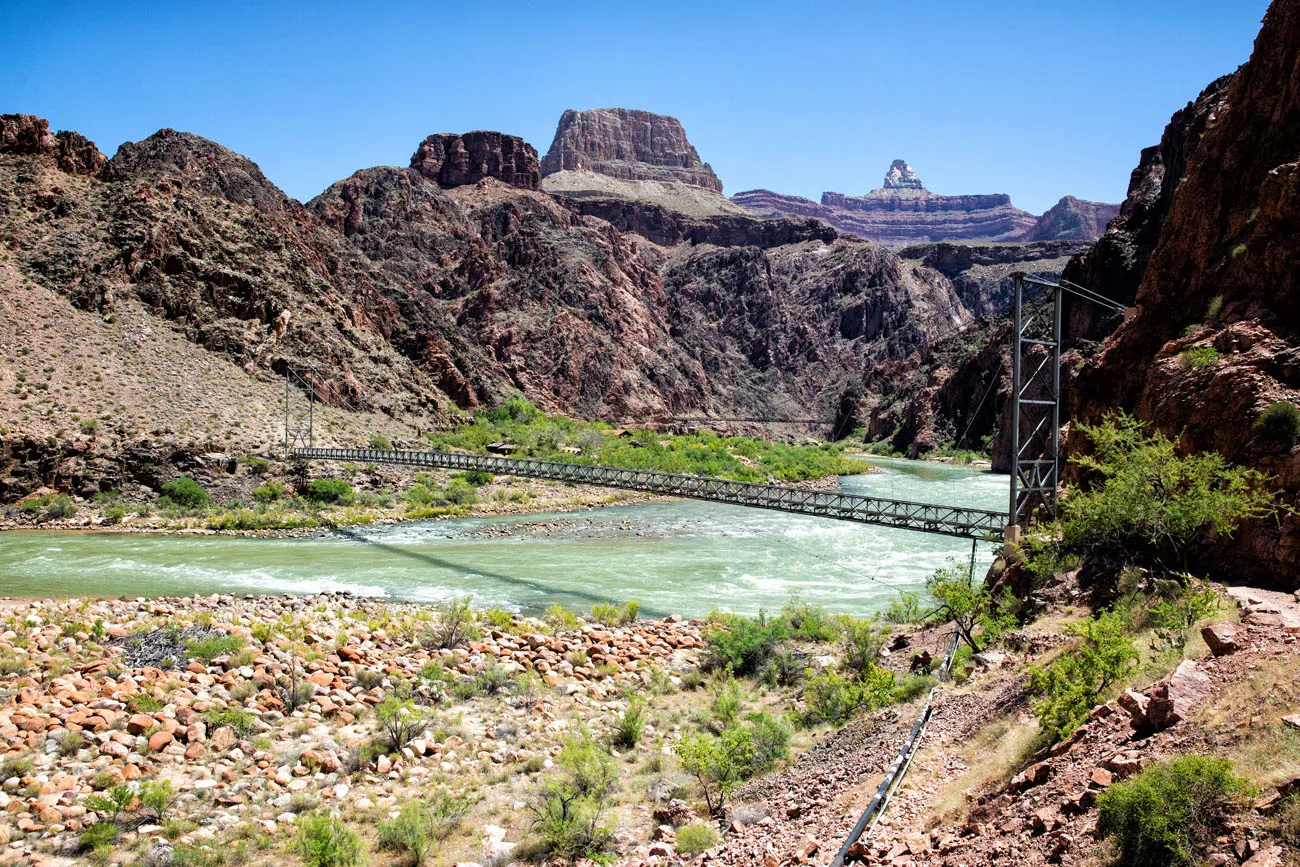
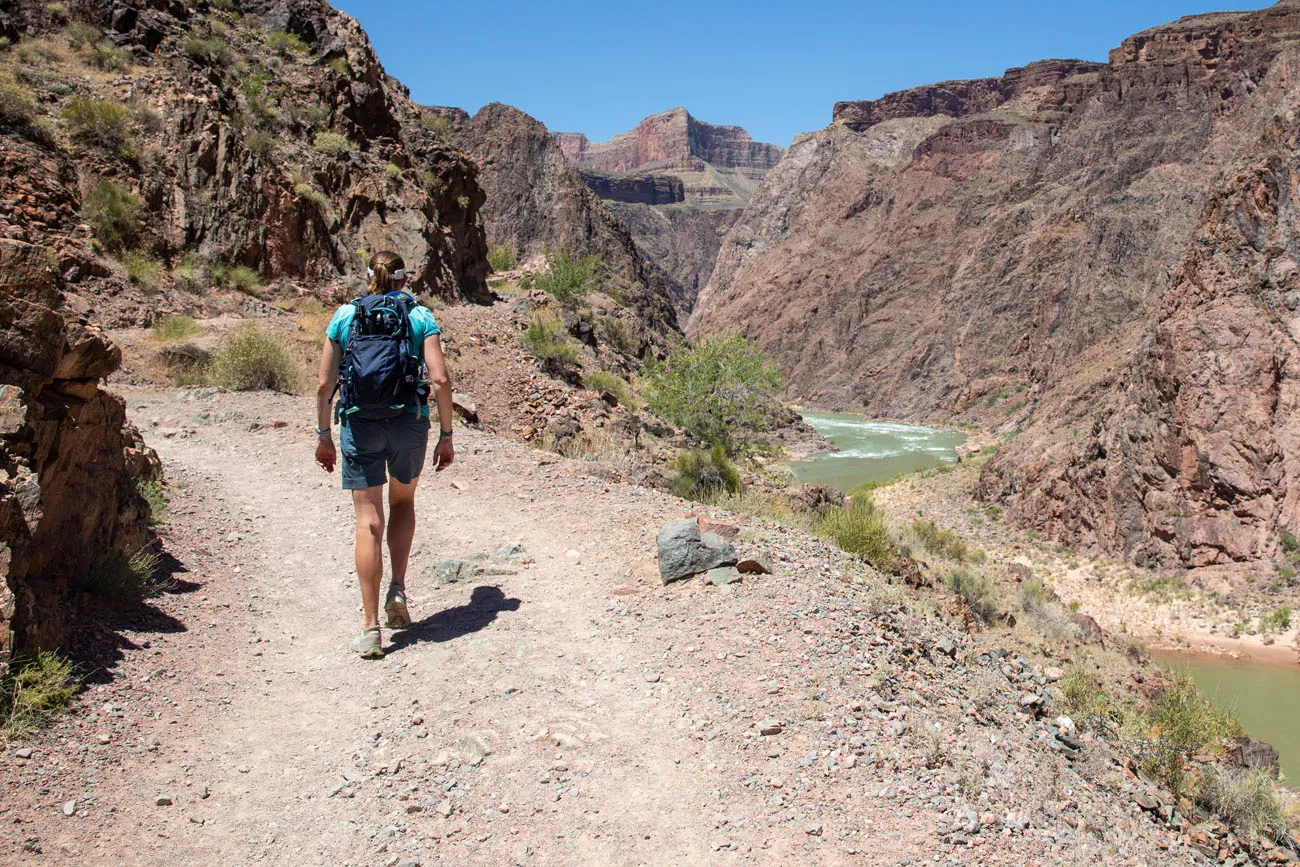
At the River Resthouse, the trail turns away from the river and now the real fun begins. It’s time to start the climb back up to the South Rim.
Colorado River to Indian Garden
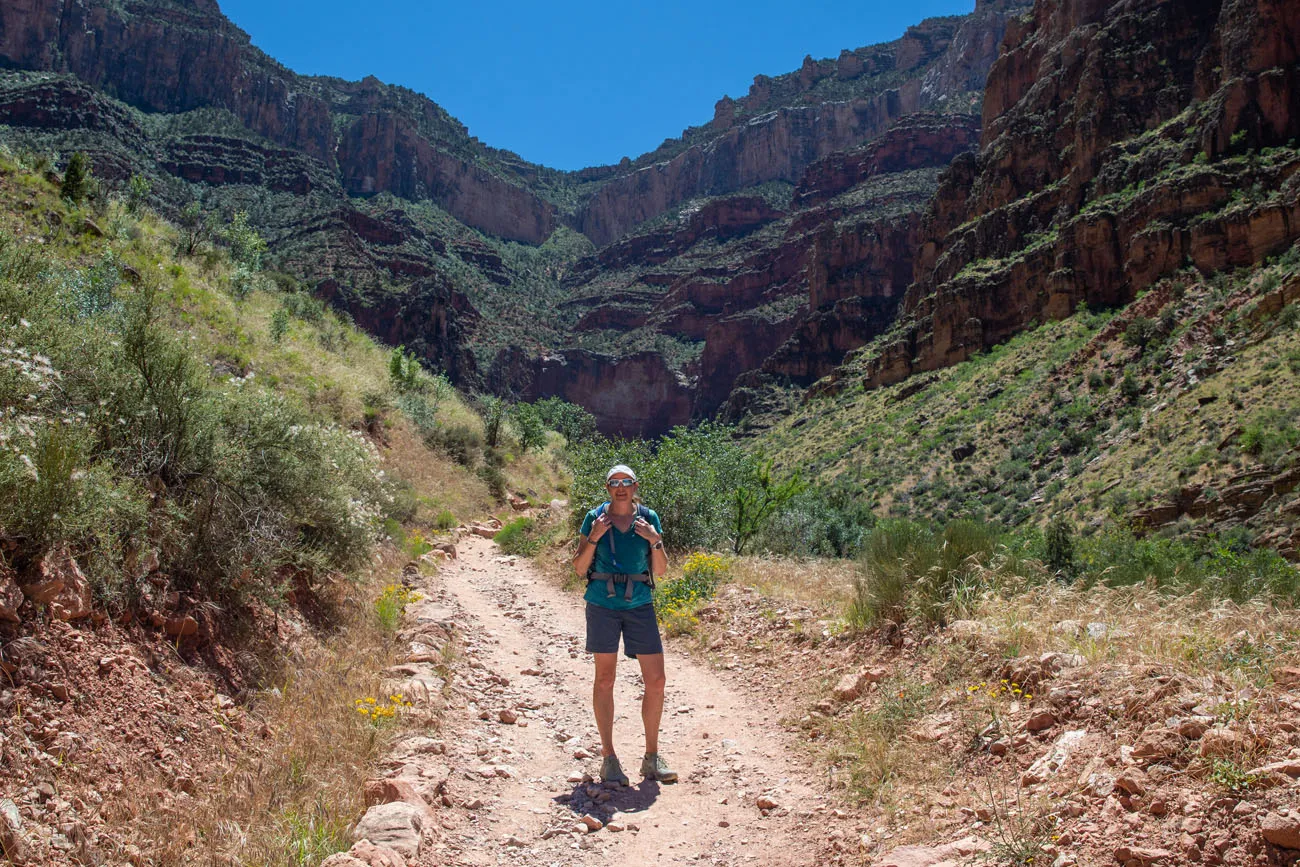
From the River Resthouse to Indian Garden, it is a 3.2-mile walk. At first, you hike along a small creek. The trail steadily gains elevation but it is really not too bad. It’s a pretty walk but since you are in a canyon, you do not have the same sweeping views like you get on the top of the North Kaibab Trail.
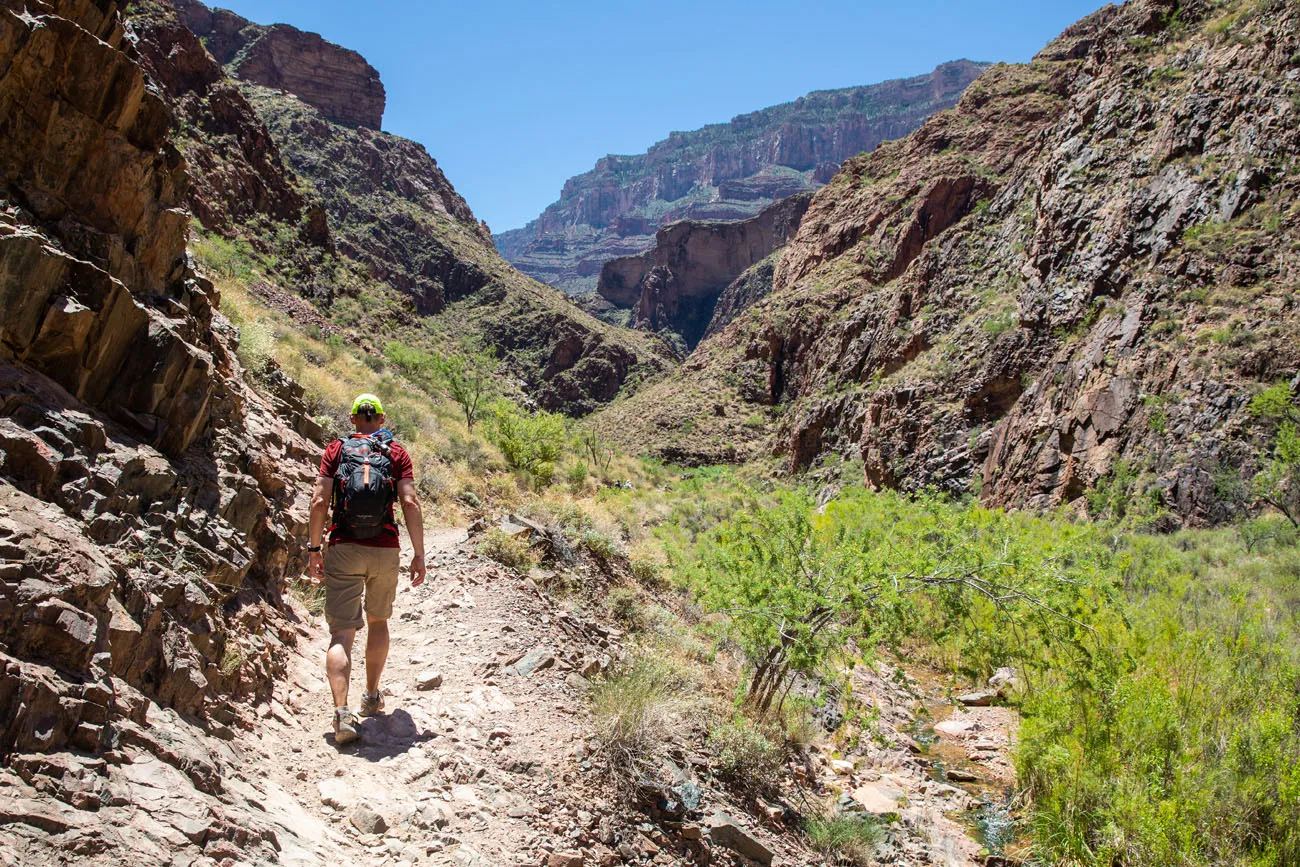
PRO TRAVEL TIP: Along the way, you will cross a creek several times. One of the best ways to cool off is to splash water on you or to even lay down in the creek. I did this several times and it really helped keep me cool as the air temperature climbed.
Eventually, you come to your first series of switchbacks. They don’t last long but they can be tiring and this is a nice preview of what is coming at the end of the Bright Angel Trail.
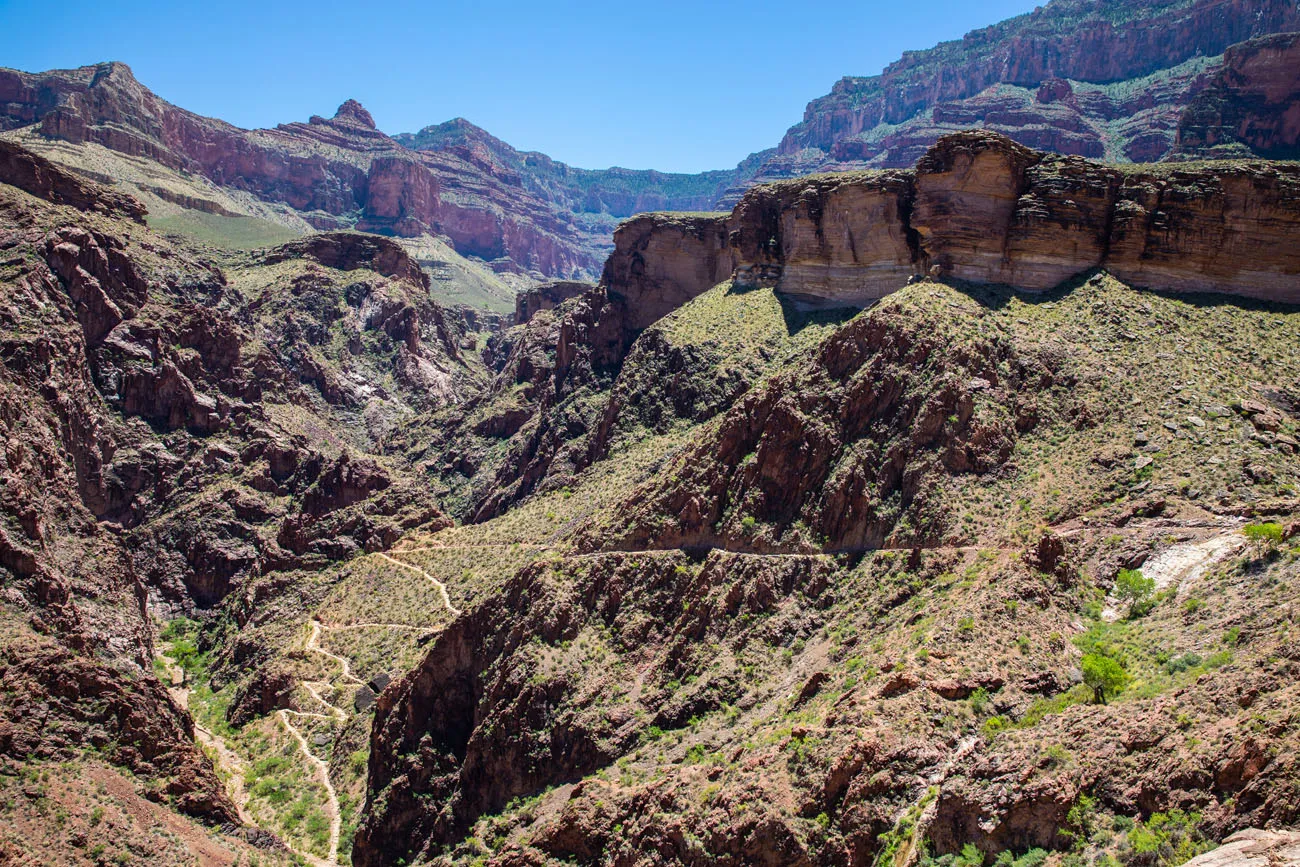
The views open a little bit more. Once at Indian Garden, you have access to potable water and restrooms.
At Indian Garden, the thermometer read 98 degrees at 1:00 pm. There were just a few people here, either sitting in the shade or near the creek. This is your last chance to take a dip in the creek. From here, it’s one massive climb up the South Rim.
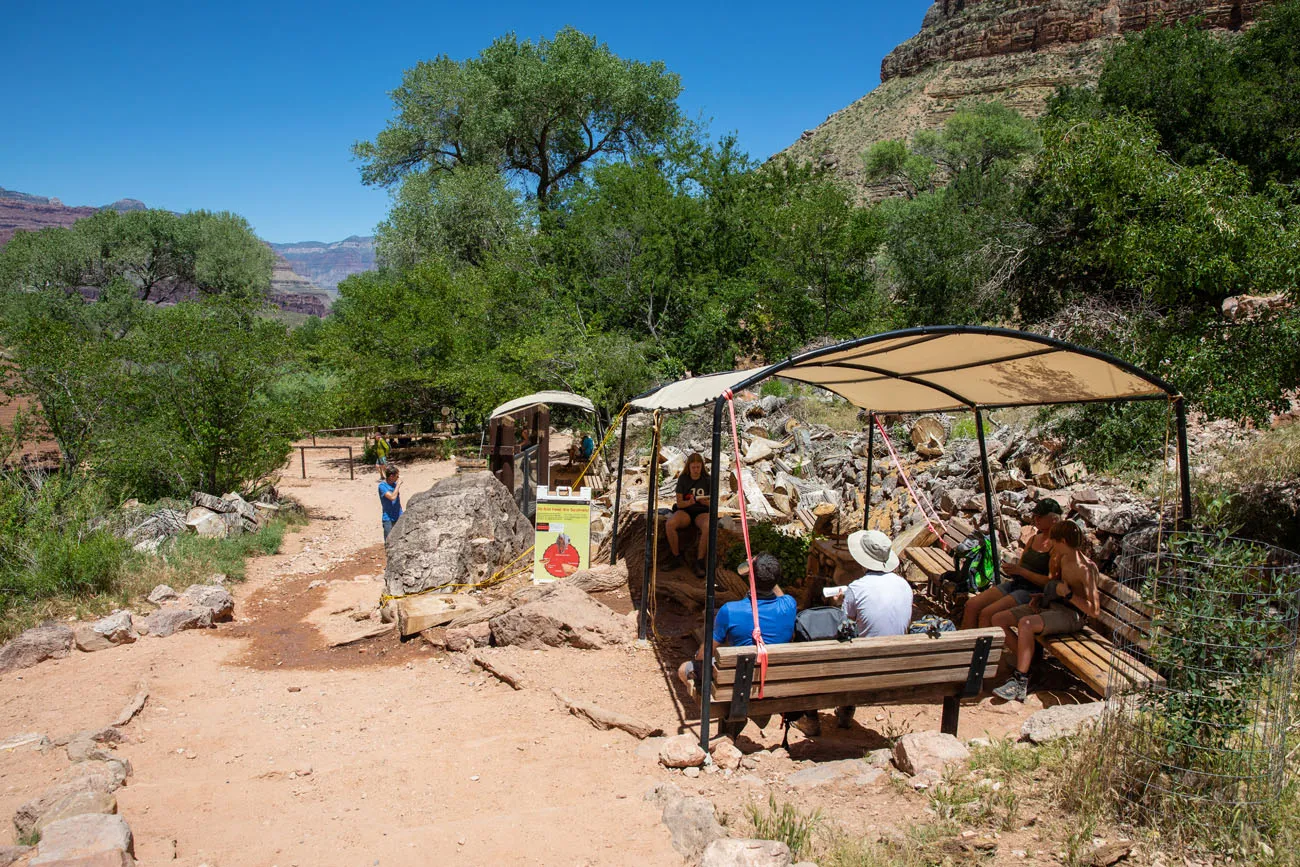
At this point, you should still be feeling good….hydrated and not too tired, yet. If you are feeling exhausted, or if you are feeling weak, dizzy, thirsty, or lightheaded, take a long break here at Indian Garden. Eat more food, drink water and take in electrolytes, to prepare yourself for the last climb.
The final 4.5 miles of the hike is deceptively challenging. The steep climb on fatigued legs at a higher elevation can make this final section of the hike very difficult.
Indian Garden to the Bright Angel Trailhead
From Indian Garden, it is just 4.5 miles to the rim. Doesn’t sound so bad, right?
It’s amazing how quickly you can go from feeling great to feeling exhausted. The final switchbacks drain any energy and power that you have left in your legs.
A view of the final climb, just past Indian Garden.
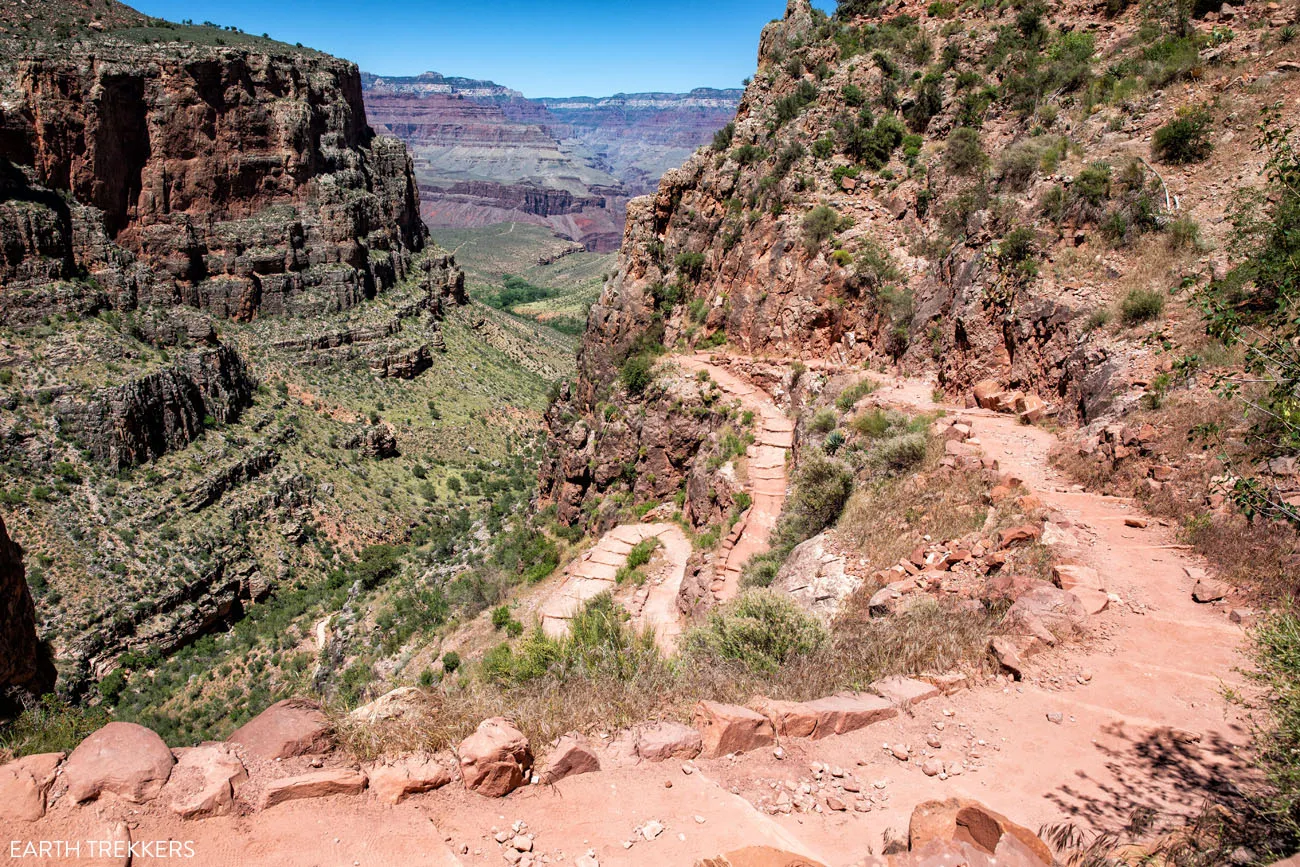
Switchbacks on the Bright Angel Trail.
There are two rest houses along the way and these make great places to stop and take a break.
3 Mile Resthouse is just 3 miles from the end of the Bright Angel Trail. You are now at the point where this hike really begins to feel hard. But since it is at a higher elevation than Indian Garden, it also feels cooler here. This is a great spot to refill your water and take a break before pushing on.
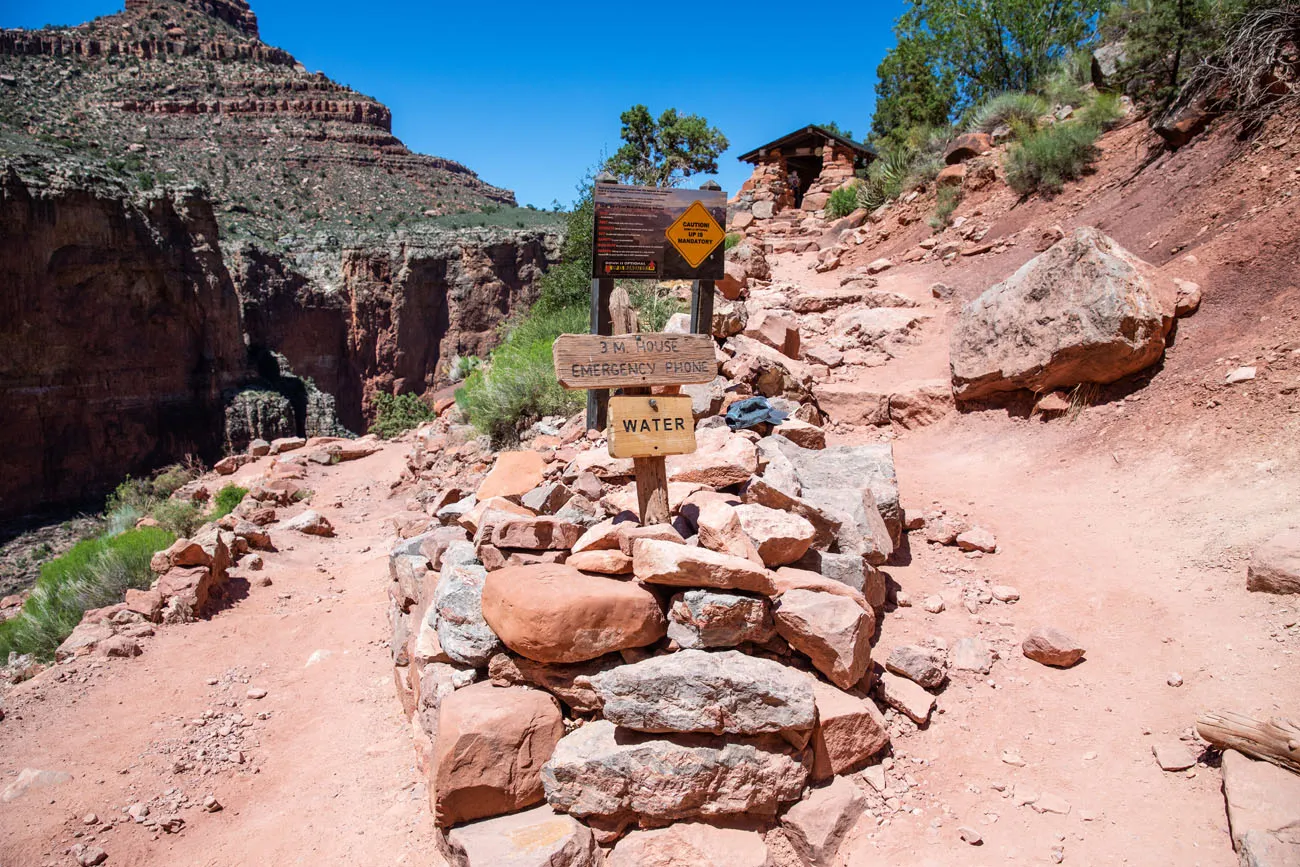
1.5 miles later you arrive at 1.5 Mile Resthouse. And then it is just one final push to the top. Just when it seems like the switchbacks will never end, the trail becomes less steep, you pass through one final tunnel, and arrive at the trailhead.
Take lots of photos and celebrate your amazing accomplishment. Never has reaching the end of hike felt as fulfilling as this one. Tim and I were on cloud 9 for the rest of the day.
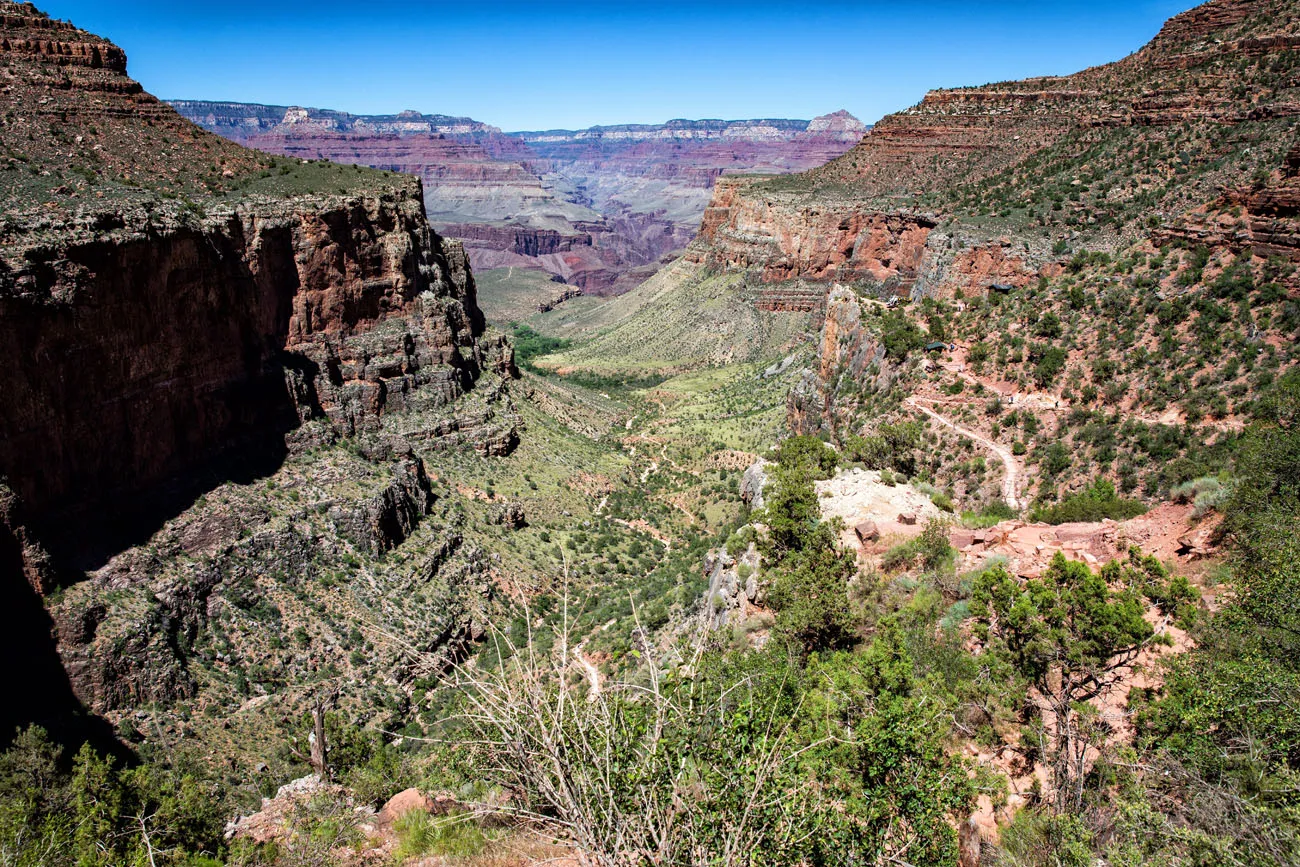
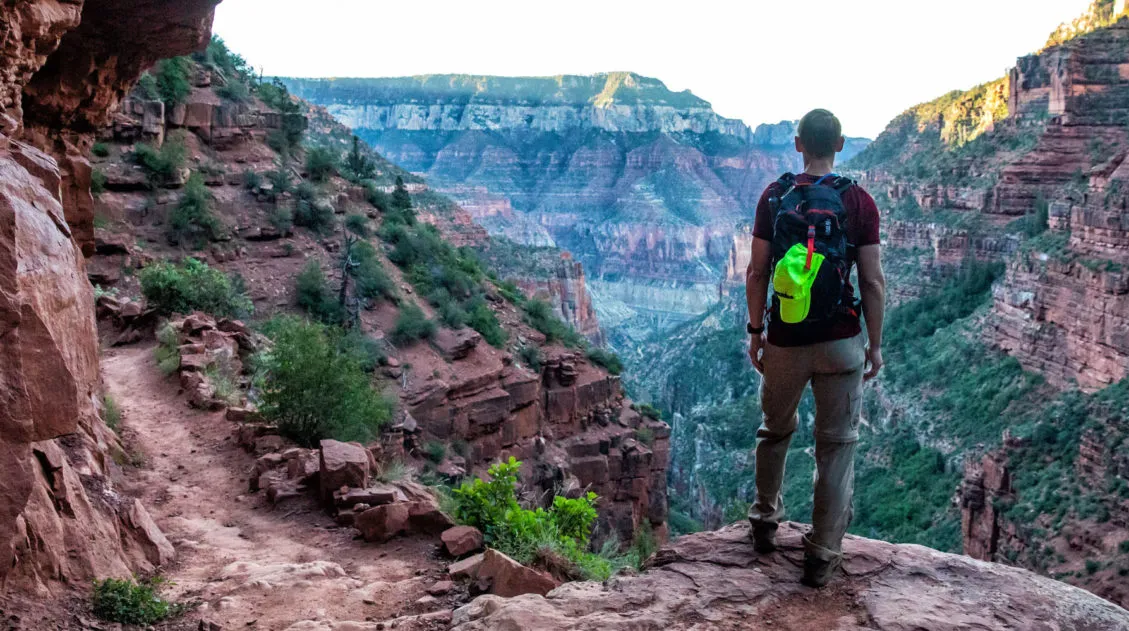
The view from the trail.
About Our Experience
Tim and I wanted to do something badass to celebrate our 20th wedding anniversary and this rim-to-rim hike was perfect.
We did this hike on June 9. Ideally, we wanted to schedule the hike for the end of May, but work schedules and lodge availability pushed our date out into June.
Here are some statistics for the day we did this hike:
High temperature at Grand Canyon Village: 74°F
High temperature at the North Rim: 68°F
Low temperature at the North Rim: 41°F
High temperature at Phantom Ranch: 98°F
Heat Index: We were told by a park ranger that the heat index at Phantom Ranch and Bright Angel Campground reached 130°F
Sunrise: 5:12 am
Sunset: 7:43 pm
We experienced some very hot conditions on the trail, but it can get hotter than this. It’s not unusual for Phantom Ranch to get up over 100°F on a daily basis in the summer months.
The key to having a good hike is to get an early start, get through the box by 10 am, and to keep yourself hydrated. The National Park Service recommends that you stay off the trails during the hottest part of the day, between 10 am and 4 pm.
Well, we did the hardest part of the hike during the hottest part of the day, leaving Phantom Ranch at 10:45 am and finishing the hike at 4 pm. However, we did a lot of training in preparation for this. Tim and I would go on long runs in the midday, muggy, Mid-Atlantic heat, and it paid off. Our training, combined with our water intake and short breaks, had us feeling pretty good as we hiked up the Bright Angel Trail.
Even so, the hardest part of the day was the final three miles. We were simply exhausted by that point.
We finished the hike in 10 hours and 50 minutes. This is relatively fast but I know that there are people who have done this much faster. 12 hours is the median time and it can take much longer.
Here is a breakdown of our times:
- North Kaibab Trail to Phantom Ranch (14 miles): 5 hours
- Phantom Ranch to Indian Garden (5 miles): 2 hours
- Indian Garden to the South Rim (5 miles): 2.75 hours
We also spent 30 minutes at Phantom Ranch and 30 minutes at Indian Garden, for a grand total of almost 11 hours.
Our favorite section was at the very beginning of the hike. Walking down the North Kaibab Trail in the cool morning hours, along the crazy trail on the cliffs was so much fun.
Our fastest section was between Cottonwood Campground and Phantom Ranch. Our hottest section was between Phantom Ranch and Indian Garden. We didn’t experience the 130°F temperatures, but I have no doubt that they were well up over 100°F as we hiked along the river.
The hardest, slowest section is the final 3 miles of the hike. Make sure you are still well hydrated and fueled up with calories before tackling this part of the hike.
Continue to Part 2, the Rim-to-Rim Planning Guide ↓
Grand Canyon Rim-to-Rim Hike: Planning Guide and Checklist
The logistics of planning the rim-to-rim hike: transportation, nutrition, training & more.Did we miss anything? If you have any questions about this hike or if you want to share your experience, comment below.
More Information about the Grand Canyon
If this is part of a bigger road trip through the USA, visit our United States Travel Guide and our Arizona Travel Guide for more inspiration and travel planning tips.
Well done! 2 corrections. The Cottonwood Campground is open year-round, but not staffed by a Ranger during the winter months. The hike from Phantom up the Bright Angel Trail IS LONGER THAN the hike from Phantom up the S Kaibab Trail (9 miles vs 7.5 miles).
Former Ranger at Indian (Havasupai) Gardens.
Thank you!
Is it possible to hike rim to rim starting at bright angel trail head and ending at North Kabab trail head?
Yes but in that direction you will have more overall elevation gain so it will be a harder hike, but it definitely can be done. Cheers, Julie
Something I’m curious about,
You state that you enjoyed the solitude through the box. I assume this means you enjoy the solitude of hiking. Why do you invite people to places you’d rather be alone?
Yes, it’s very nice to hike a section of trail and have it all to ourselves, but we aren’t “inviting” anyone to do hike. That’s a bit different from sharing how to do this hike, especially one as rather well known as this one, so we aren’t giving away any secrets here. Cheers, Julie