Angels Landing is the most popular hike in Zion National Park. This hike, along with The Narrows, draws thousands of visitors per year, most of them during the summer months.
Why is Angels Landing so popular? This is a hike where it is more about the journey than the destination. Yes, the view from the top of Angels Landing is spectacular, but it’s the final climb along the narrow ridge that draws so many people here. With chain-assisted rock scrambling sections, stunning views, and vertigo-inducing heights, this really is a thrilling hike.
For adventure seekers, this is definitely a great hike to put on your bucket list. We have hiked a lot of places around the world, and this hike is one of our favorites.
But there are some things you should know in order to have the best experience.
Angels Landing Hiking Stats
Distance: 5.4 miles out-and-back
Elevation Gain: 1500 feet
Difficulty: Strenuous
Length of Time: 3 to 5 hours
When to go: Year round, although the best seasons are Spring and Fall.
Trailhead: The Grotto (stop #6 on the Zion Shuttle)

Angels Landing elevation profile
Please practice the seven principles of Leave No Trace: plan ahead, stay on the trail, pack out what you bring to the hiking trail, leave areas as you found them, minimize campfire impacts, be considerate of other hikers, and do not approach or feed wildlife.
How to Hike Angels Landing
You Will Need a Permit to Hike to Angels Landing
If you plan to hike Angels Landing, you must have a permit. Angels Landing has had record traffic in the past few years, creating long lines to get onto the chains. In response to this, the National Park Service now requires hikers to have a permit, in order to limit the number of people on the trail.
Permits are awarded by lottery, both seasonally and the day before your planned hike. It costs $6 to enter an application and if you are one of the lucky lottery winners, you will pay $3 per person.
For dates of the seasonal lotteries, how the day-before lottery works, and the link to enter the lottery, visit the National Park Service website.
First Shuttle of the Day
We were in Zion National Park the first week of May. Knowing about the legendary traffic on the trail, Tim and I decided to get an early start to the day.
The first shuttle of the day was at 7 am. At the advice of the park rangers, we lined up early, maybe a bit too early (yes…we were eager to get started!). At 6:30 am we were the first two people in line. By 7 am, just enough people arrived to completely fill the first shuttle. And almost all of us were heading to the same place…Angels Landing.
West Rim Trail
From The Grotto shuttle stop, we crossed the Virgin River to get to the trailhead. Almost immediately we could see the monolith of Angels Landing in front of us. Pretty soon, we’d be standing up there.
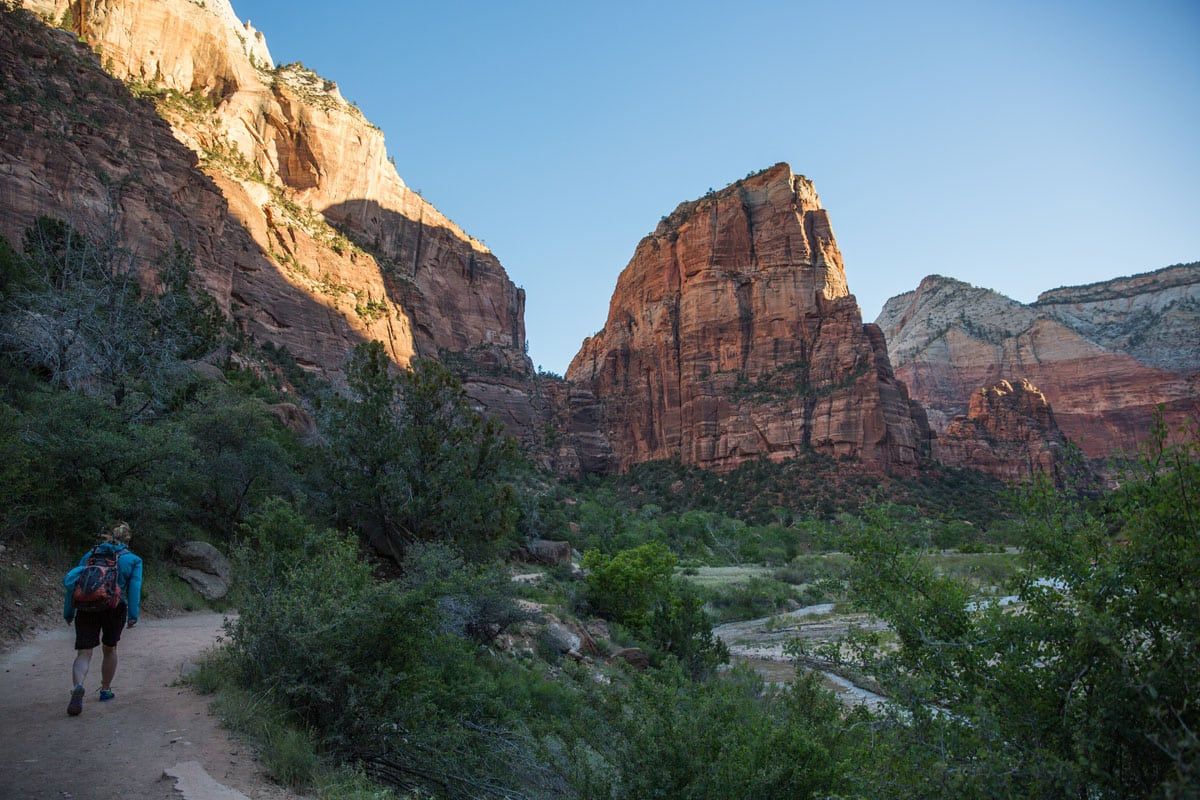
First part of the West Rim Trail | How to Hike Angels Landing
The first two miles of the hike is on the West Rim Trail. It is a steady, uphill climb on a wide, paved trail. After a steady, monotonous uphill slog, the trail enters Refrigerator Canyon, a cool, shady canyon. This is a good place to catch your breath and cool off, if you need to. This is the only shady part of the hike.
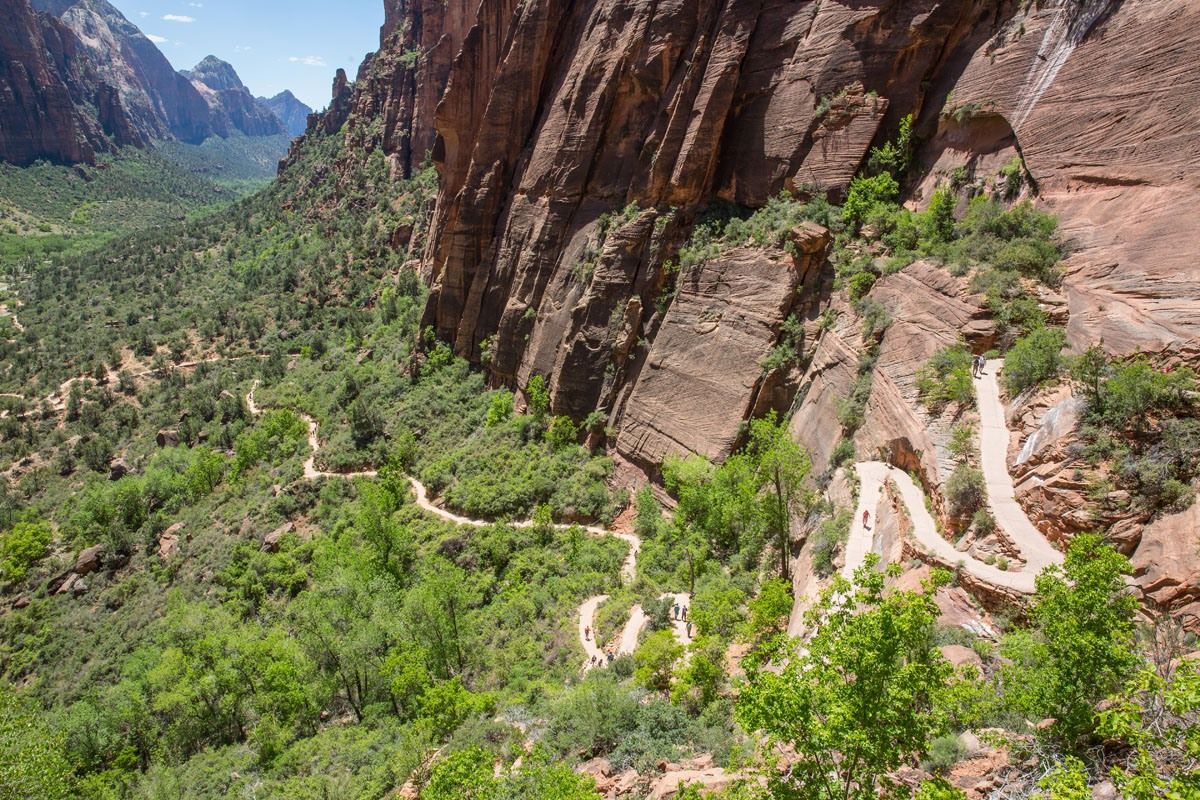
View looking back along the West Rim Trail | How to Hike Angels Landing
Walter’s Wiggles
Next up are Walter’s Wiggles, 21 switchbacks that get your thighs burning and your heart pumping. You know you are getting close to the top when you start climbing Walter’s Wiggles.
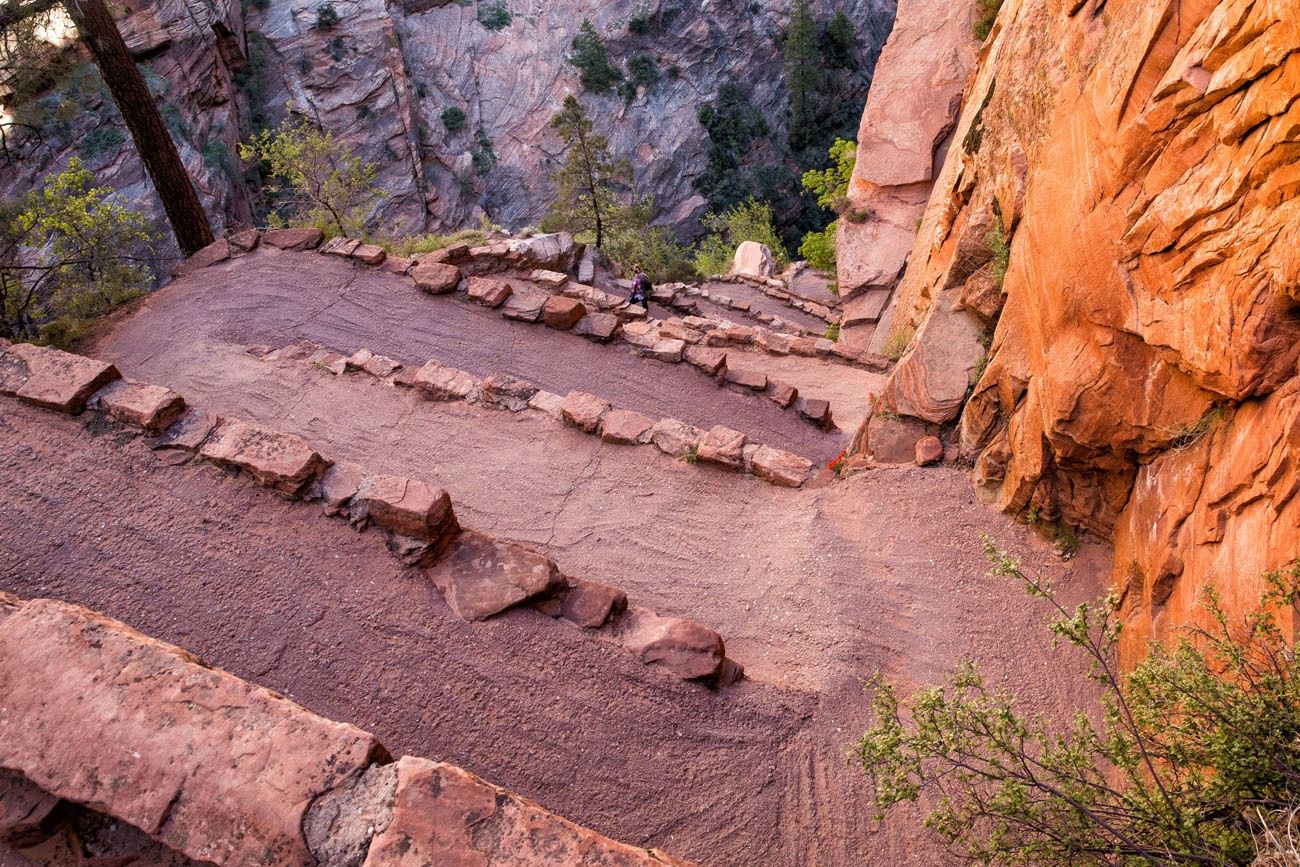
Walters Wiggles | How to Hike Angels Landing
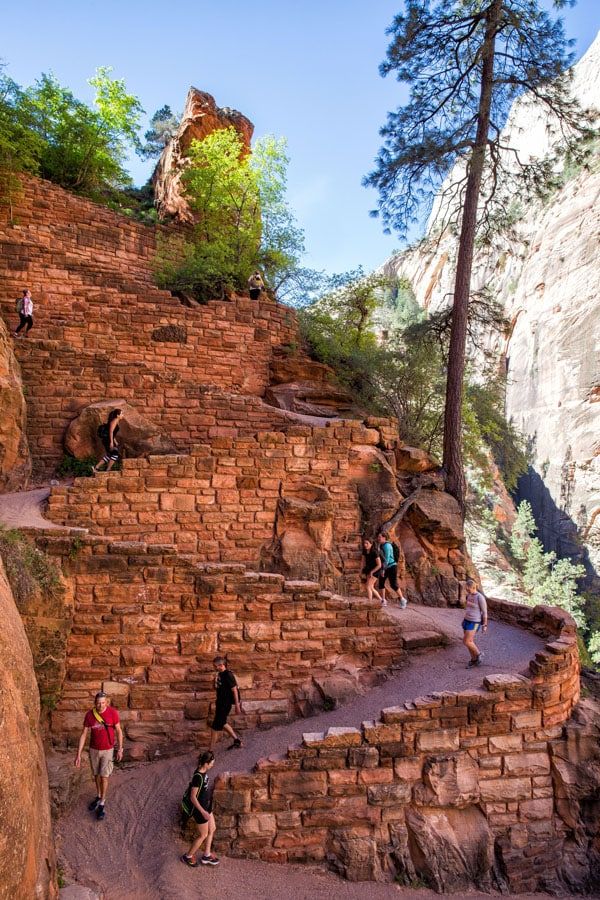
Another view of Walters Wiggles
Scout Lookout
At the top of Walter’s Wiggles is Scout Lookout. From here, we had our first view of the trail along the ridge.
From Scout Lookout, it’s just 500 feet of climbing to go. Now the real fun begins.
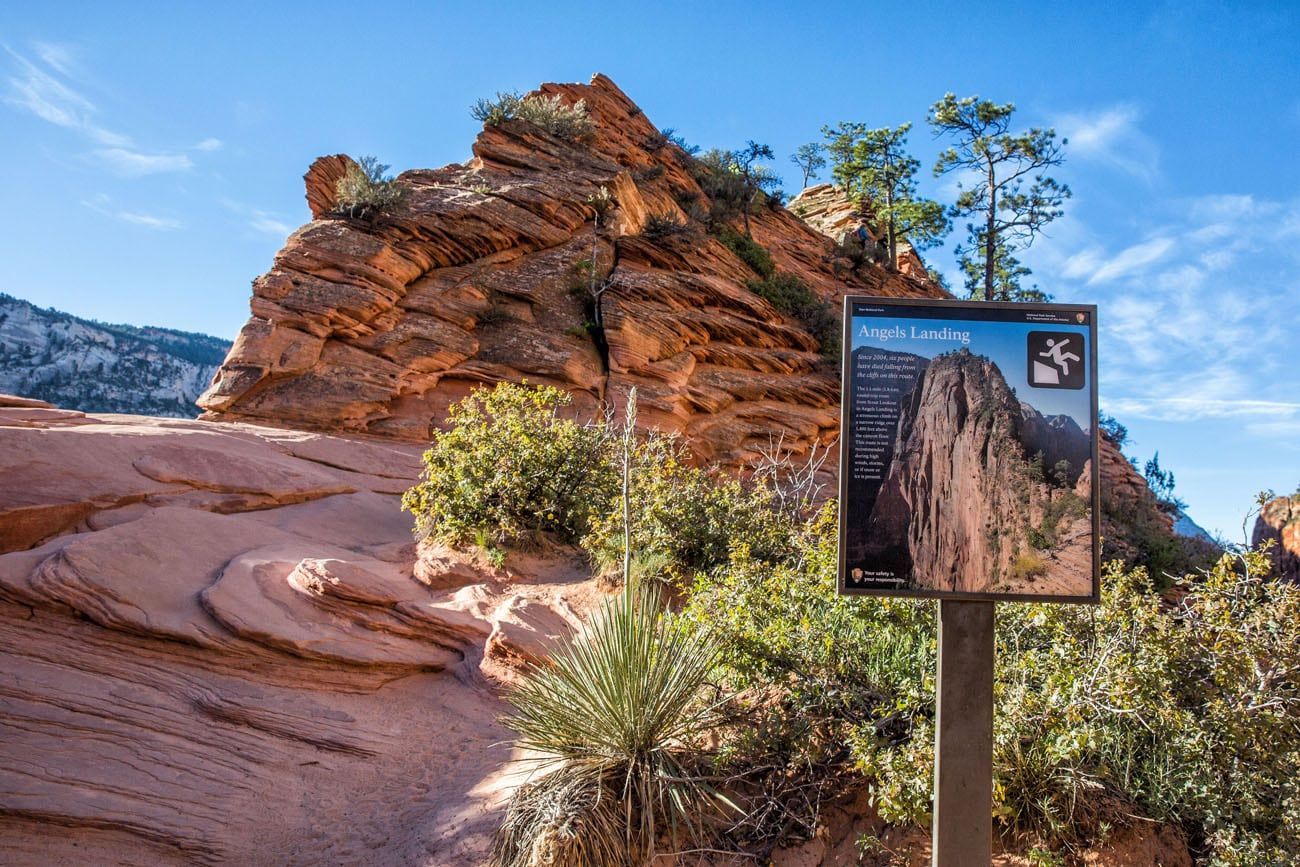
Scout Lookout | How to Hike Angels Landing
The Final Climb to Angels Landing
Tim and I hike at a fast pace, so by this point only a handful of people were in front of us. For the most part, we had the trail to ourselves.
At first, the trail does not seem too dangerous. This is a good spot to practice using those chains before you get to the real drop offs.
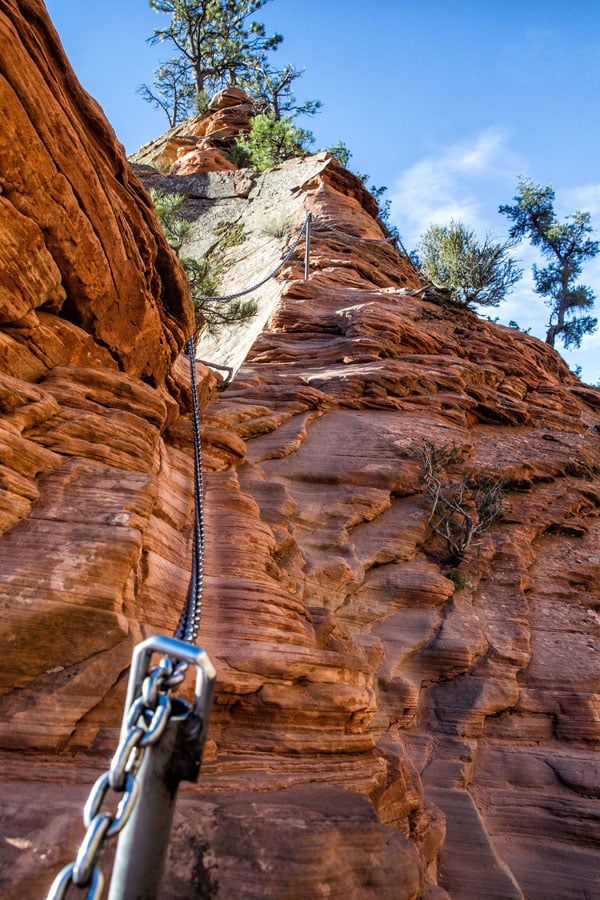
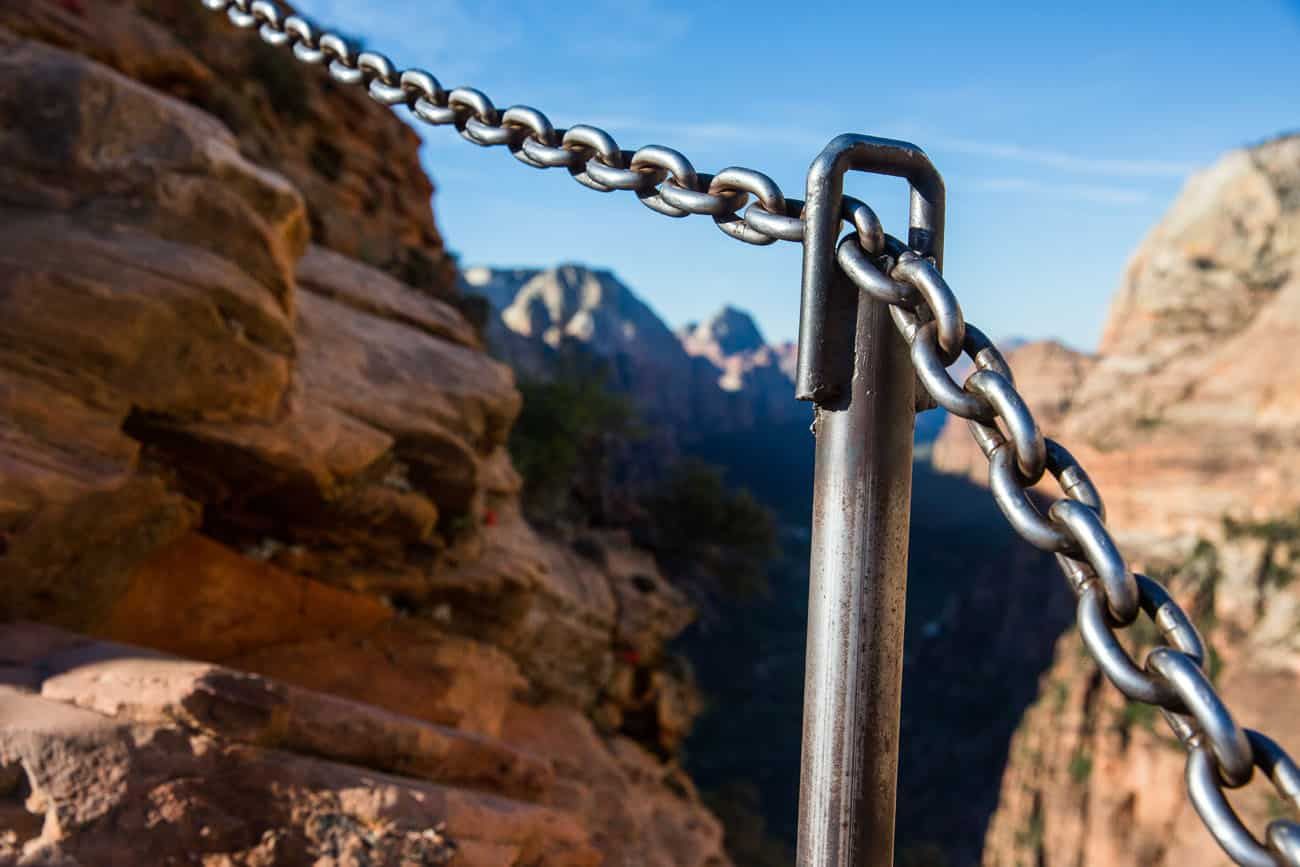
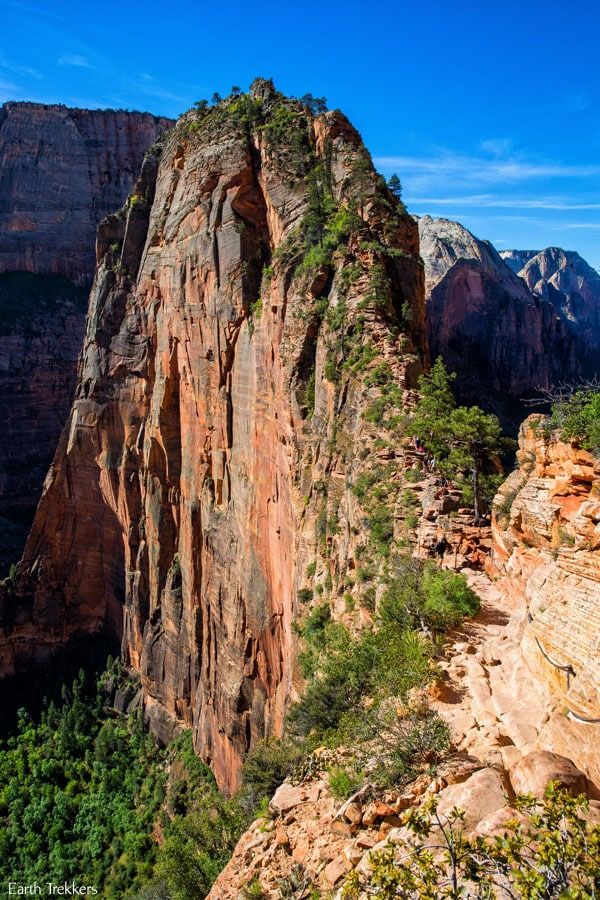
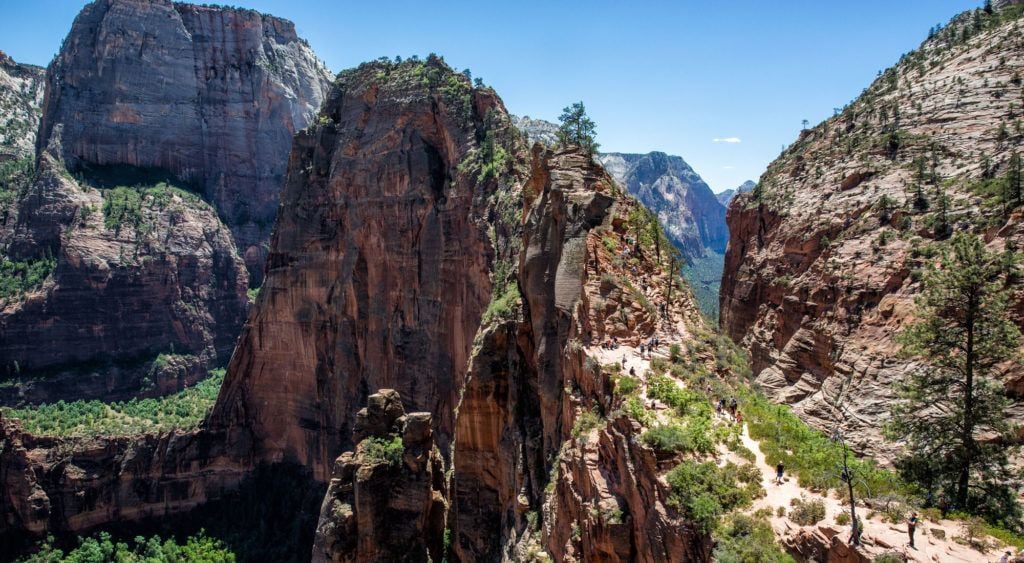
The view of the final climb to Angels Landing | How to Hike Angels Landing
The middle section of the spine is where things really get interesting. There is a lot of exposure here. The trail narrows to just a few feet wide, with drop offs on either side. With the help of the chains, you have to scramble up and down sandstone steps and boulders. The Virgin River looks tiny down in the valley below, if you dare look down from here. This part of the trail is a blast, if you like this kind of thing.
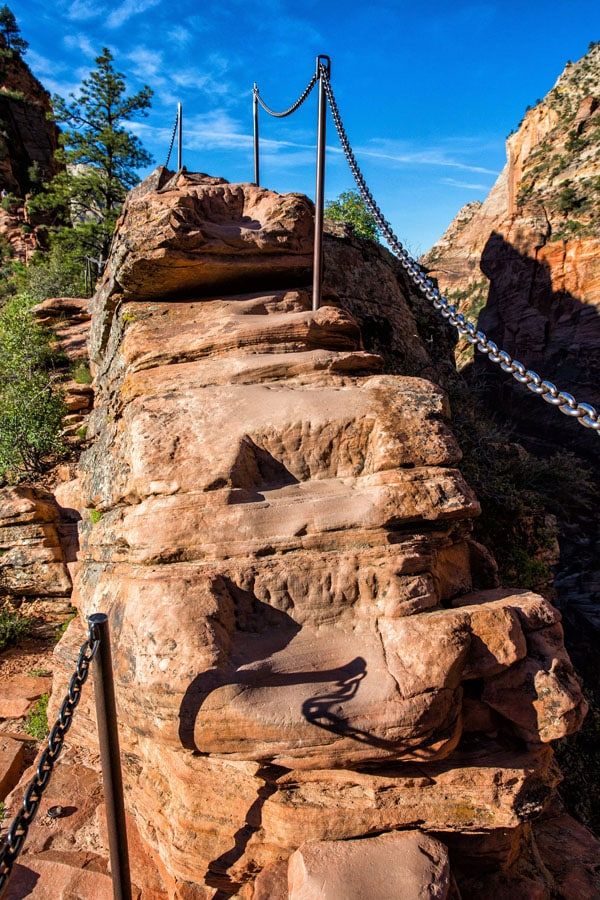
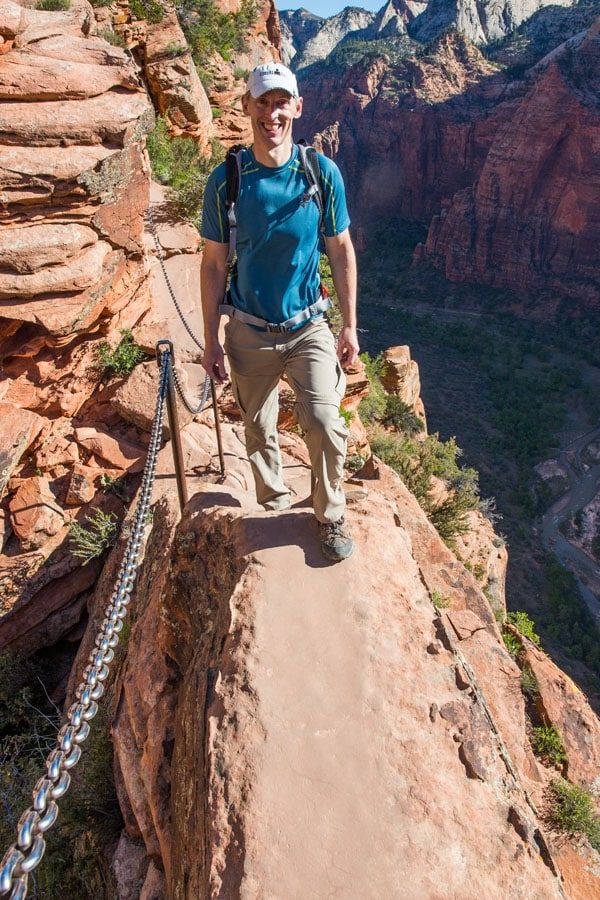
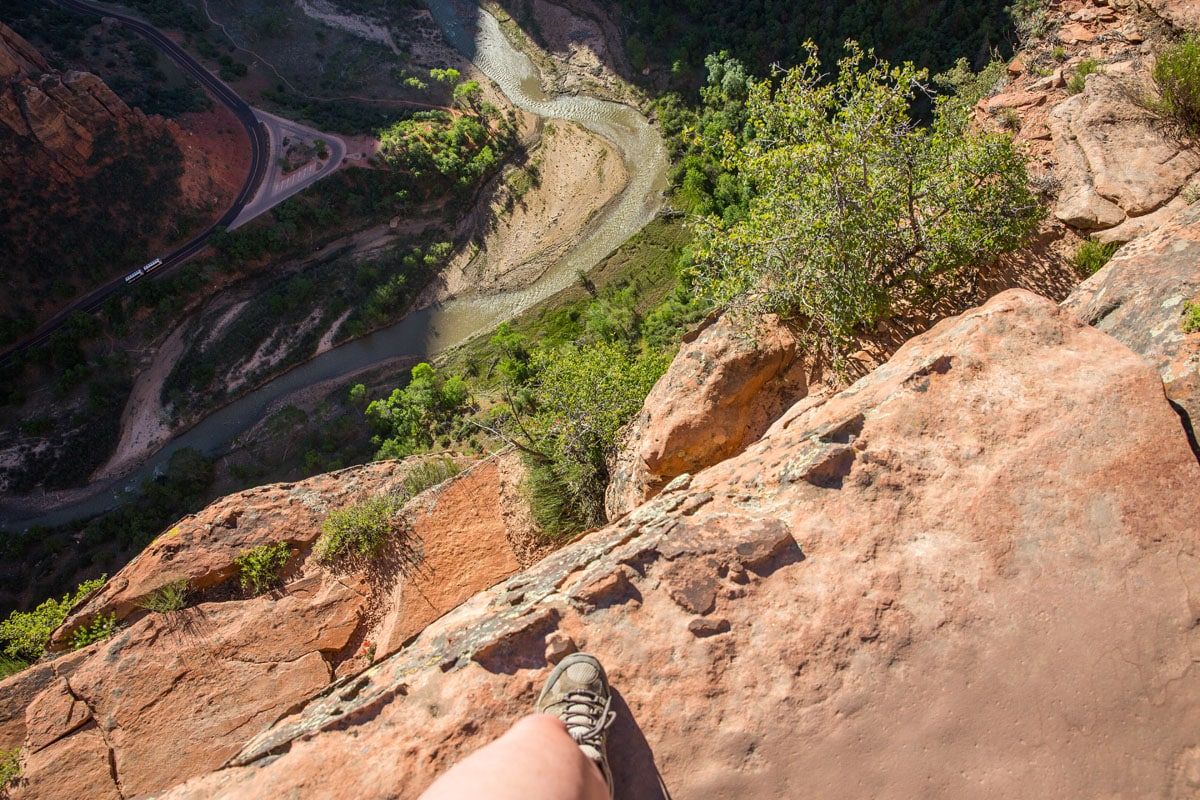
The view looking straight down from the trail | How to Hike Angels Landing
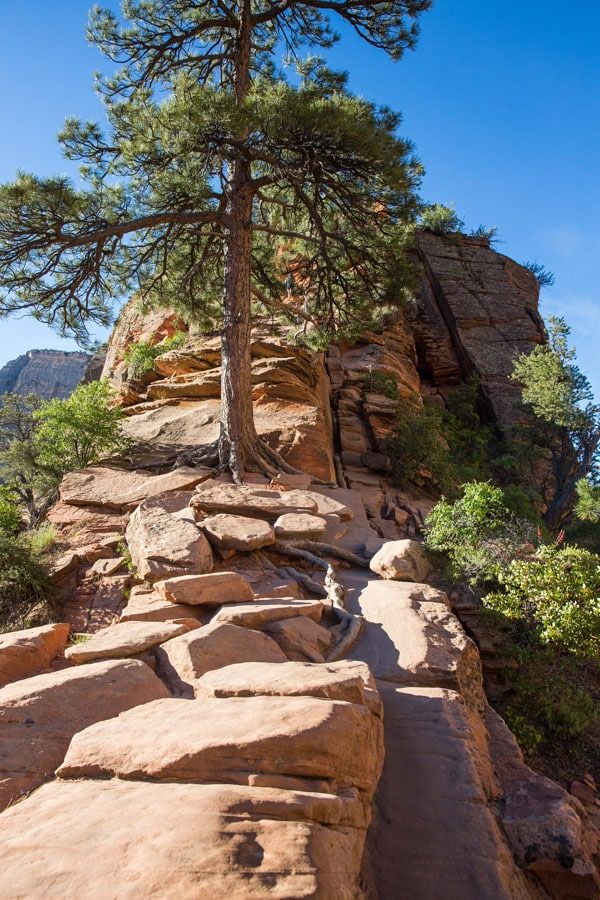
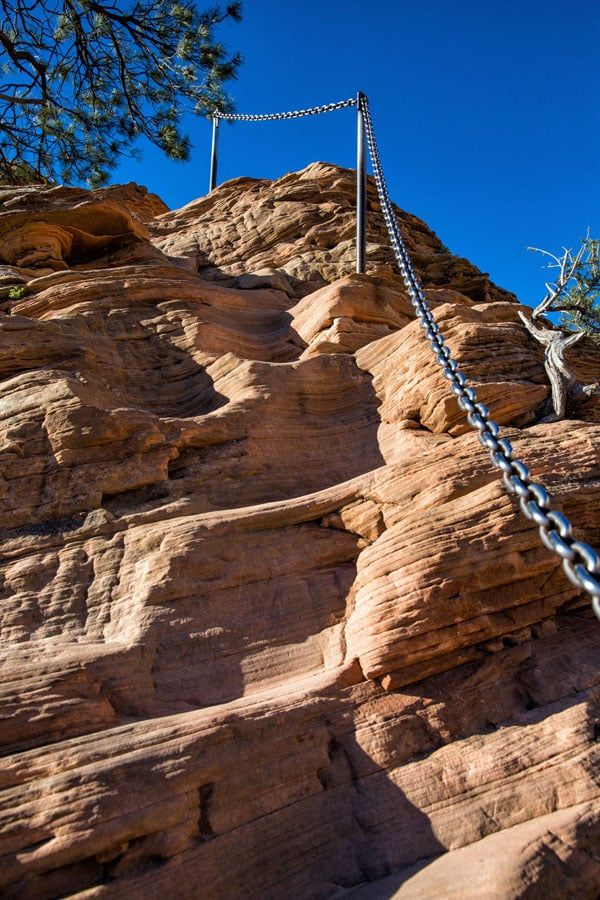
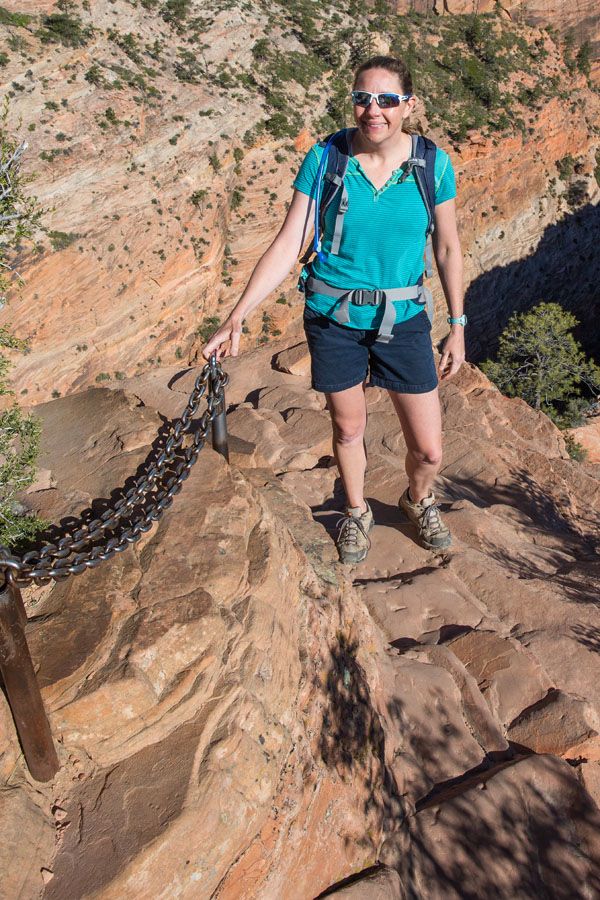
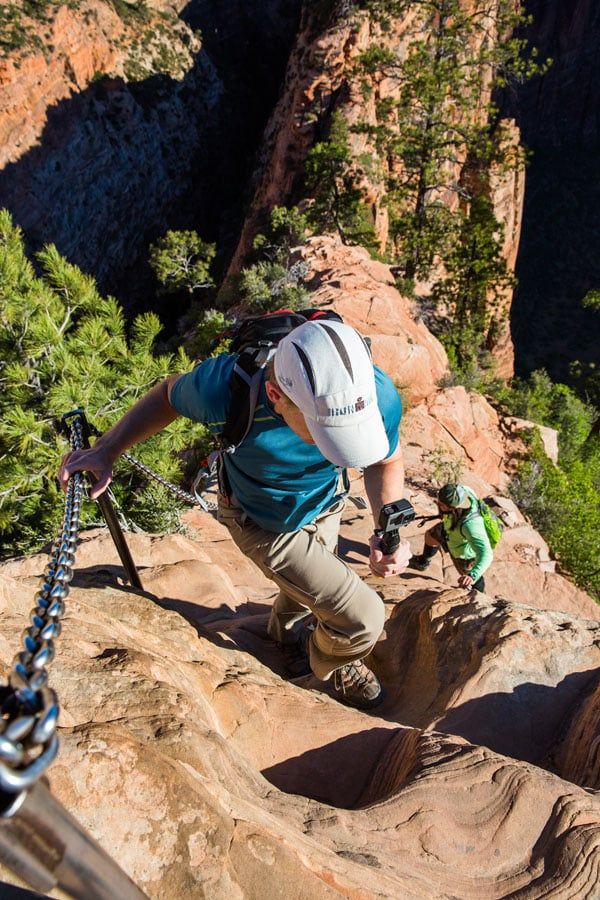
Then, it’s one final climb to the top.
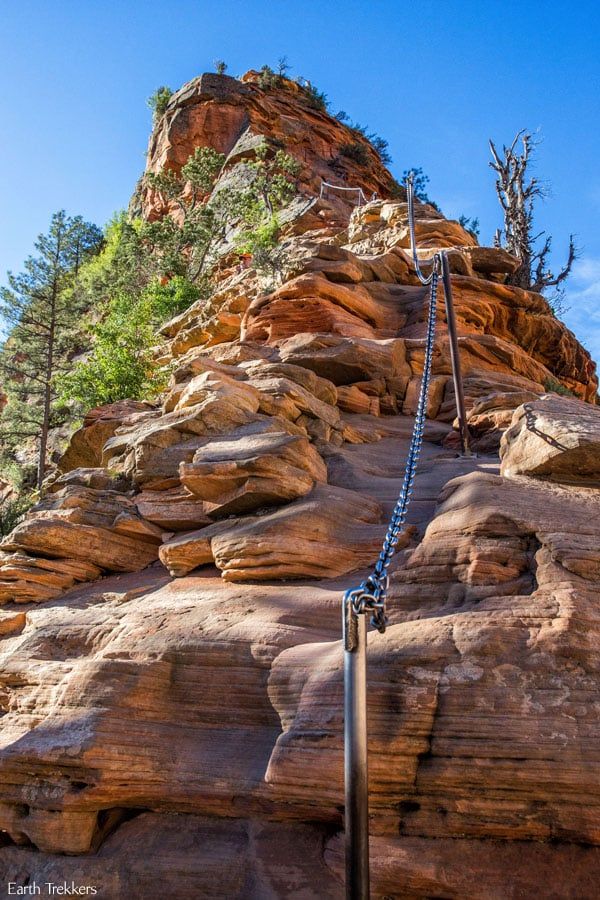
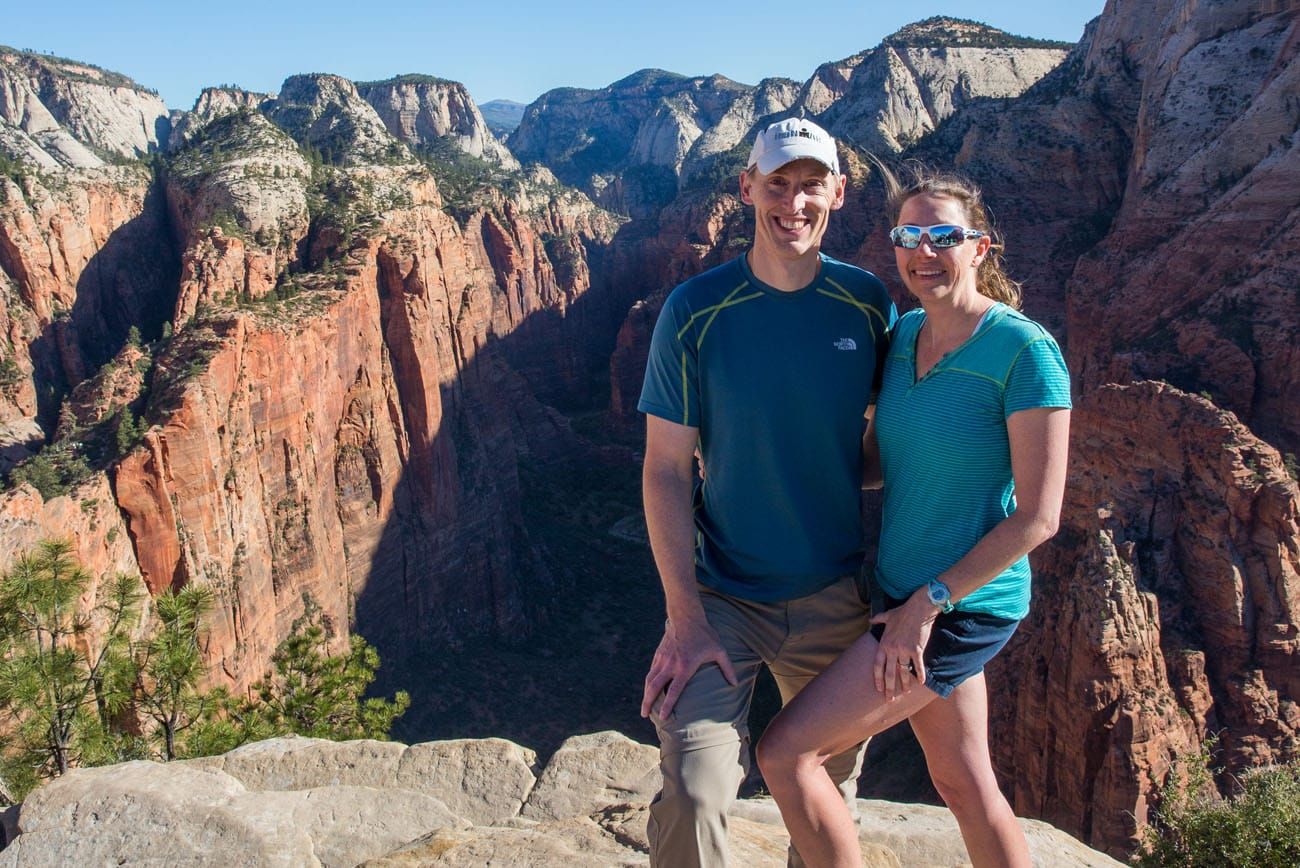
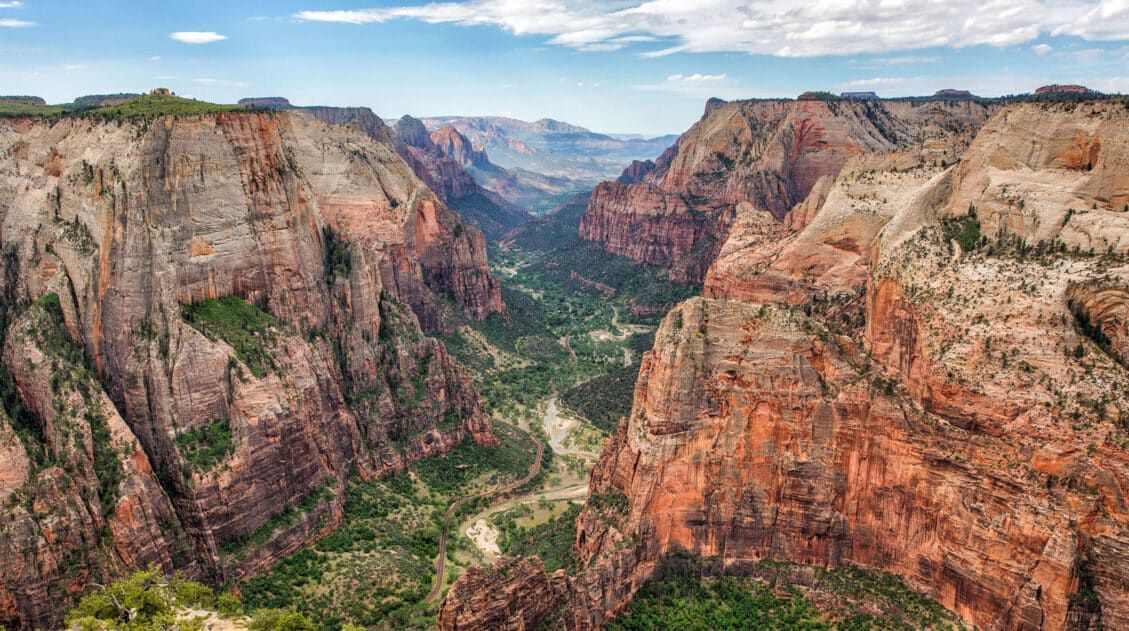
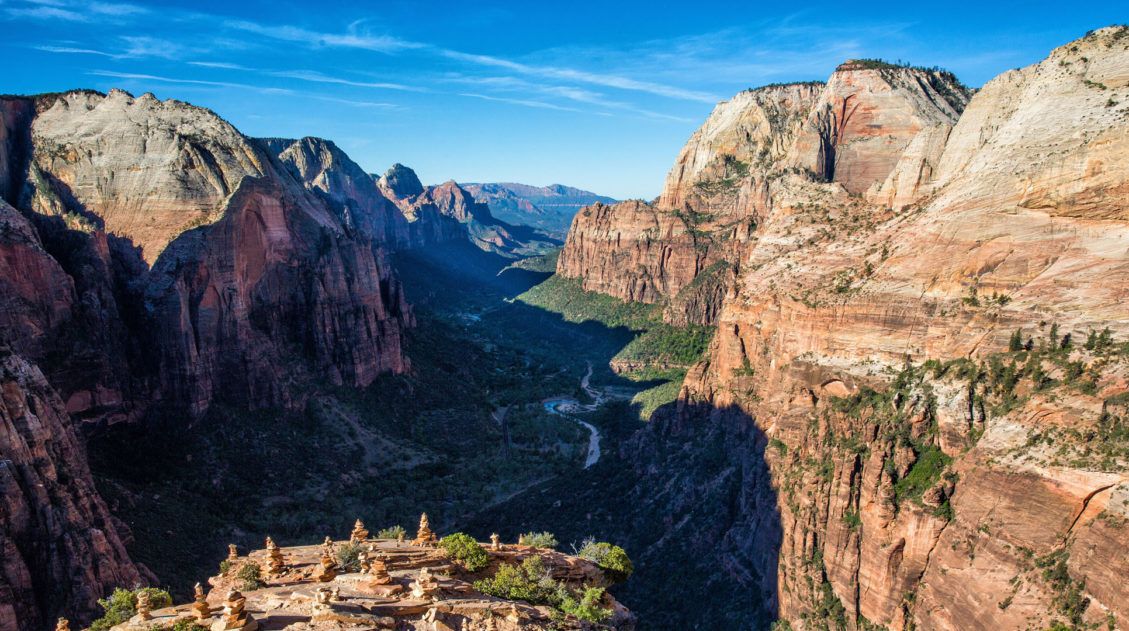
Tim and I made it to the top of Angels Landing in just under an hour. It was 8:30 am and we joined about ten other people at the peak. The view is magnificent, although this early in the morning, most of the valley is still in shadow. There are also a crazy number of chipmunks up here and they are not at all shy about trying to steal your food.
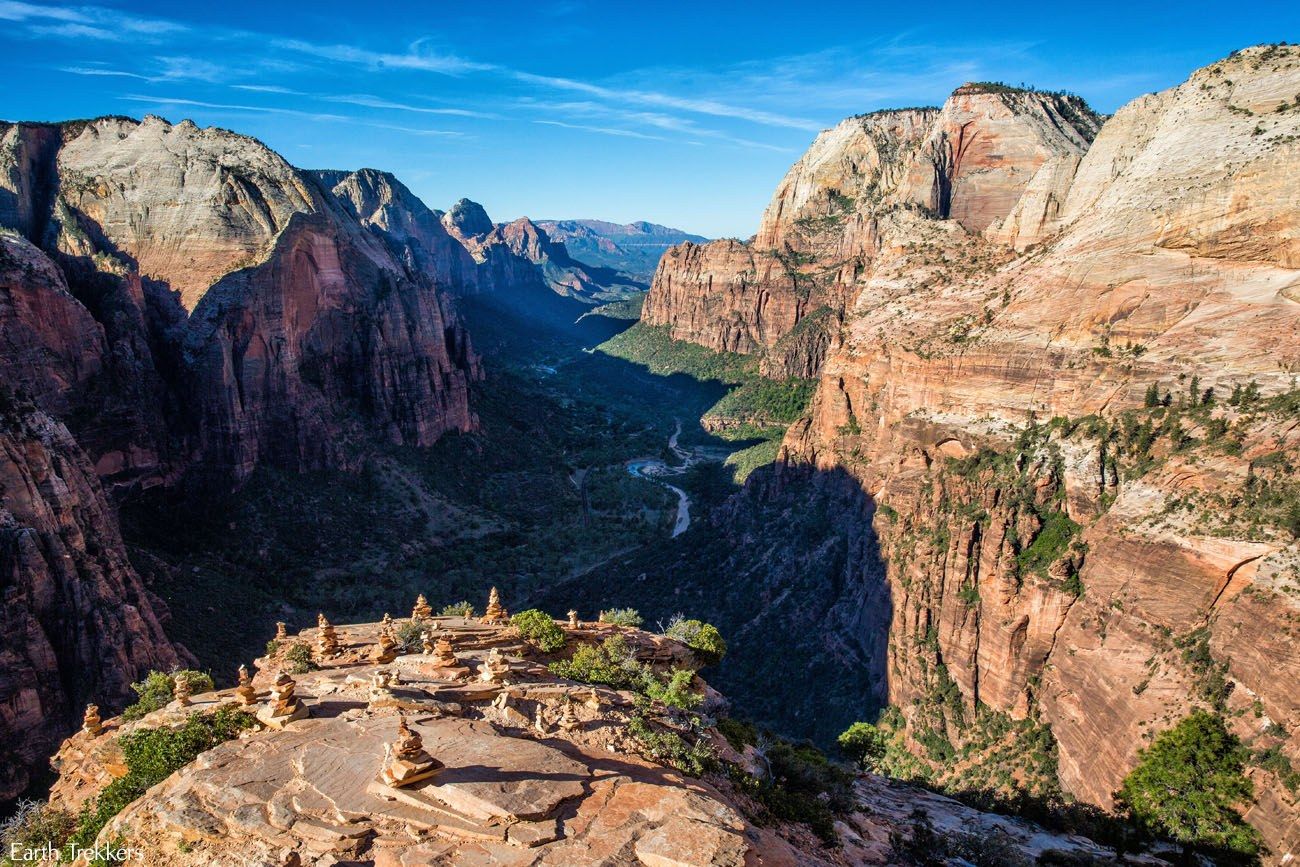
View from Angels Landing | How to Hike Angels Landing
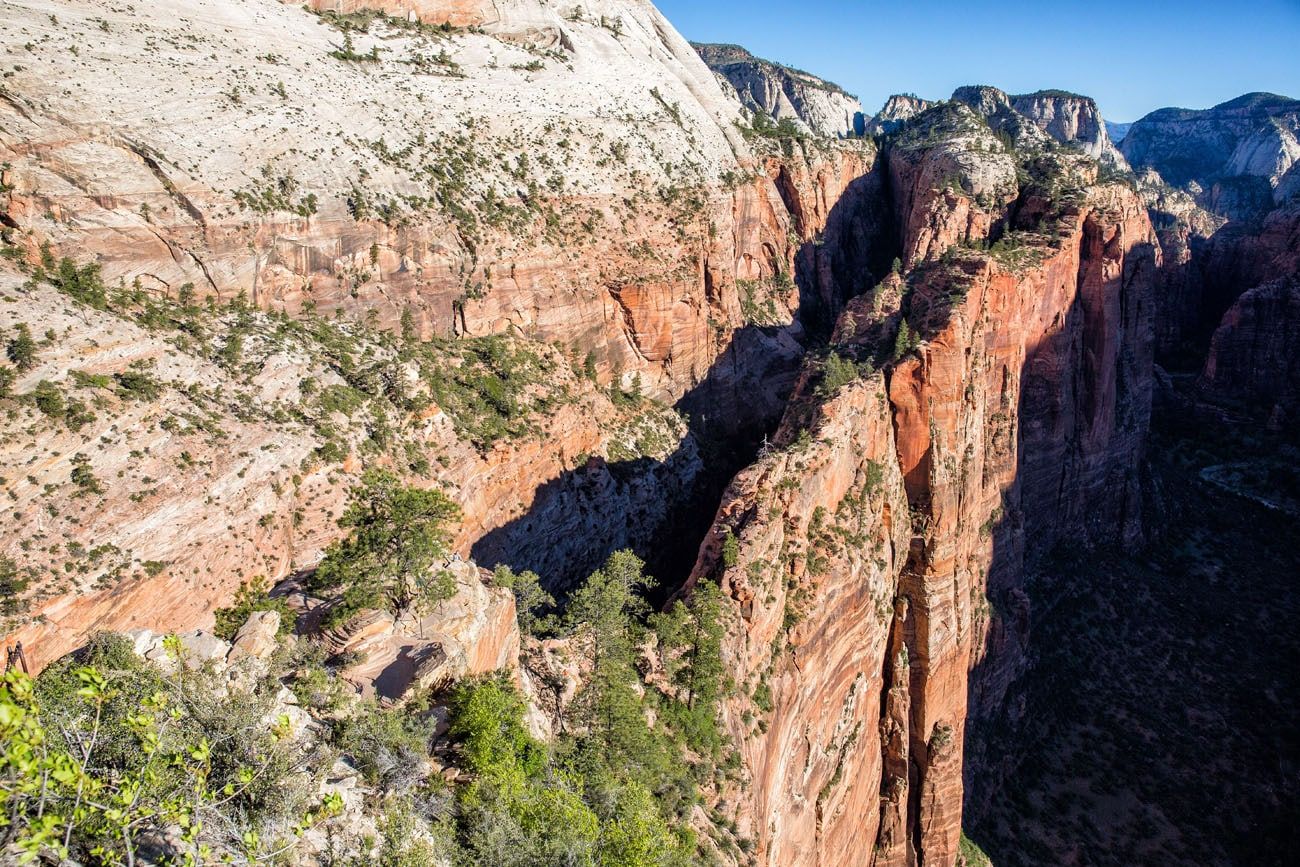
This is the view of the narrow ridge that you hike, seen from Angels Landing.
Finishing the Hike
With it being so early in the day, the trail still only had light traffic as we made our descent. But we did have to stop and wait for some people climbing up. I can see how the trail can get clogged with traffic, as many sections are only wide enough for one-way traffic. Getting here early was a good move!
Two days later, Tim and I hiked the entire West Rim Trail. This hike starts at the north section of Zion National Park, 12 miles from Scouts Lookout. We reached Scout Lookout at 1 pm. Angels Landing looked much different midday, with crowds of people on the trail. I can only imagine what it would look like during the peak season summer months.

Should You Hike Angels Landing?
Do not underestimate this hike! There have been numerous deaths on the Angels Landing hike.
If you have a fear of heights, you should not do this hike. There are sections that are very narrow with 1000-foot drops on either side. This is not the place to confront your fears.
You must have a good level of physical fitness. You will be climbing (and then descending) 1500 feet. Most of this climb comes before the narrow spine of Angels Landing. If you are very fatigued by the time you get to this point, it only makes the hike more dangerous. Once you are on the spine, it is a very strenuous, sometimes technically challenging climb to the top. This is not to be underestimated. If you do not think you are fit enough or have enough experience rock scrambling, go no farther than Scouts Lookout.
Young children should not do this hike. Again, this hike is dangerous and not a place to bring young kids. In our opinion, the youngest age we would recommend is 12 years old, and only if they have lots of hiking experience. Yes, I do know kids that have successfully hiked Angels Landing at a younger age, but they had heaps of prior experience. Anyone attempting this hike needs prior experience hiking with chains and along exposed trails before hiking Angels Landing.
If you are traveling with kids, it is safe for them to hike to Scout Lookout. They can wait here with an adult if someone in your group wants to hike up to Angels Landing.
If you really want to know what to expect, watch the video Tim filmed on the narrow section of the trail.
Video of the Angels Landing Hike | How to Hike Angels Landing
How to Have the Best Experience
Don’t Forget to Apply for a Permit
Due to huge crowds on the trail, it is mandatory to have a permit to hike Angels Landing. This can be done in advance of your trip to Zion National Park or the day before you plan to hike Angels Landing. Apply for the lottery on recreation.gov.
Our #2 Tip: Hike more of the West Rim Trail
If you have the time and energy, from Scouts Lookout you can continue on the West Rim Trail. The scenery is spectacular and very few people venture out this way.
LEARN MORE: How to Day Hike the West Rim Trail
What to Bring on the Hike
Hiking Shoes. No flip flops, no crocs, no Converse sneakers. You need hiking shoes or boots for this hike.
Water. Bring plenty of water, especially if you will be hiking midday or during the warmer months.
Sunscreen. There is very little shade on the trail.
Hiking poles (optional). Hiking poles take about 30% of the weight off of your legs as you descend, easing knee pain and other symptoms. I use Black Diamond Distance Z poles and love them. They easily collapse down to fit in your luggage and hiking backpack, plus they are extremely lightweight. The poles come in several sizes, so make sure you pick the right length based on your height.
If you are new to hiking or are curious about what you should bring on a hike, check out our Hiking Gear Guide. Find out what we carry in our day packs and what we wear on the trails.
Do you have any questions about how to hike Angels Landing? If you hiked to Angels Landing and want to share your experience, comment below!
More Information about Zion
UNITED STATES: We have TONS of information about places to visit in the United States in our USA Travel Guide. In our Guide to the US National Parks, get the full list of national parks with important travel planning information, such as things to do in the parks and sample itineraries.

Comments 77