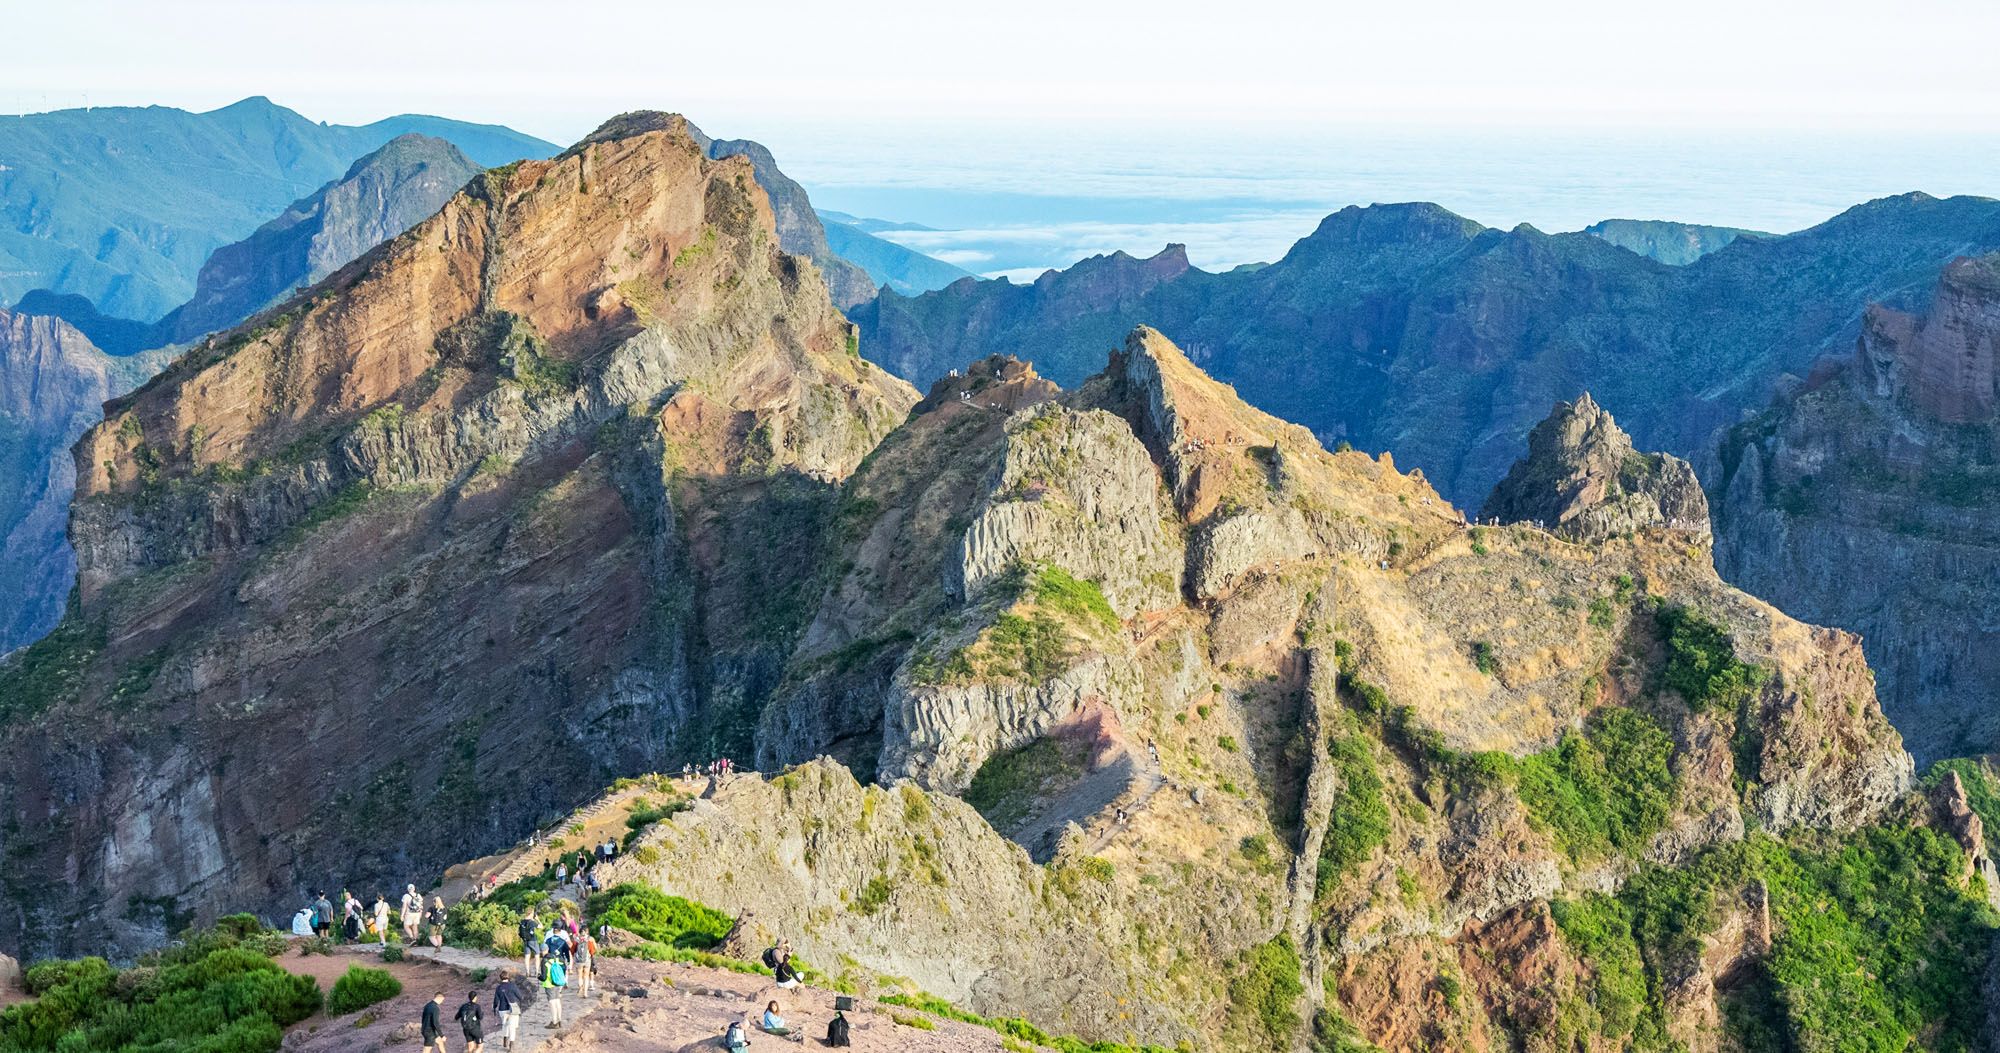
The PR1 trail from Pico do Arieiro to Pico Ruivo is Madeira’s most popular and thrilling hike. Enjoy the beautiful golden sunrise rising over the island, and then traverse from Madeira’s third highest peak, Pico do Arieiro, to its highest peak, Pico Ruivo. The trail features narrow pathways rising above a steep valley, offering glimpses of Madeira’s coastal towns and waters far below.
Pico do Arieiro (also spelled Pico do Areeiro) is one of the best spots in Madeira to watch the sunrise, so most travelers arrive early. Due to the limited parking and popularity of the sunrise view, it’s essential to arrive an hour before sunrise to secure a parking spot. Plus, you’ll be able to watch the warm glow of the sky change before the sun peeks over the horizon.
During the busy summer season, hikes in Madeira can get crowded, especially this one with its steep and narrow trails. We did this in July and got stuck walking most of the trail in a long line of people, with no way to pass. If you prefer a less crowded trail, consider starting the hike before sunrise and watching the sunrise as you hike, or time your hike for late in the day. While the lighting may not be ideal, it could save you the hassle of navigating through crowds.
This hike is hard, with a long steep staircase descent at the beginning, multiple staircase ascents, and a winding uphill to Pico Ruivo. It is best for fit hikers.
There are various ways to complete the Pico do Arieiro to Pico Ruivo hike. There is one point-to-point option and two out-and-back options. This article will provide the details for each option and cover the information you need to know regarding transportation and much more.
Is Pico do Arieiro to Pico Ruivo Open?
Currently, only the first 1.2 km of the PR1 trail is open. There was a forest fire in August 2024 that closed part of the trail. We have not heard anything about when it is planned to fully reopen, but you can check the status of the trail here (PR1 Areeiro Path). If you have recently hiked this trail and know any more about whether or not it is open, let us know in the comment section below. Thanks in advance!
PR1.2 Achada do Teixeira to Pico Ruivo is open.
Which Route is Best?
There are three different ways to do this hike. Here are your options.
Pico do Arieiro to Pico Ruivo to Achada do Teixeira (PR1 to PR1.2)
This is a point-to-point hike, starting at Pico do Arieiro and ending at Achada do Teixeira. We recommend this option because you get to enjoy the beautiful scenery from Pico do Arieiro to Pico Ruivo without having to backtrack through the crowds of people to get back to Pico do Arieiro. This route also avoids the additional strenuousness of the hill climbs to get back to Pico do Arieiro.
The disadvantage is that you need to pre-arrange transportation due to the point-to-point nature of the route. However, that is a minor concern as it is very easy to arrange transporation in advance (we cover this later in this guide).
Pico do Arieiro to Pico Ruivo to Pico do Arieiro (PR1)
This is an out-and-back hike. The advantage is that you can park at Pico do Arieiro, do the hike, and return to your car. But there are several disadvantages to consider.
There will be a lot of hills to climb on the hike back to Pico do Arieiro, a portion of which will involve a steep and strenuous staircase climb, which can be quite challenging. If you are doing this in the summer, midday temperatures can be very hot and most likely, you’ll be feeling fatigued before you start the hike back to the parking lot.
Furthermore, on the return hike you will be hiking against the flow of the crowds. We saw people trying to do this and could see the frustration on their faces as they had to wait for openings since so many people were still hiking towards Pico Ruivo along the narrow trail.
While it is possible to do the hike as an out-and-back route, it is only recommended for strong and prepared hikers. The crowds on the trail will make the return hike take longer than expected.
Achada do Teixeira to Pico Ruivo to Achada do Teixeira (PR1.2)
This is an out-and-back hike. This is a great option for those looking for a shorter and easier route to Pico Ruivo, Madeira’s highest peak. This trail is less busy than the trail from Pico do Arieiro to Pico Ruivo, so avoiding the crowds is a benefit. The disadvantage is that you miss the excellent views, and the fun and adventurous trail, between Pico do Arieiro to Pico Ruivo. And the trail does not offer any good spots for sunrise views until reaching the summit of Pico Ruivo.
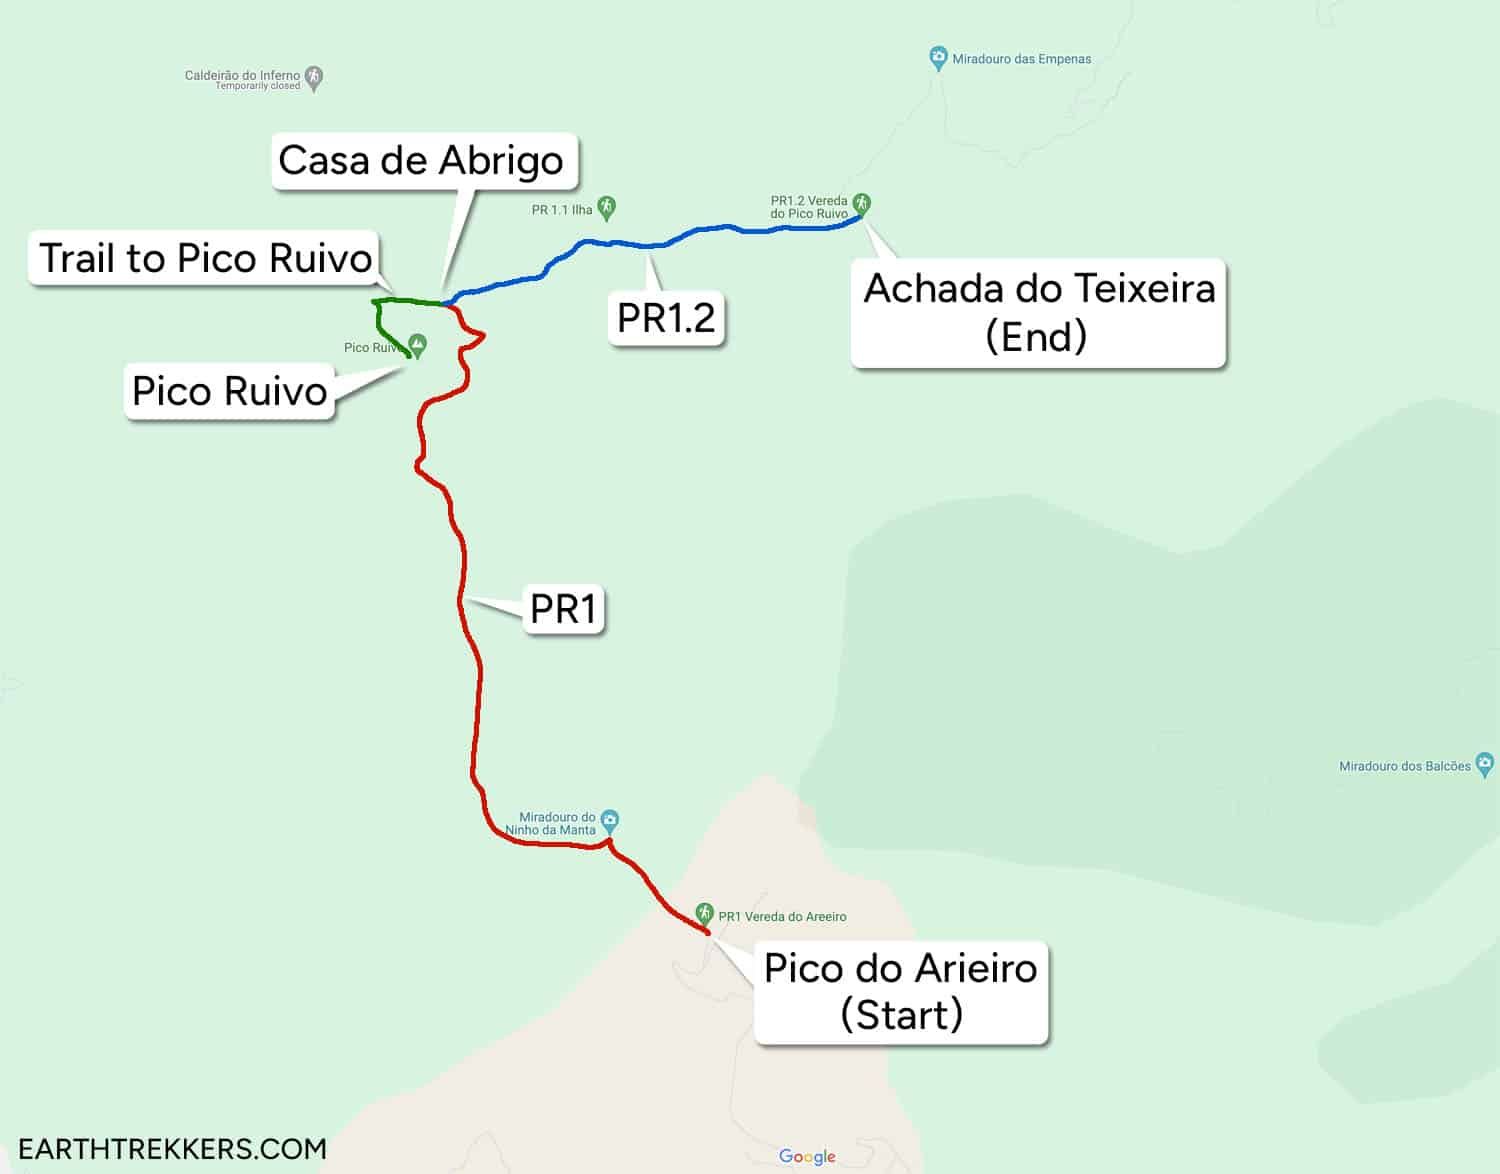
Pico do Arieiro to Pico Ruivo to Achada to Teixeira Map
Hiking Stats
Pico do Arieiro to Achada do Teixeira
The following hiking stats are for walking point to point from Pico do Arieiro parking to Pico Ruivo to Achada do Teixeira.
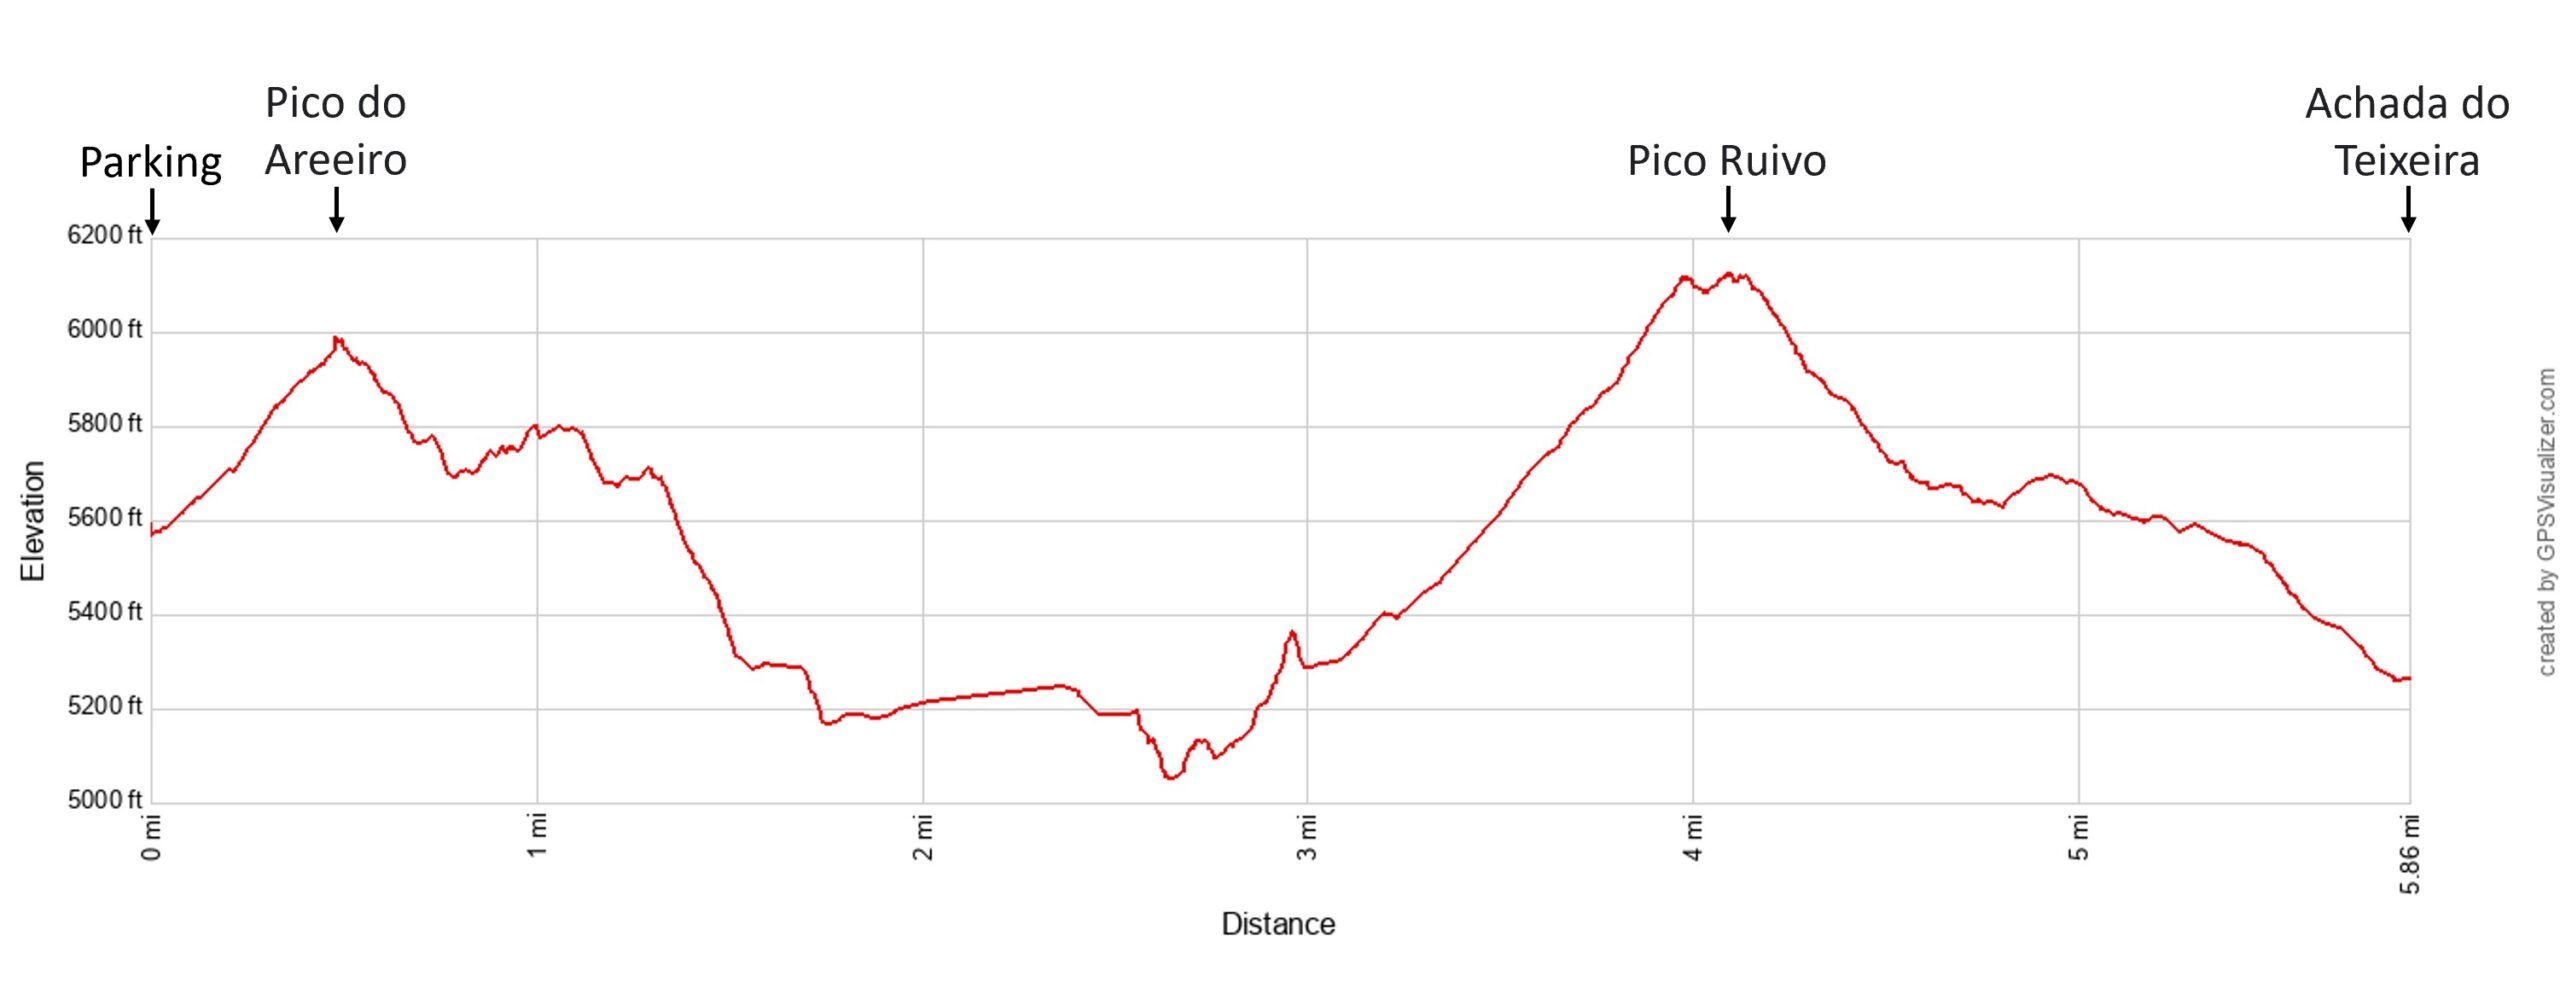
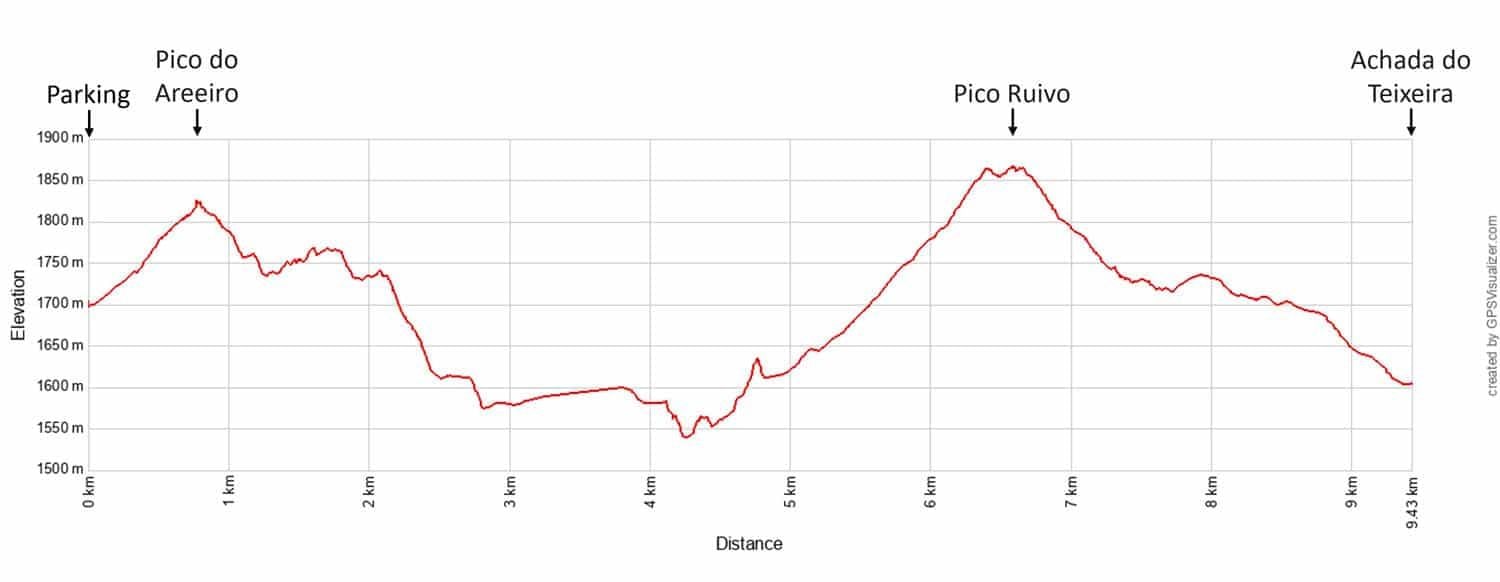
Distance: 9.4 km (5.9 miles)
Difficulty: Hard
Total Ascent: 643 meters (2,110 feet)
Total Descent: 744 meters (2,440 feet)
Highest Elevation: 1,861 meters (6,106 feet) (at Pico Ruivo)
Lowest Elevation: 1,540 meters (5,050 feet)
Time: 3 to 5 hours (our time was 3 hours 20 minutes)
Pico do Ariero to Pico Ruivo to Achada do Teixeira elevation profile
Pico do Arieiro to Pico Ruivo
The following hiking stats are roundtrip, hiking from Pico do Arieiro parking to Pico Ruivo and back to Pico Areiero parking.
Distance: 13.0 km (8.0 miles)
Difficulty: Very hard
Total Ascent: 1,036 meters (3,400 feet)
Highest Elevation: 1,861 meters (6,106 feet) (at Pico Ruivo)
Lowest Elevation: 1,540 meters (5,050 feet)
Time: 5 to 7 hours
Achada do Teixeira to Pico Ruivo
The following hiking stats are roundtrip, from Achada do Teixeira to Pico Ruivo back to Achada do Teixeira.
Distance: 5.8 km (3.6 miles)
Difficulty: Moderate
Total Ascent: 351 meters (1,150 feet)
Highest Elevation: 1,861 meters (6,106 feet) (at Pico Ruivo)
Lowest Elevation: 1,604 meters (5,262 feet) (Achada do Teixeira)
Time: 2 to 4 hours
PRO TRAVEL TIP: Not interested in any of these hiking options? You can still have a great experience enjoying the views at Pico do Arieiro and only walking 15 – 30 minutes along the trail before returning.
Hiking Fee
There is now a fee to hike Pico do Arieiro to Pico Ruivo (both PR 1.1 and 1.2). The fee is 3 euros per person, for any non-resident over 12 years old. Hikers who do not pay the 3 euro fee will be charged a 50 euro fine. As of now, it looks like you can pay the fee online and there may also be some sort of payment station or kiosk at trailheads.
If you hike this trail when the fee is implemented and have any information to share with us, please let us know in the comment section at the end of this guide. There are some recent comments about people’s experience paying the fee, which could be helpful if you plan to do this hike soon.
How to Hike Pico do Arieiro to Pico Ruivo (PR1)
Step-By-Step Trail Guide
This trail description follows the point-to-point route, which involves starting in Pico do Arieiro, hiking to Pico Ruivo, and then descending to Achada do Teixeira. This is how we completed the hike and how we recommend doing the hike.
At Pico do Arieiro there is a cafe, restrooms, and viewing area. Since Pico do Arieiro is a popular sunrise spot on Madeira, this area gets extremely crowded in the early morning hours. Expect big crowds here before dawn. Later in this guide, we discuss parking and how to get here if you won’t have a rental car (or just don’t want to do the drive in the dark).
Pico do Arieiro to Pico Ruivo (PR1)
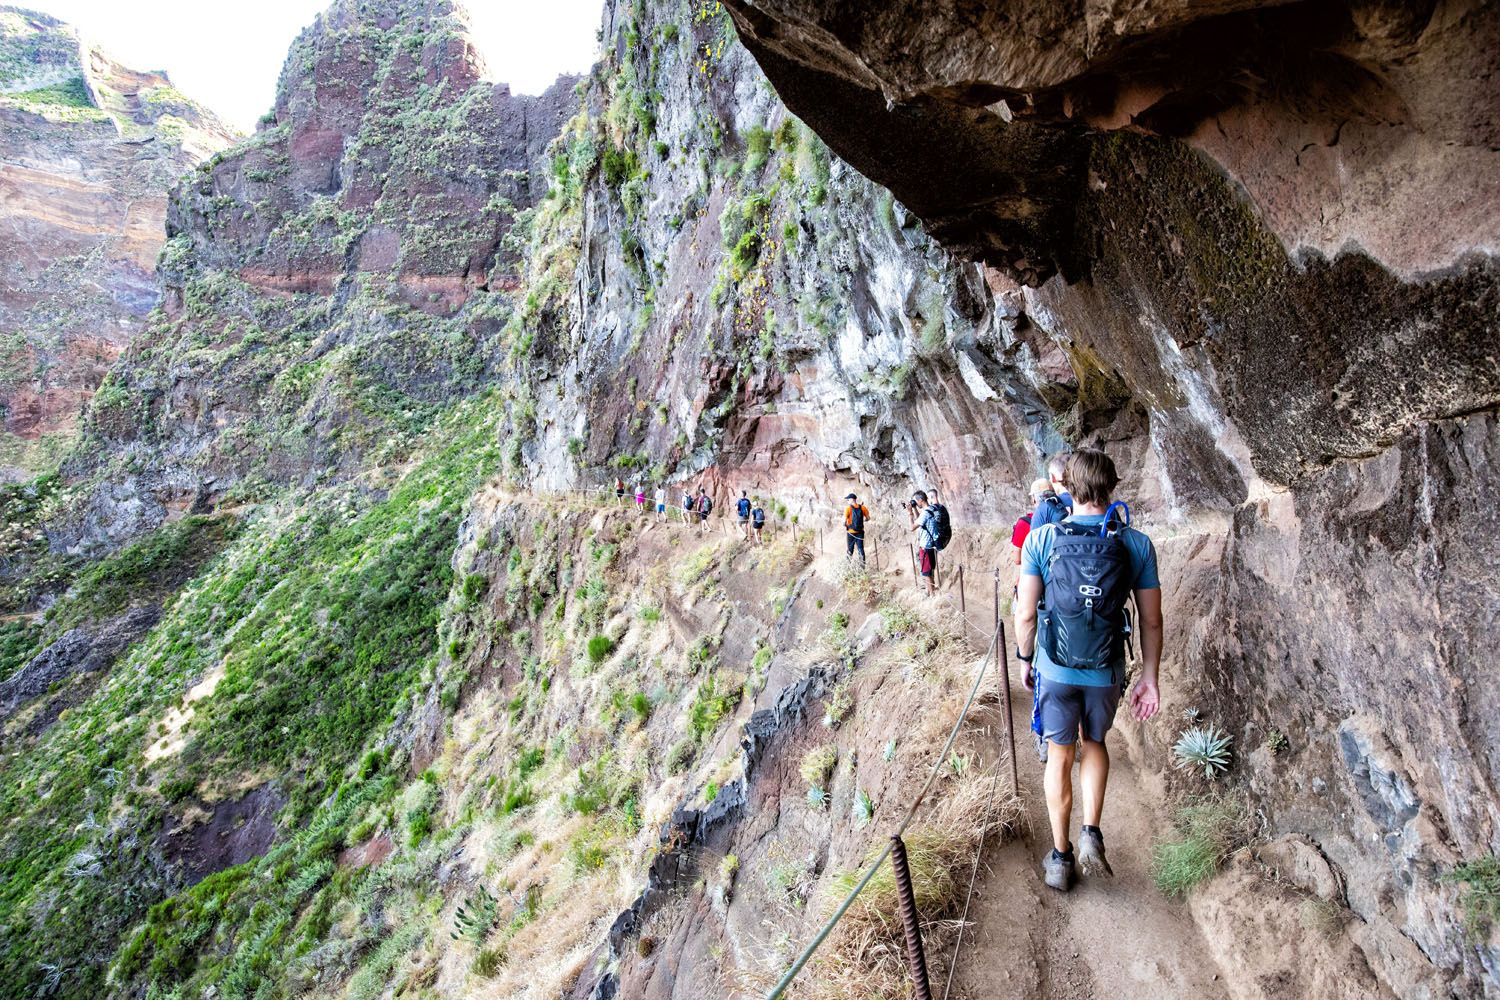
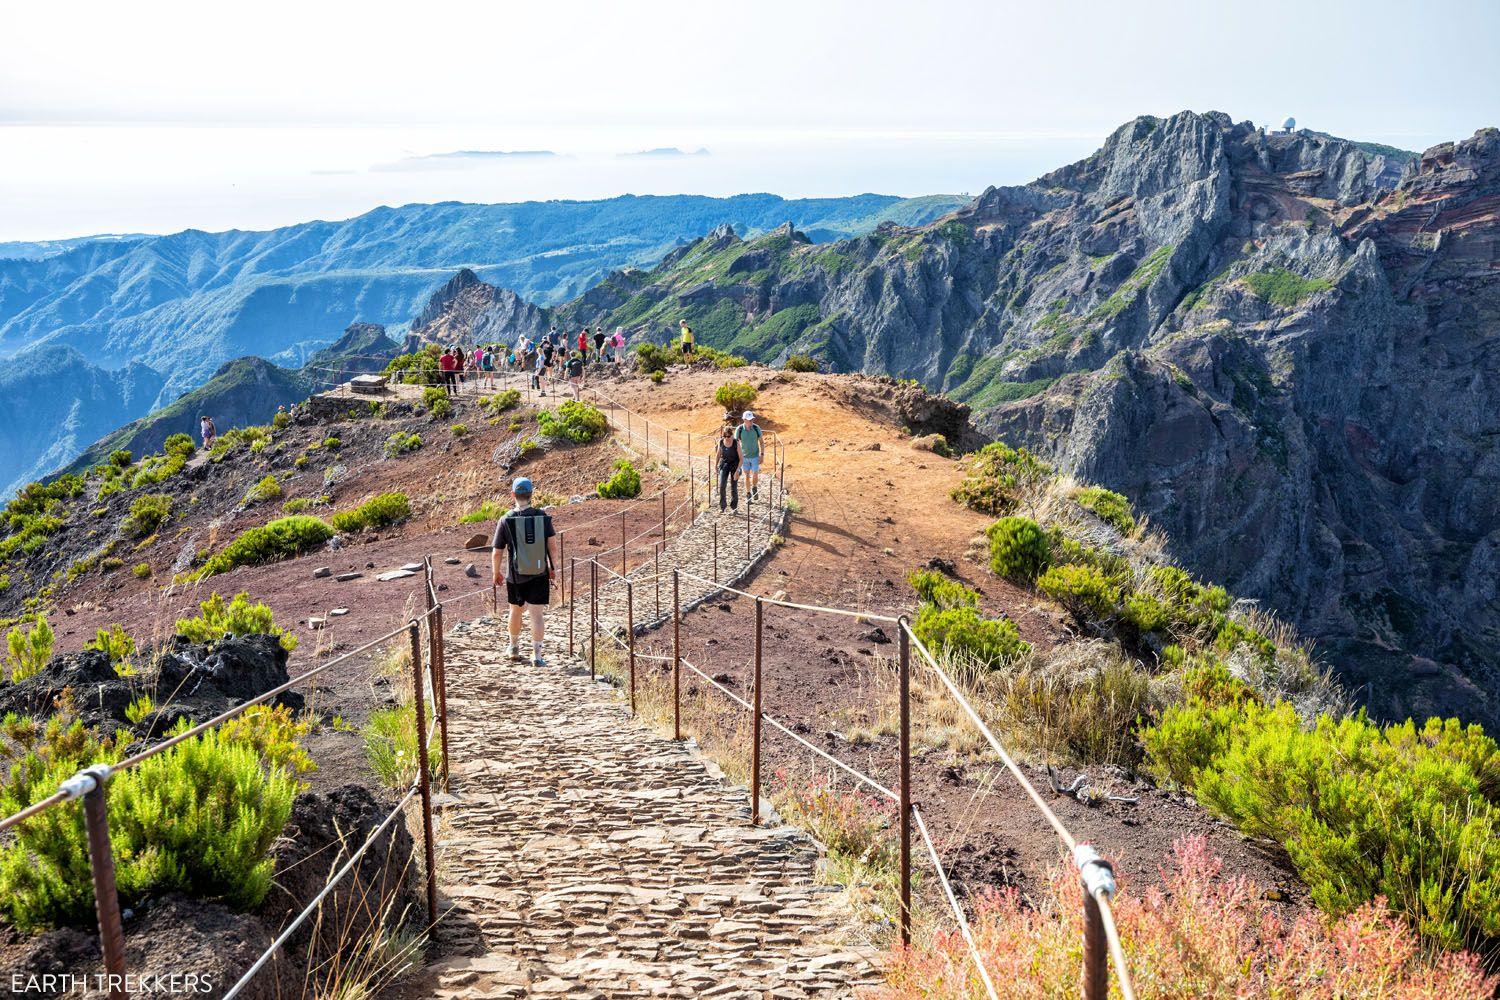
From Pico do Arieiro you’ll hike roughly 2 km (1.25 miles) along a trail that descends down a ridgeline between two deep valleys. The trail is narrow, with steep staircases. Some sections have sheer drop offs, but guardrails are in place for safety. Despite the sharp drops the trail feels secure. However, if you have a fear of heights, you may find this trail very challenging.
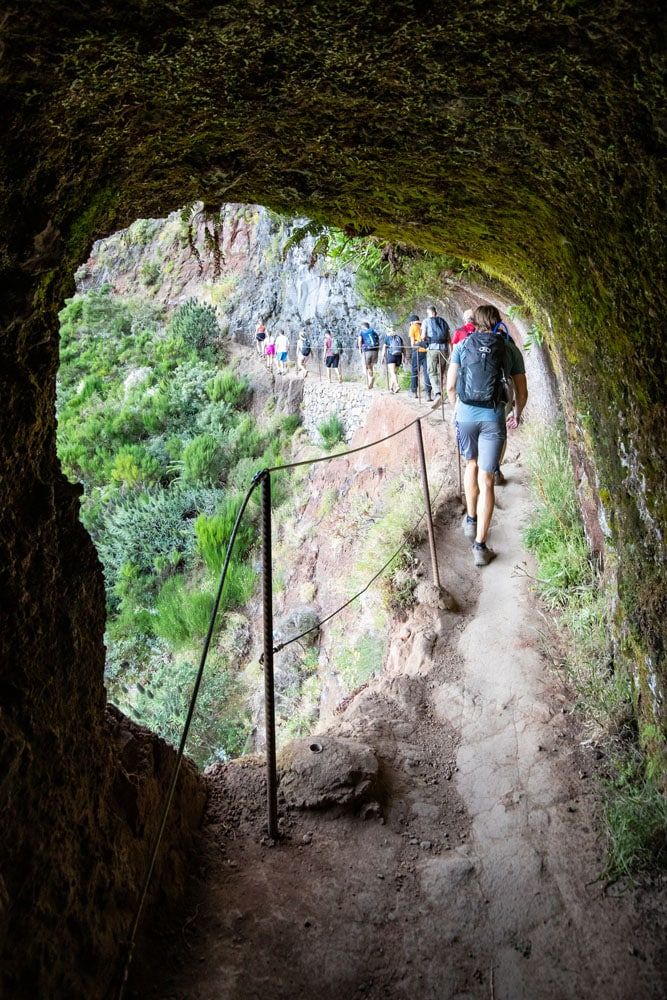
In the summer and at peak times, the trail gets extremely crowded, often resulting in a single-file line of hikers slowly making their way down the narrow path. It is difficult to pass other hikers for the majority of the hike. If you prefer hiking in solitude, consider starting before sunrise to get ahead of the crowd.
The first part of the trail is the most interesting. With its narrow, cliffside paths, viewpoints, short climbs, and panoramic views in all directions, this is a gorgeous hike.
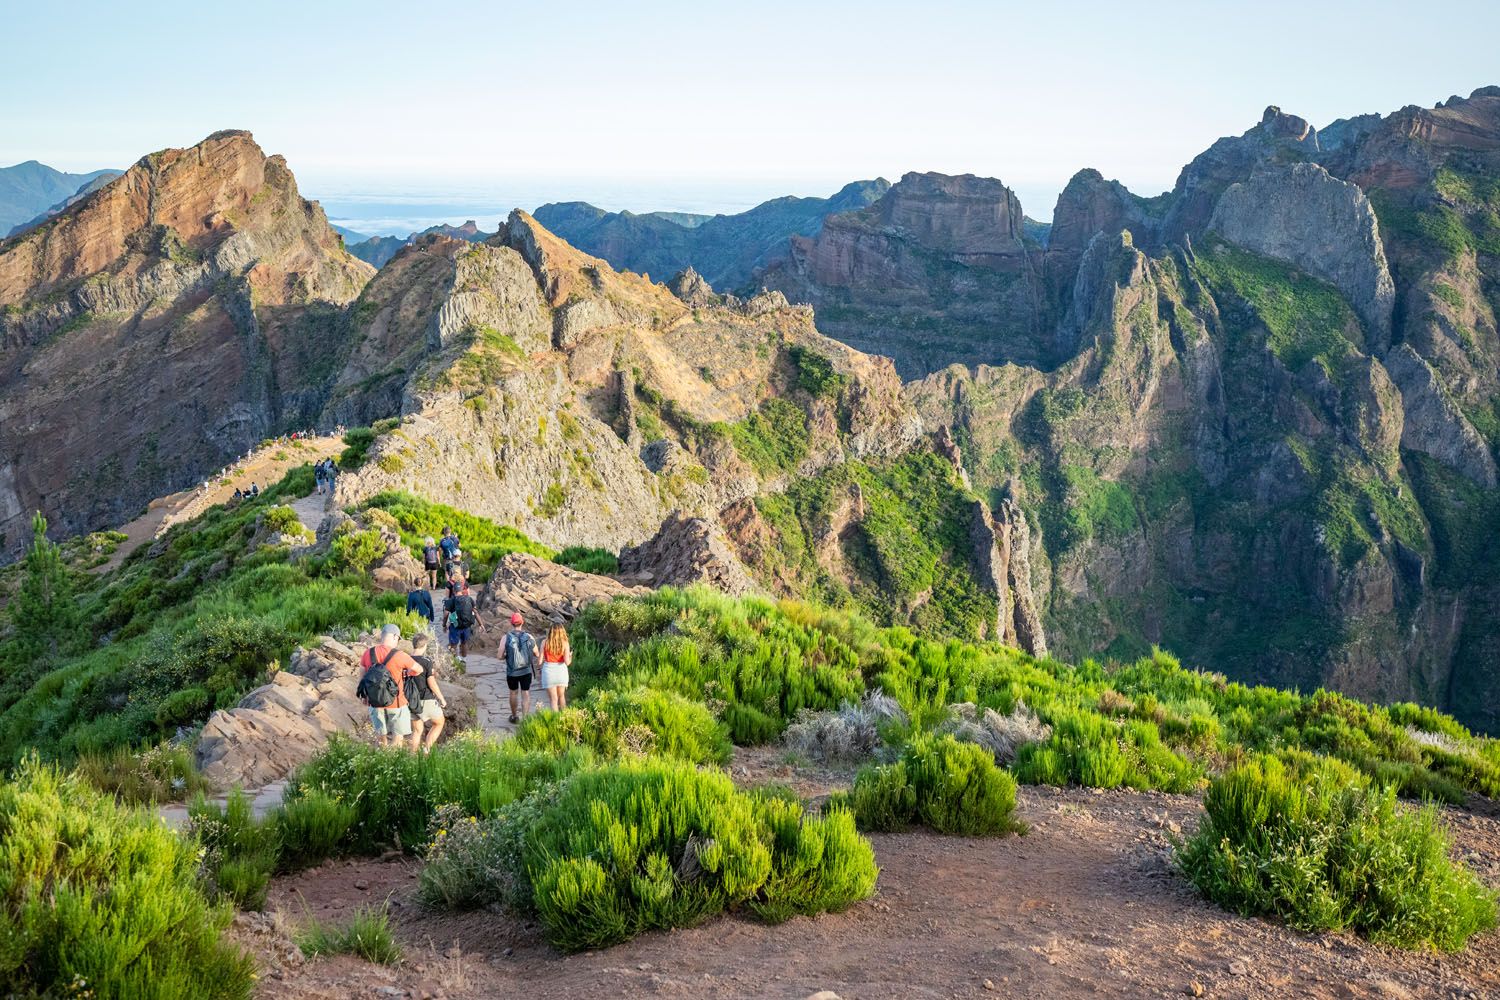
The view from the very start of the hike…this hike is a beauty!
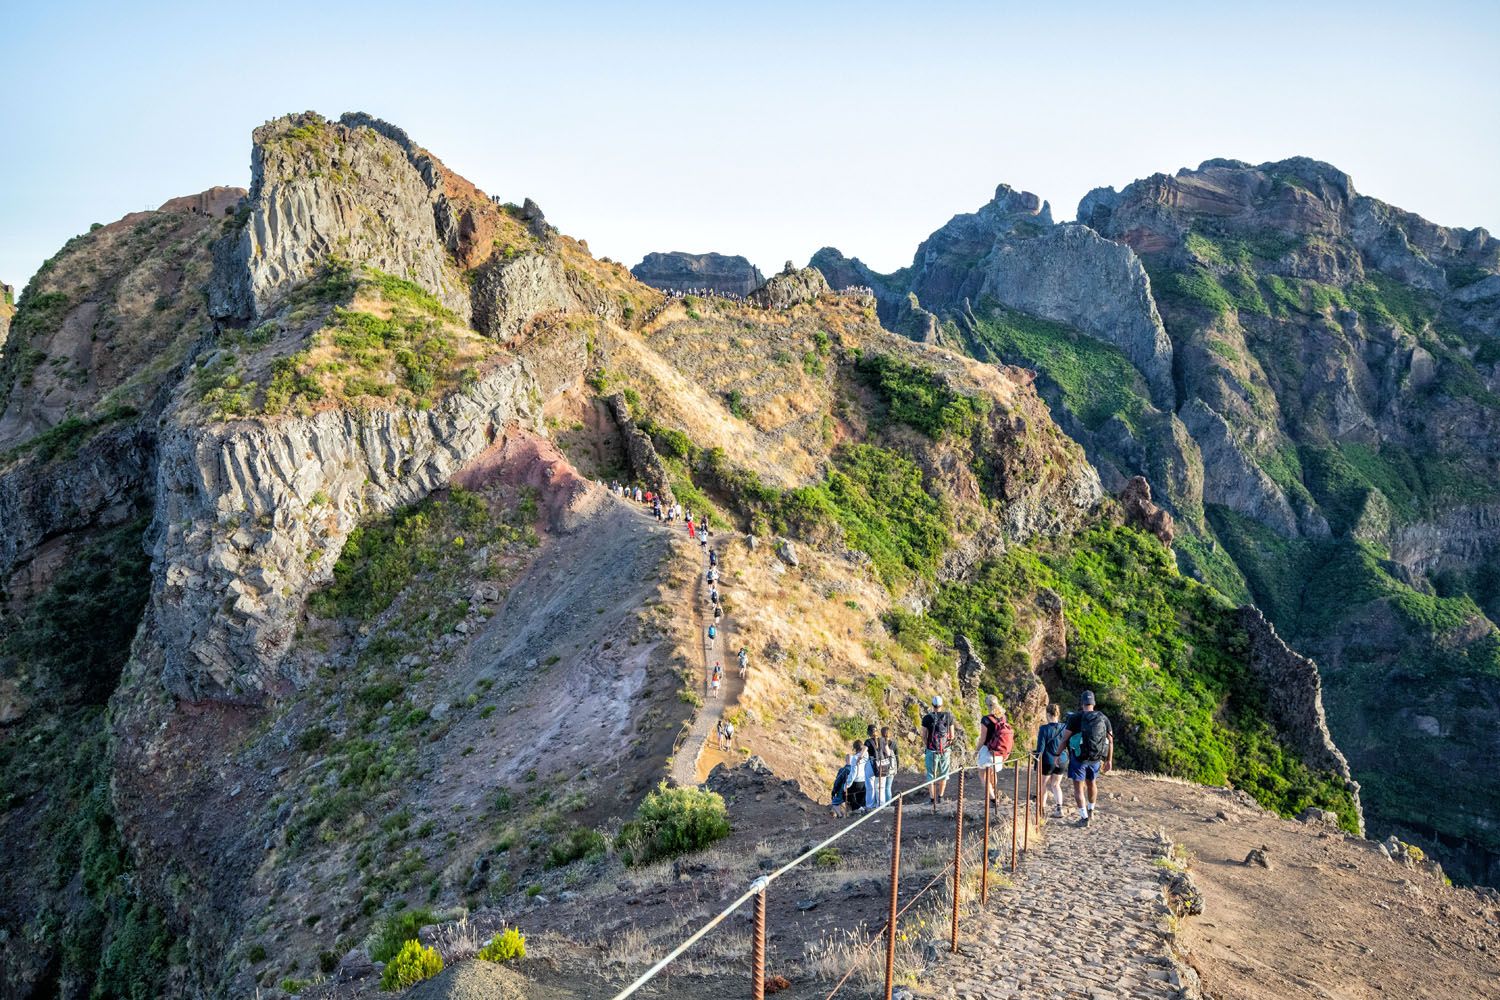
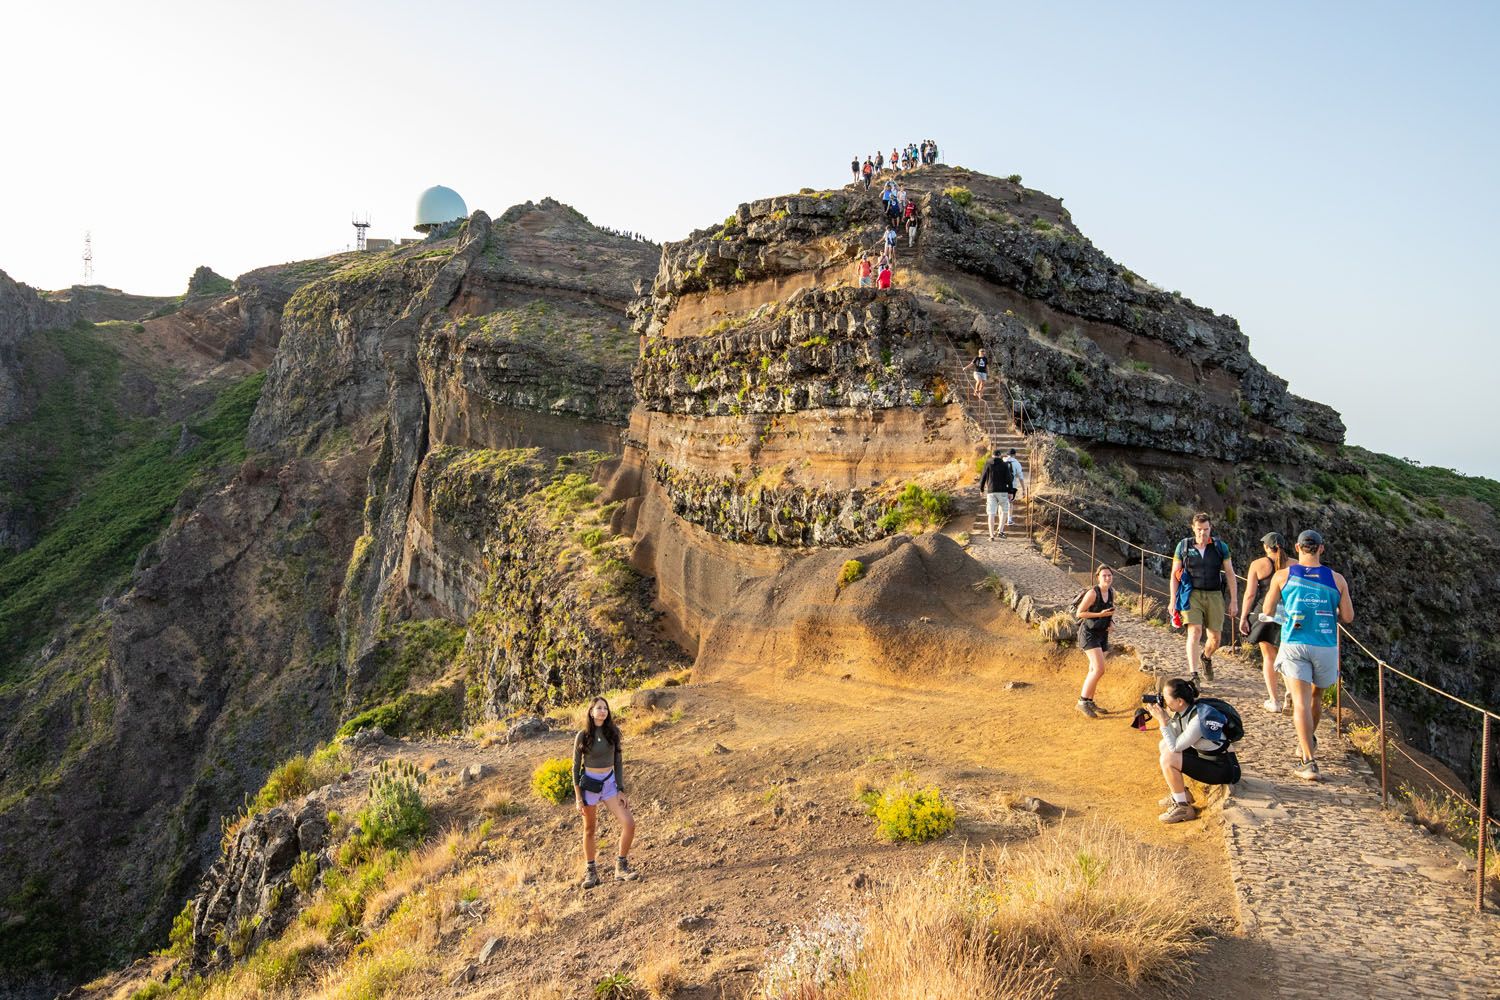
Looking back along the first part of the trail
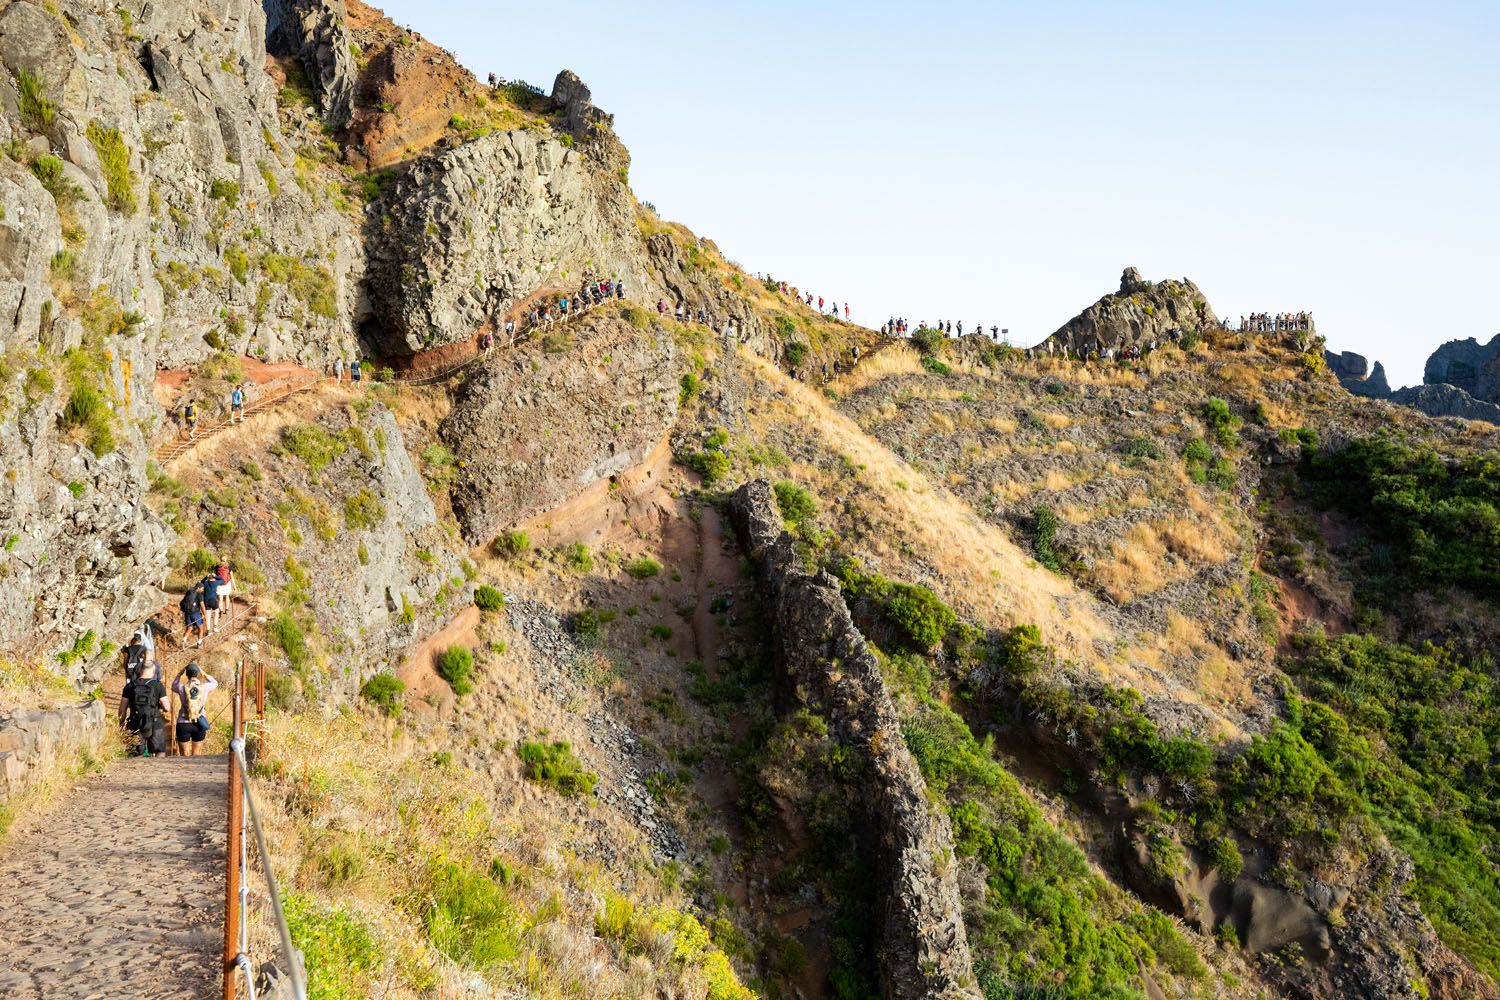
In July, this can be a very busy trail.
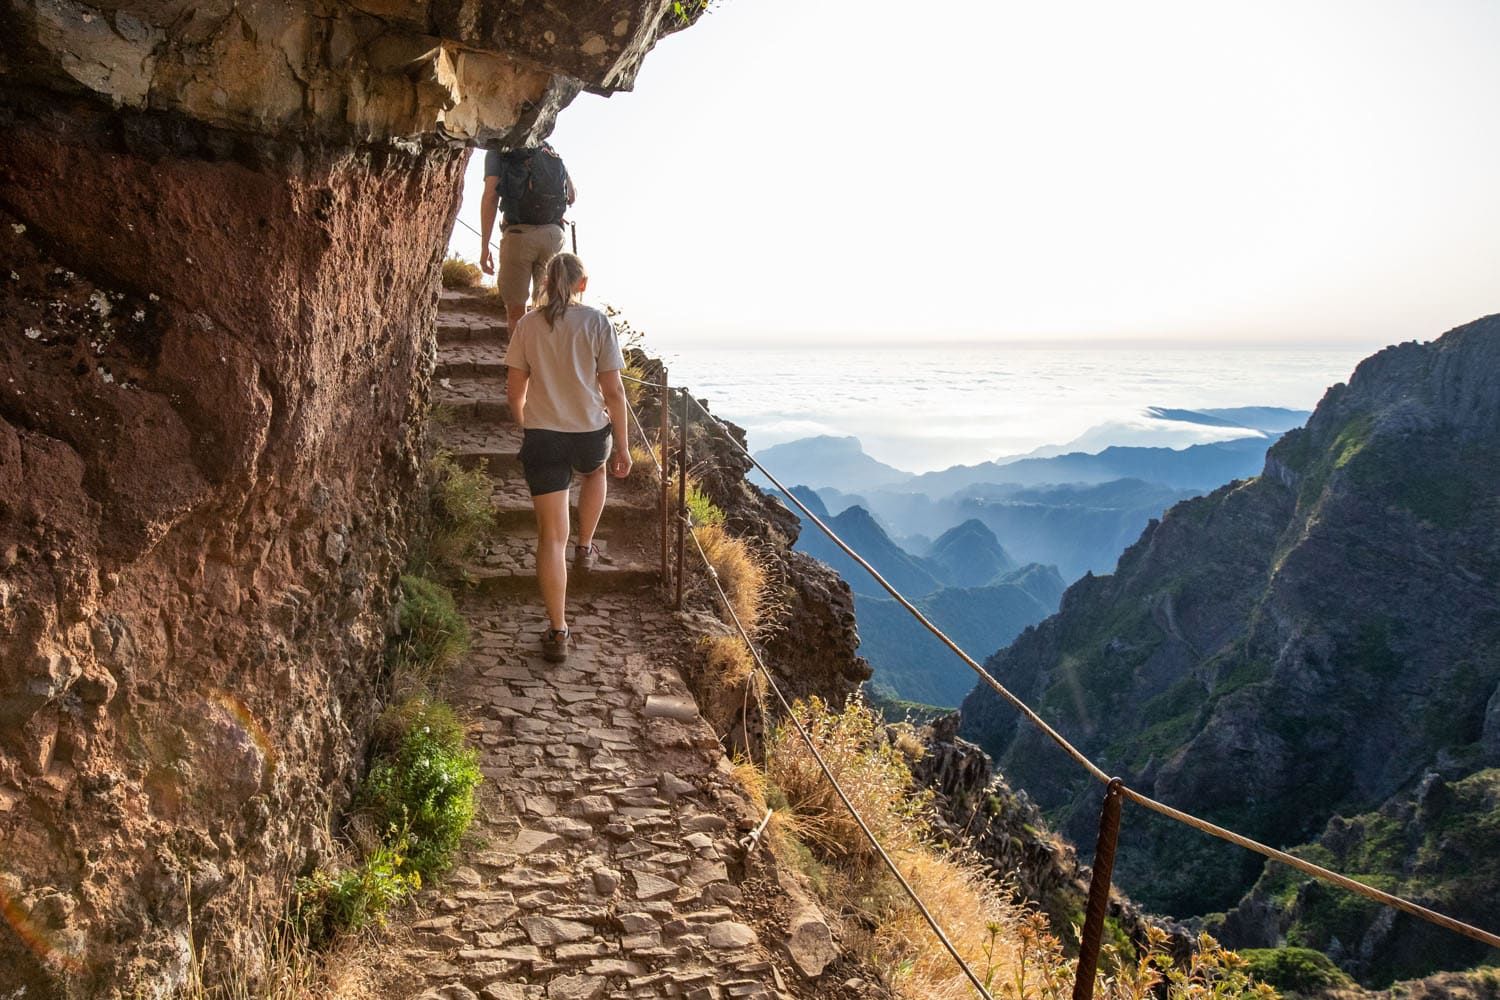
Not far from the trailhead is a quick detour to a viewpoint named Ninho da Manta. It’s definitely worth a quick visit. Here is the view.
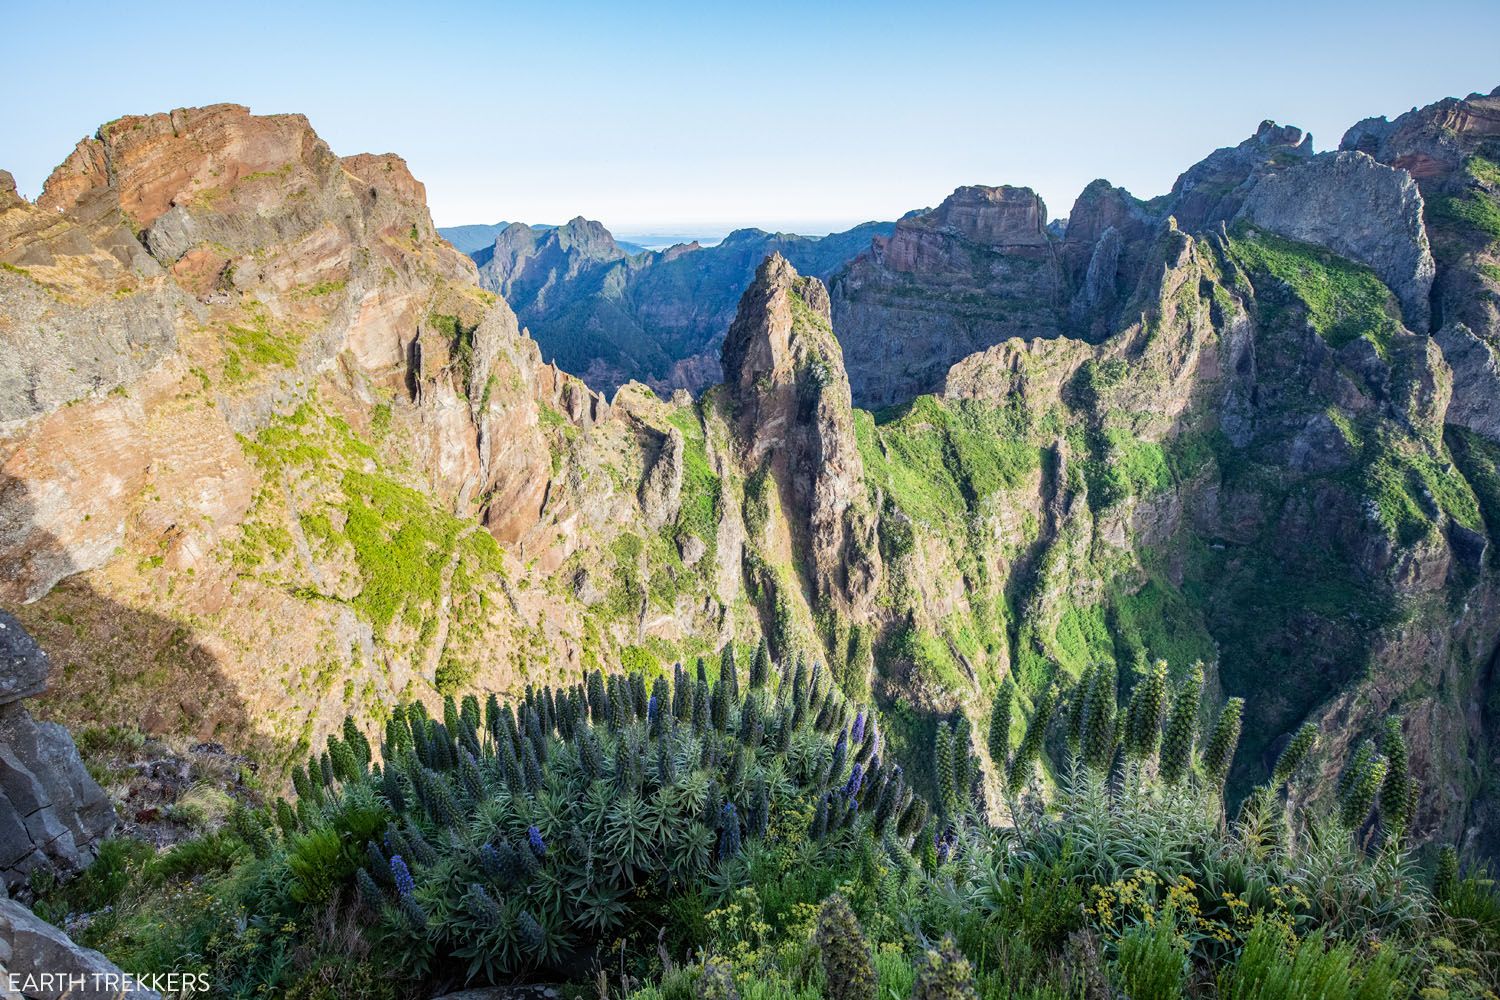
The view from Ninho da Manta
Next up is a series of descents, some on steep hills, others on long sets of staircases, with some steps being quite large. In our experience, it was very slow going here, as we were hiking in one long single file line of hikers.
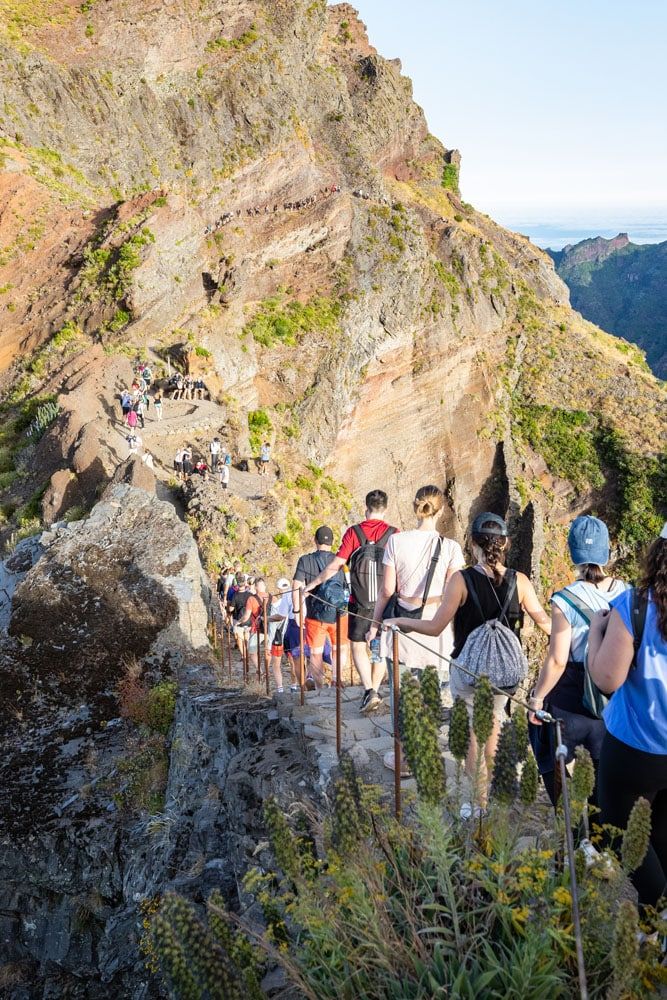
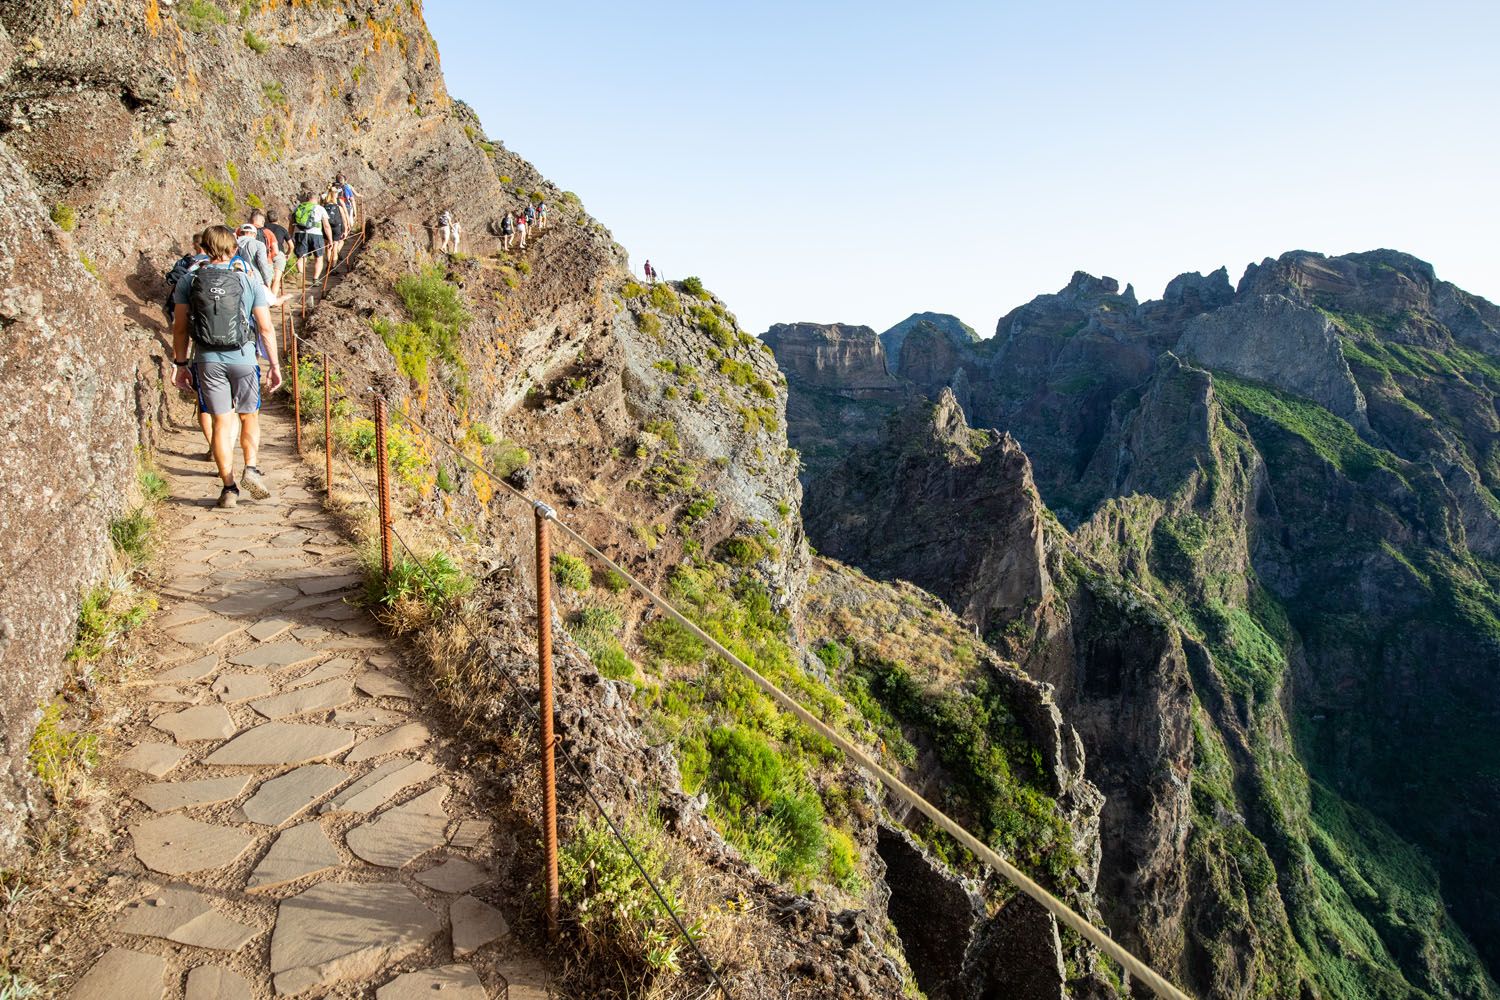
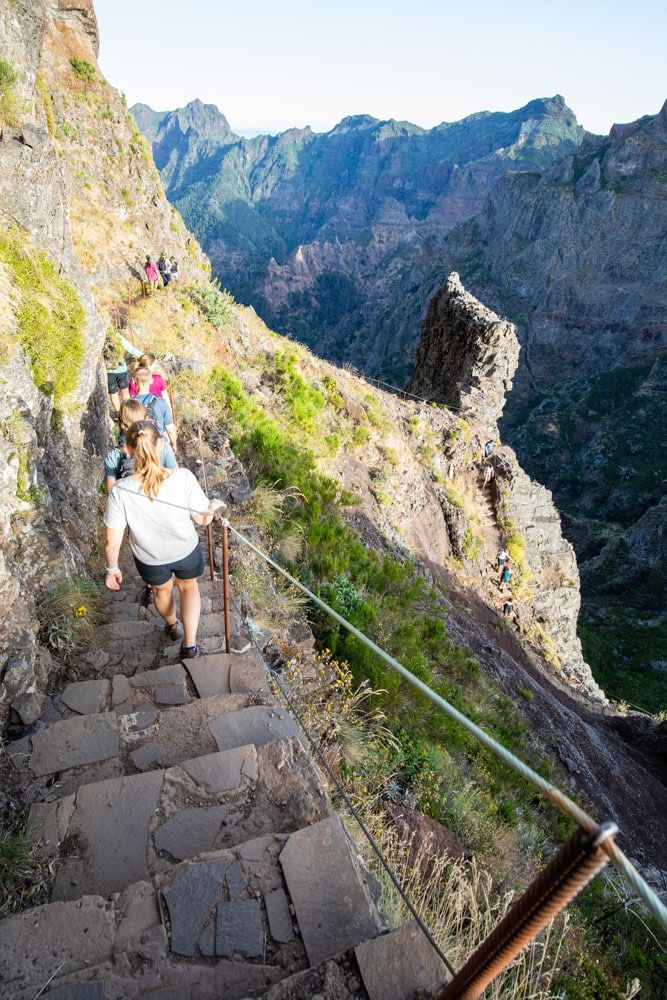
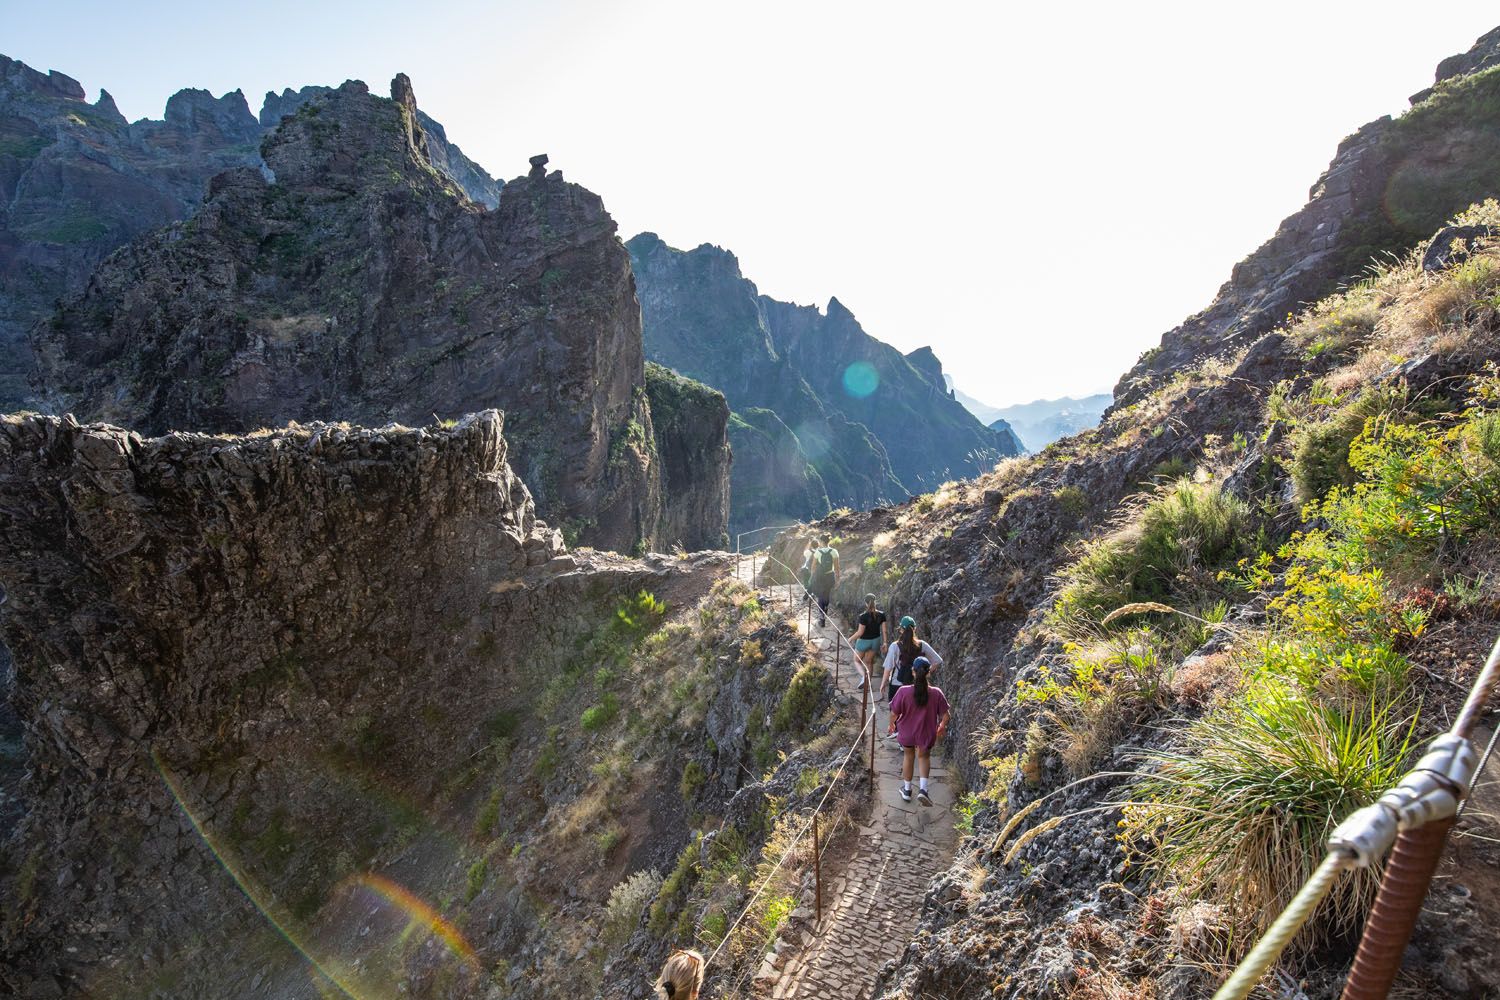
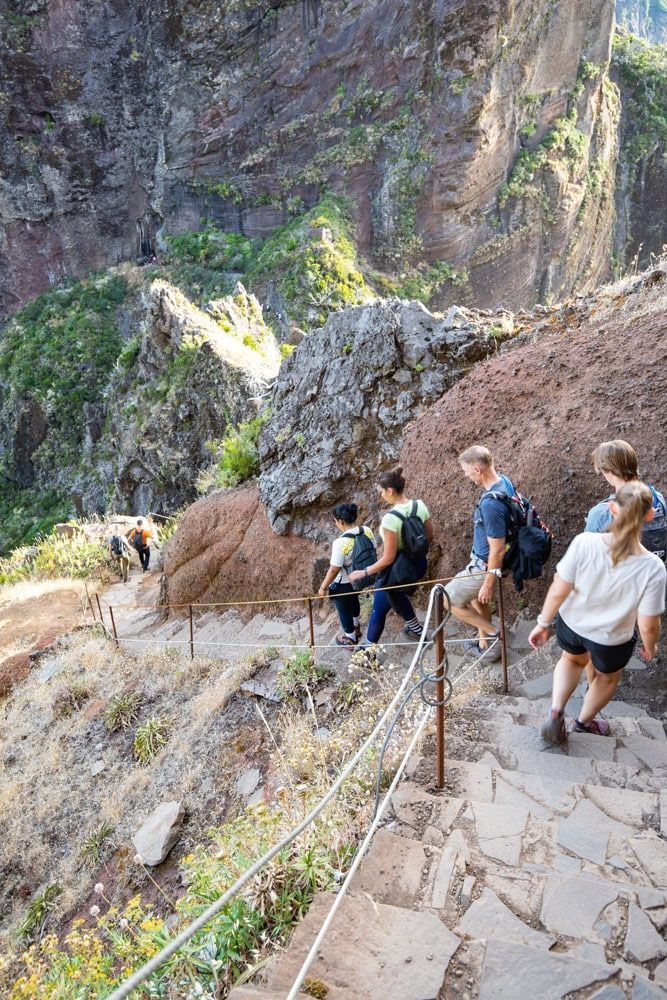
After the series of descents, the trail flattens out. You’ll pass through several dark tunnels, which are fun to navigate. We recommend bringing a flashlight for these sections. Waterproof hiking shoes are also good to have. Some of these tunnels have standing water, even in the summer, and there’s a chance you could get soaked, muddy feet if you don’t watch your step.
The trail then starts a long ascent, initially with large staircases and then it transitions to steep, switchbacking trails. This part of the hike is tough!
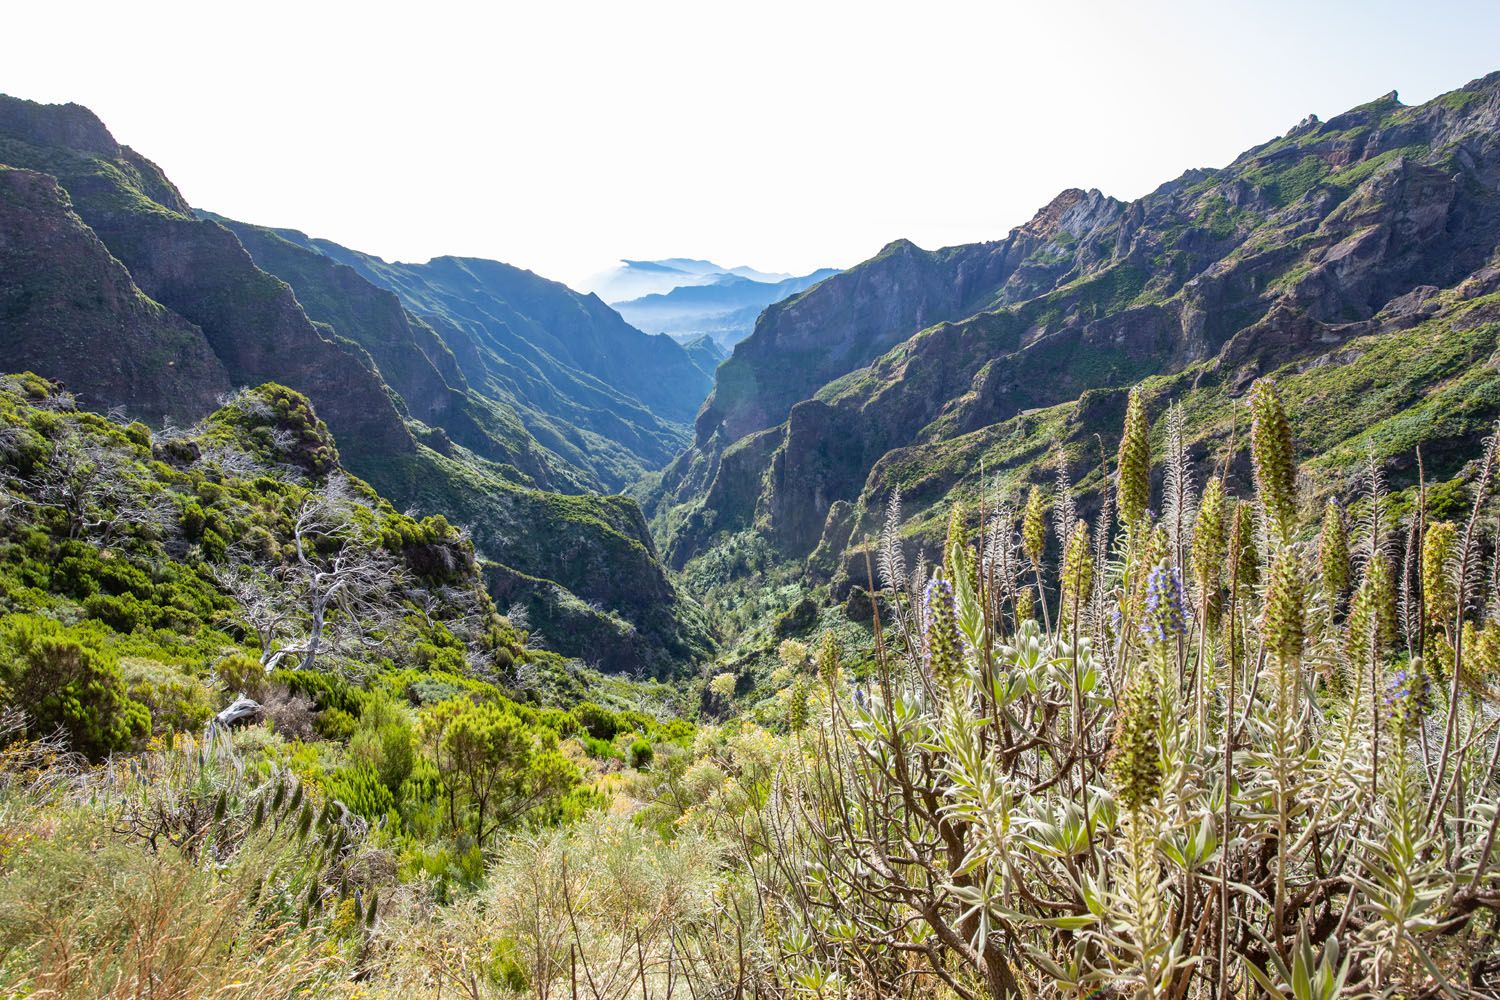
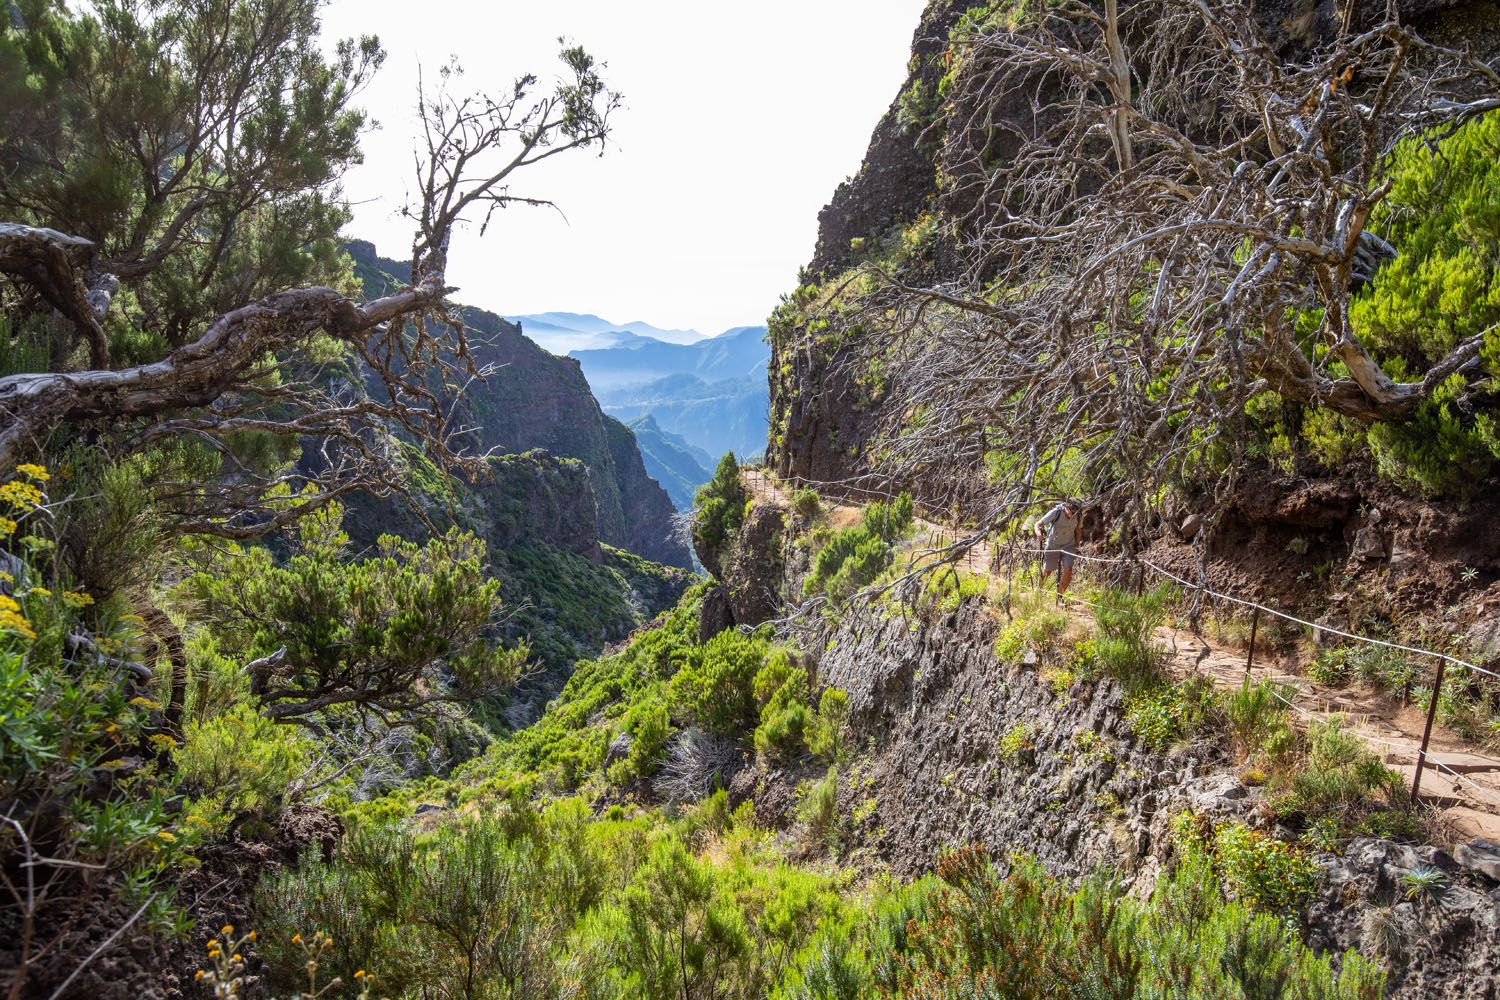
Casa de Abrigo to Pico Ruivo
As you approach Casa de Abrigo, a mountain hut, you come upon a trail split. One direction leads to Pico Ruivo, Madeira’s highest peak, while the other leads to Achada do Teixeira.
Follow the trail to Pico Ruivo. You’ll then quickly come upon Casa de Abrigo where you can enjoy its patio with outdoor seating and take a break from the ascent so far. There are bathrooms here and sometimes the hut is open. Don’t depend on that though as it was closed during our visit. With that being said, you will need to bring all of the water you think you need for the hike and can’t rely on getting it at this hut.
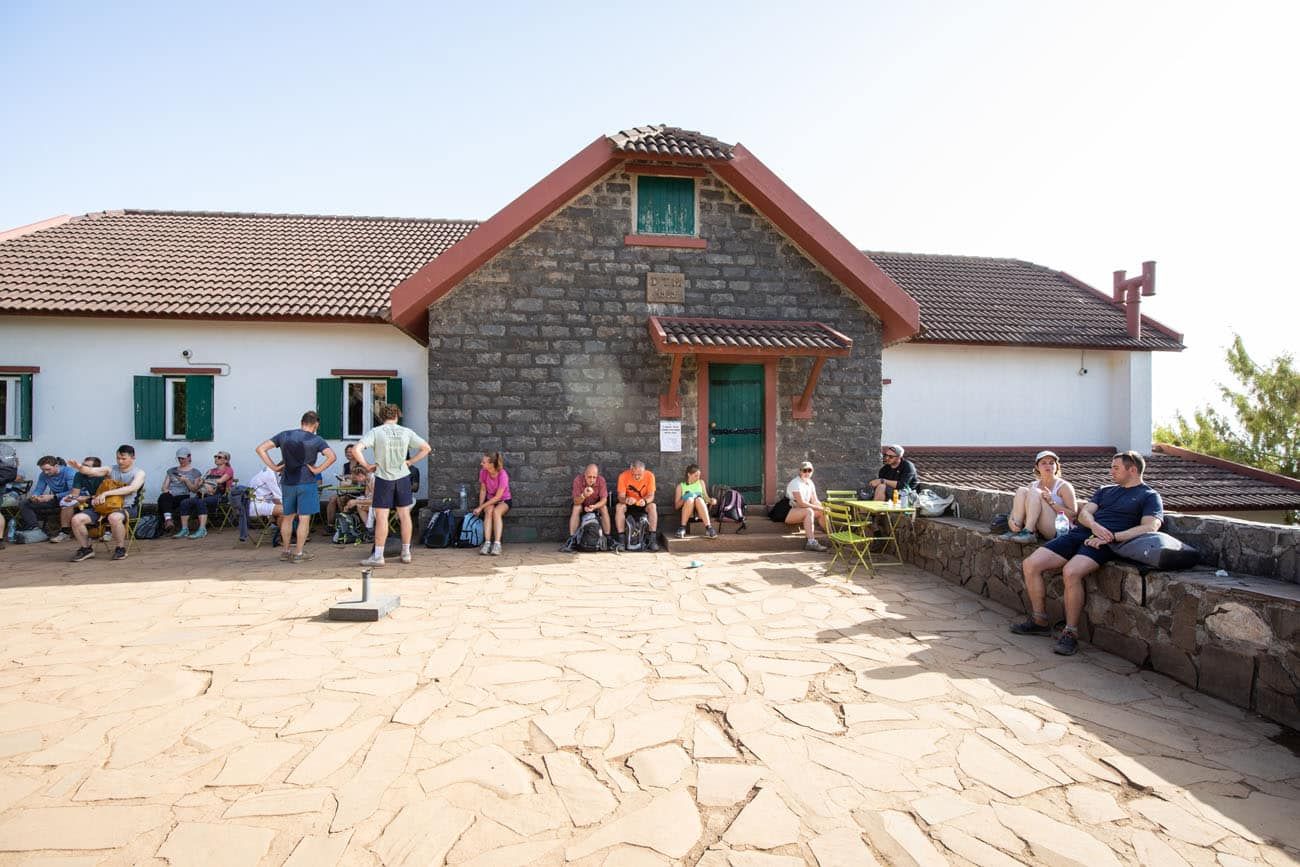
From Casa de Abrigo, you’ll make your final ascent (roughly 0.5 km or 0.3 miles more of hiking) to Pico Ruivo. It’s a short hike but it is steep and after what you just did, this feels very challenging.
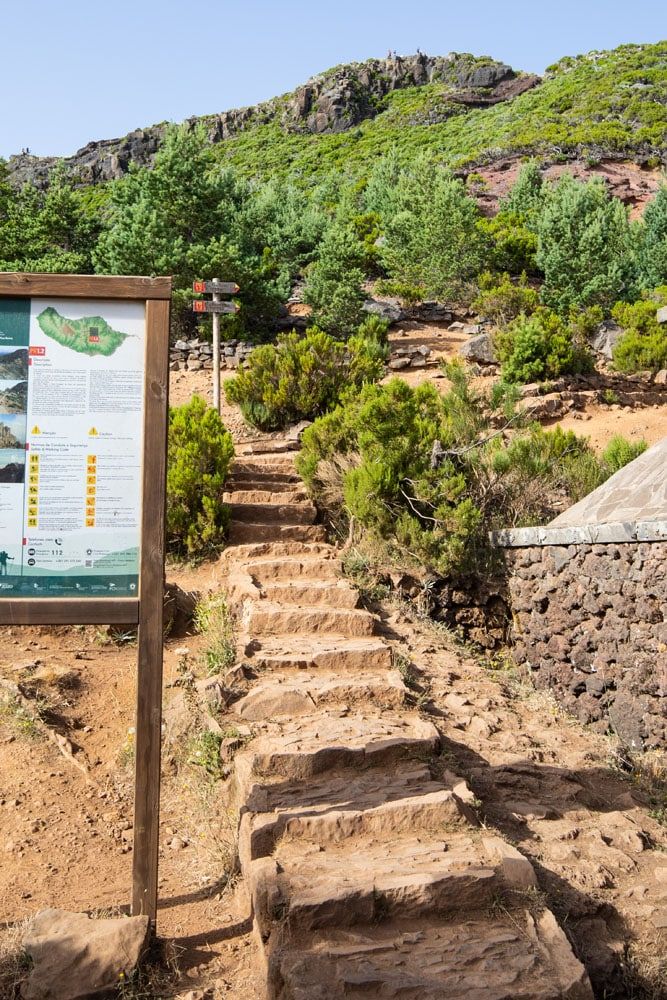
The start of the climb to Pico Ruivo
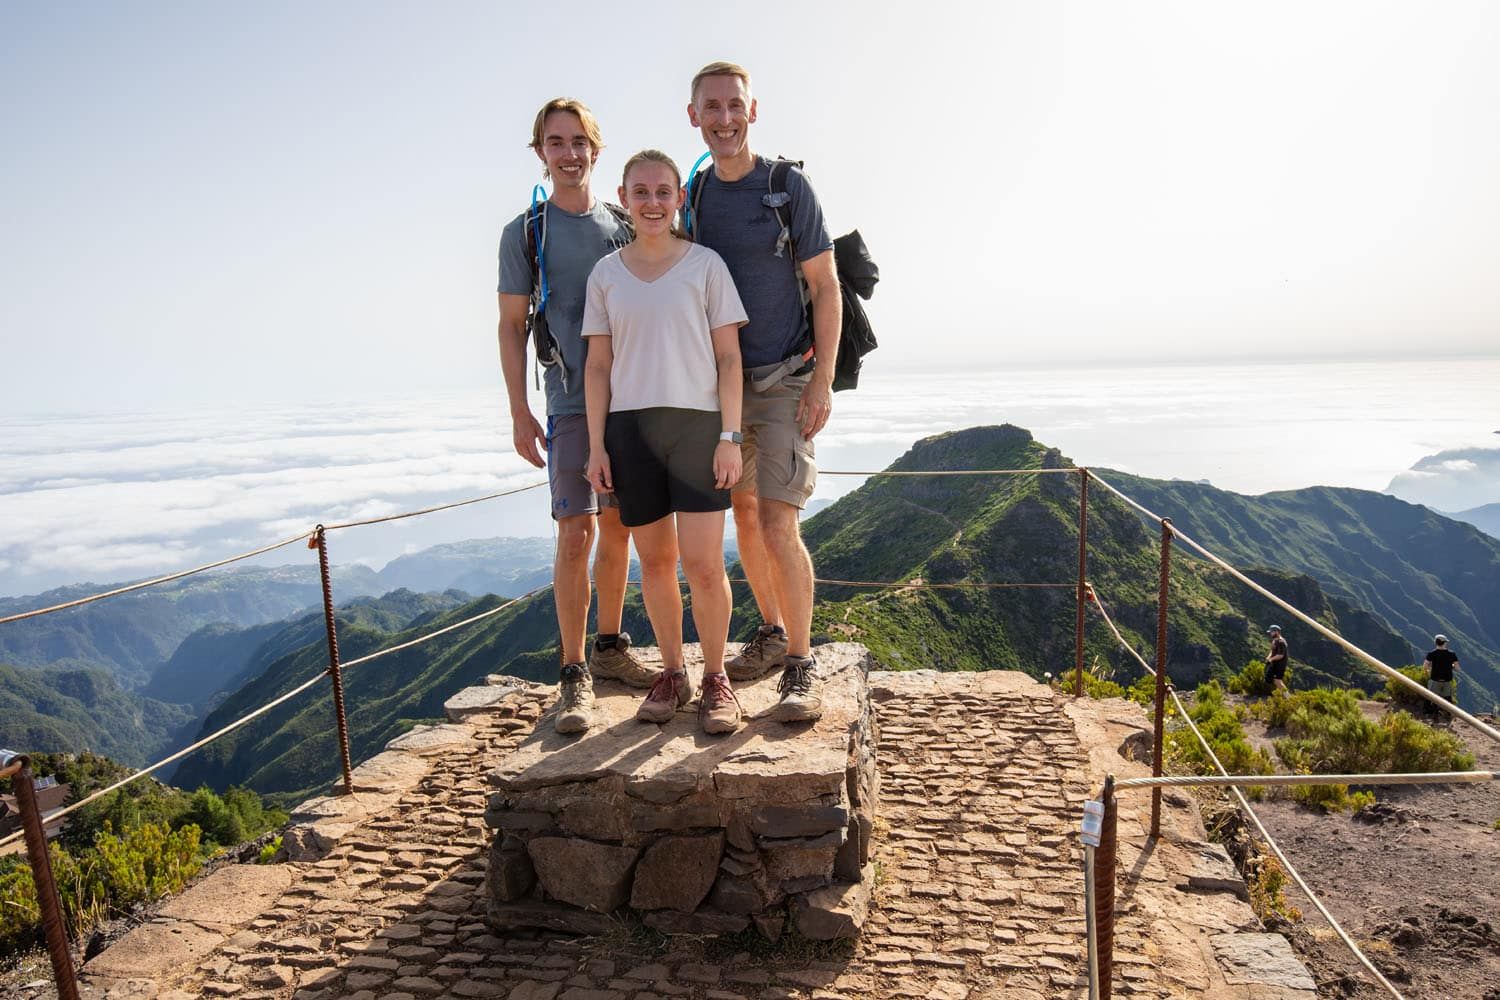
The view from Pico Ruivo is stunning, offering panoramic vistas over the valleys and the distant Madeiran coastline.
Pico Ruivo
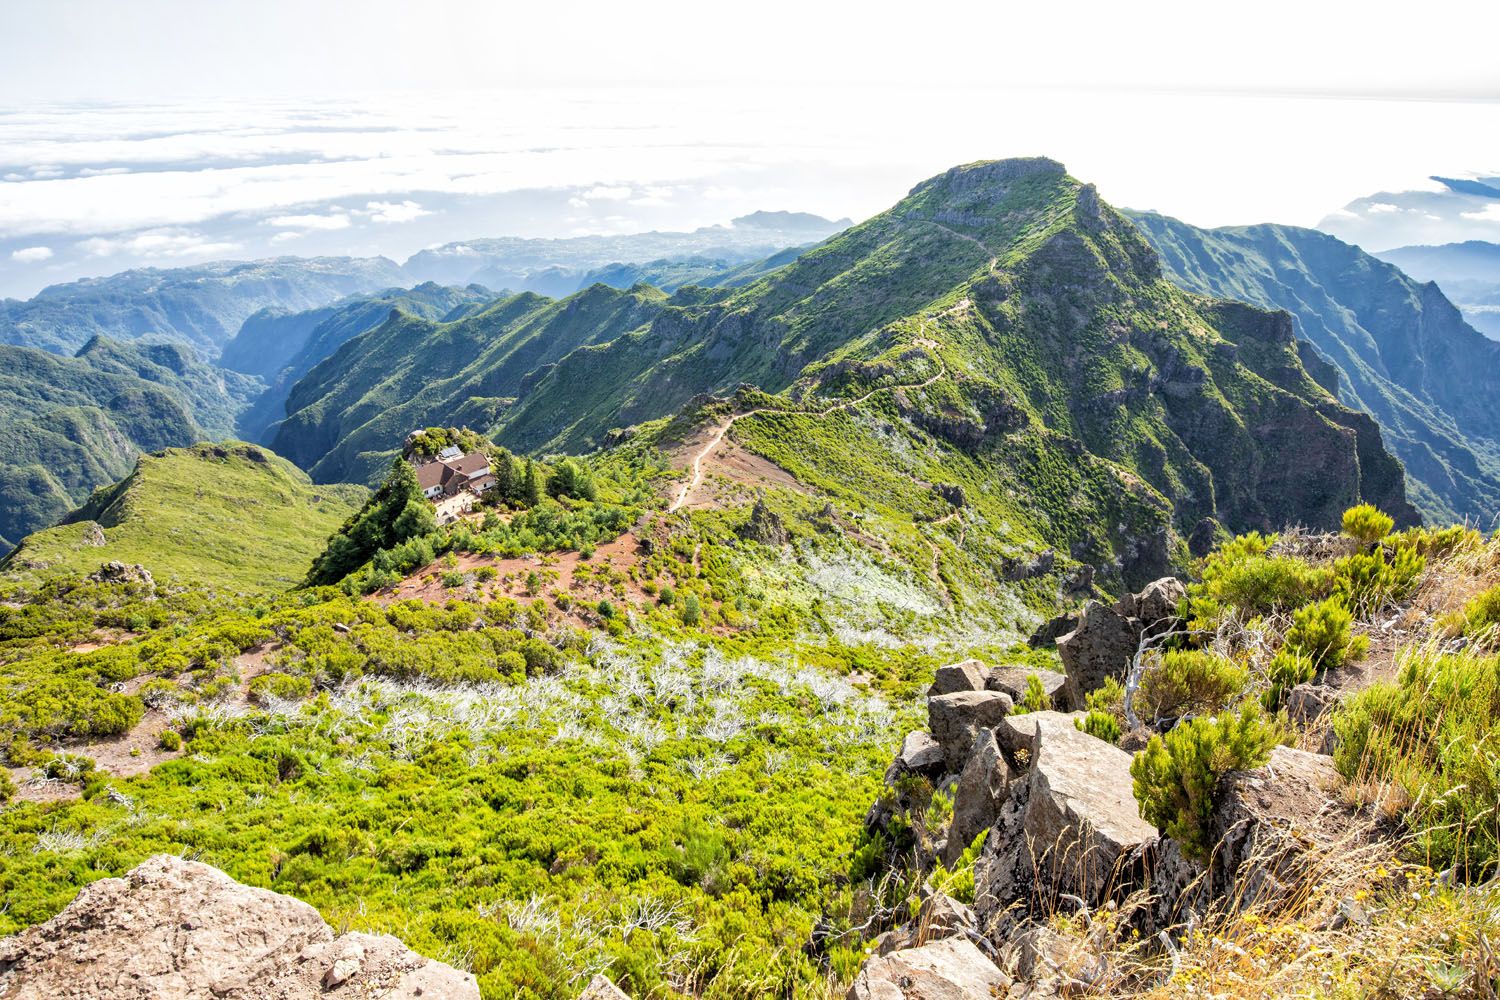
The view from Pico Ruivo of Casa de Abrigo and the trail to Achada do Teixeira
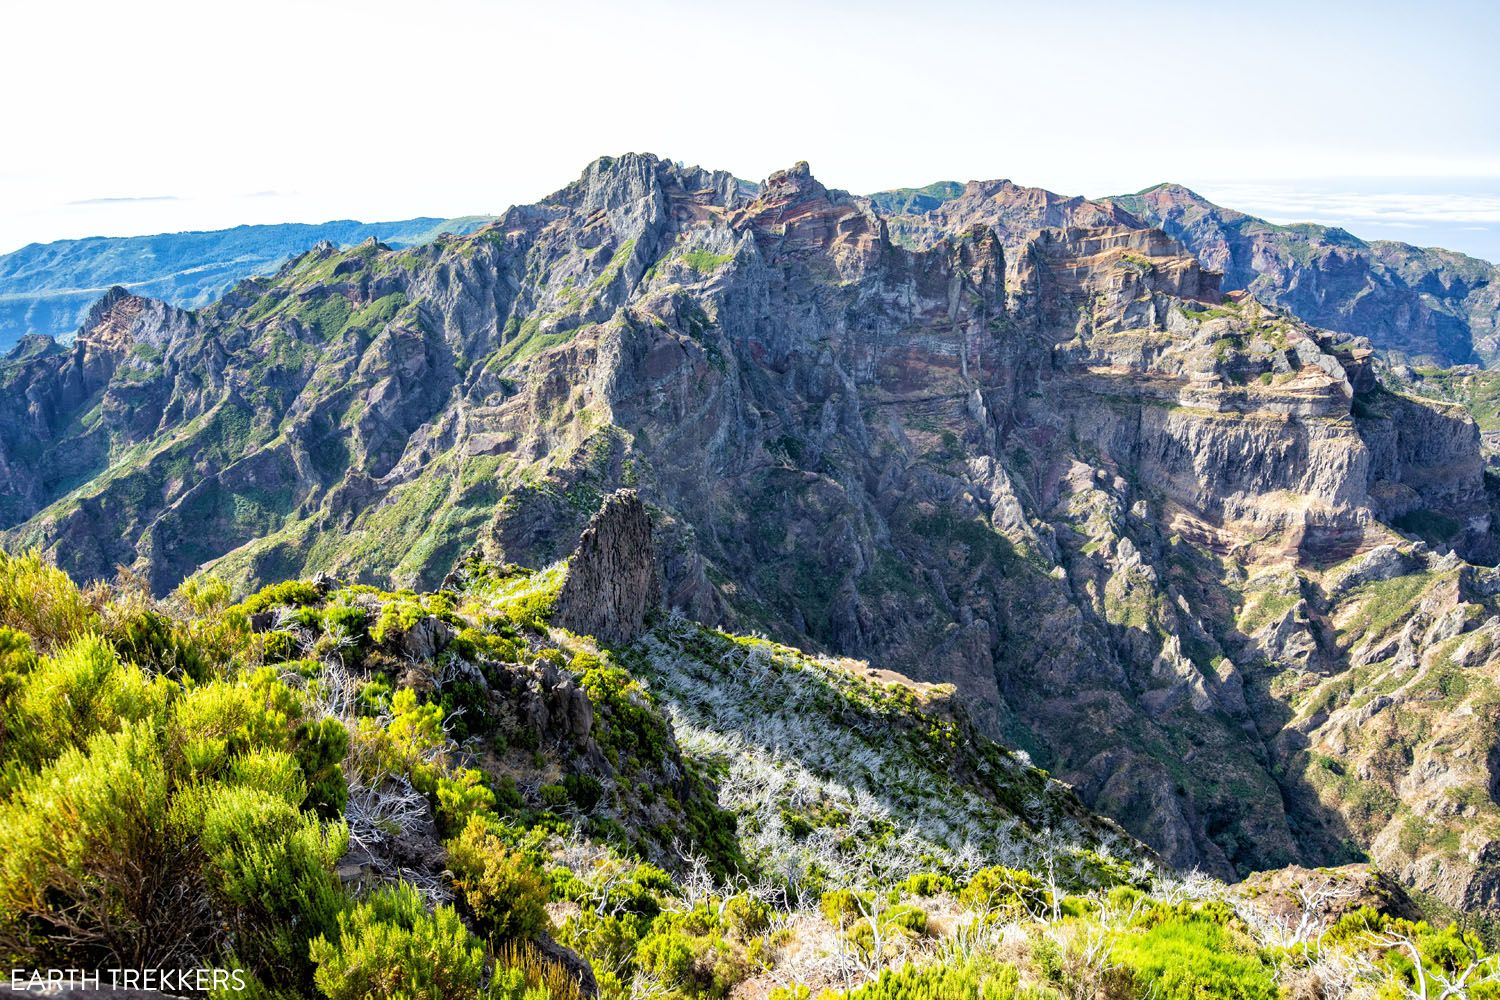
Looking from Pico Ruivo to Pico do Arieiro
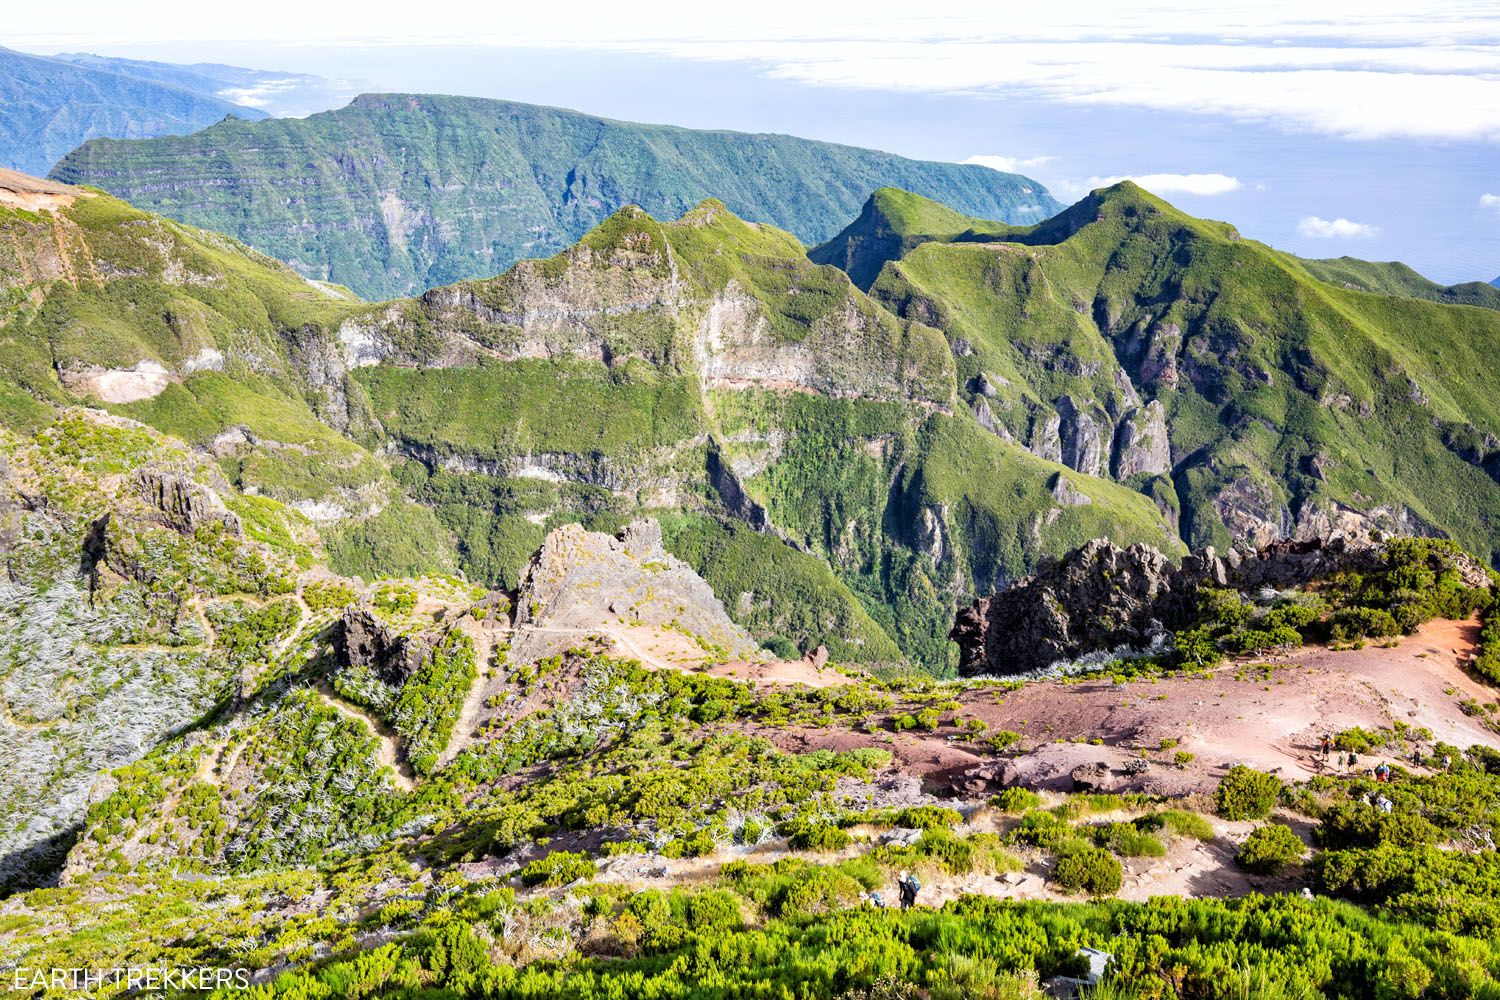
One more view from Pico Ruivo…the views on a clear day are amazing!
Pico Ruivo to Achada do Teixeira (PR 1.2)
After summiting Pico Ruivo, backtrack to the trail split located just beyond Casa de Abrigo. Take the path that heads towards Achada do Teixeira. This final section involves a gradual descent, making it quick and easy to hike.
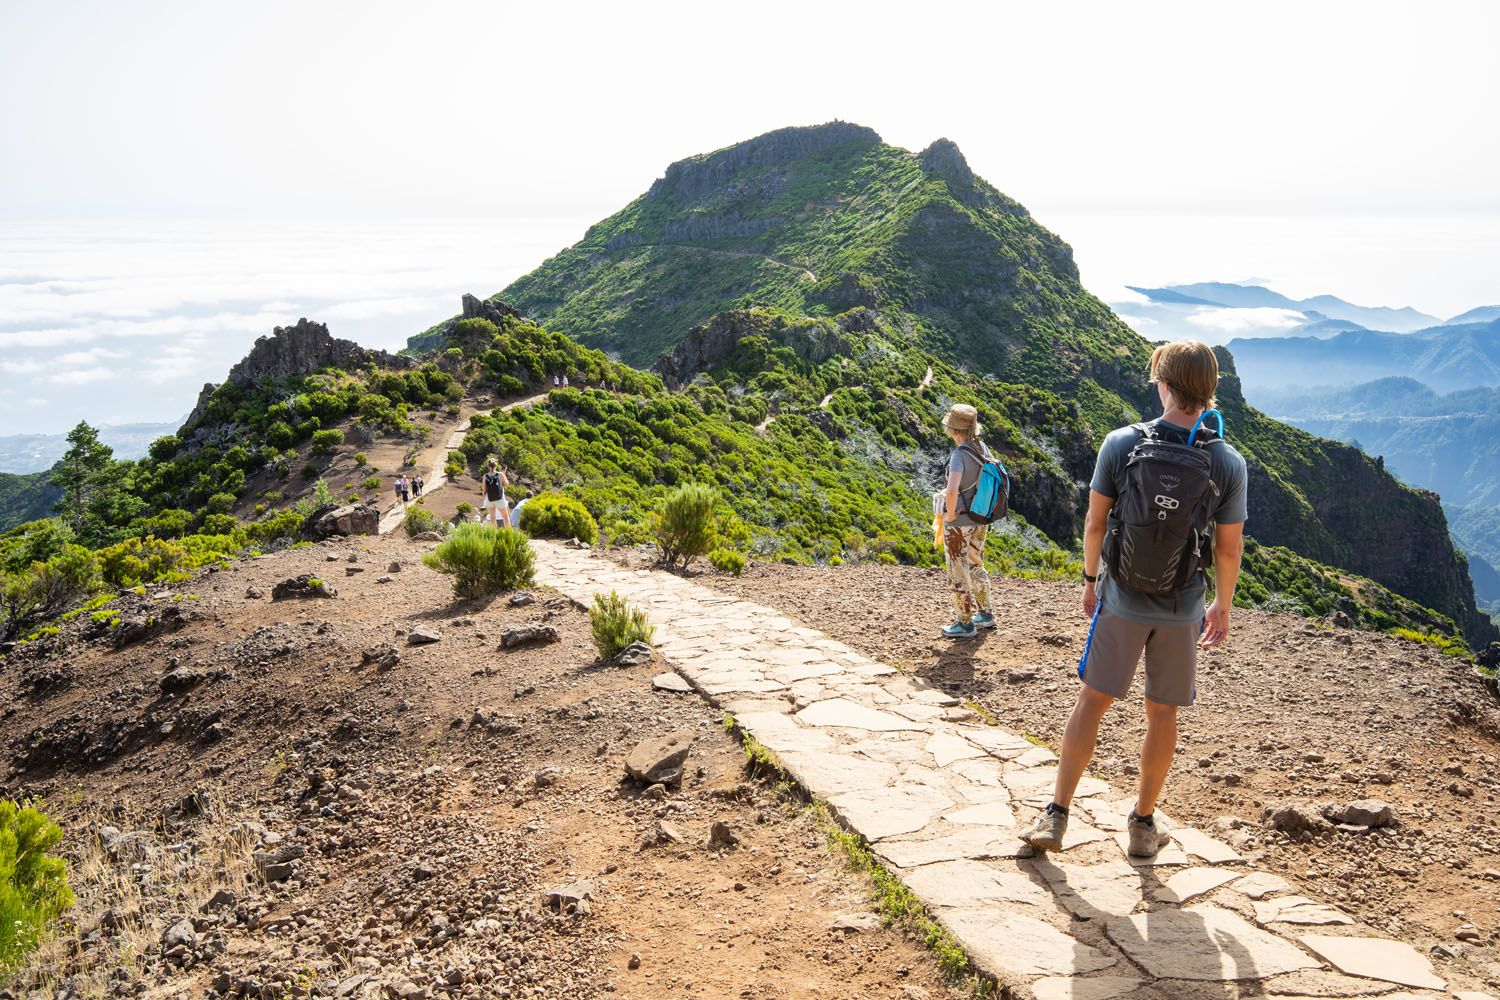
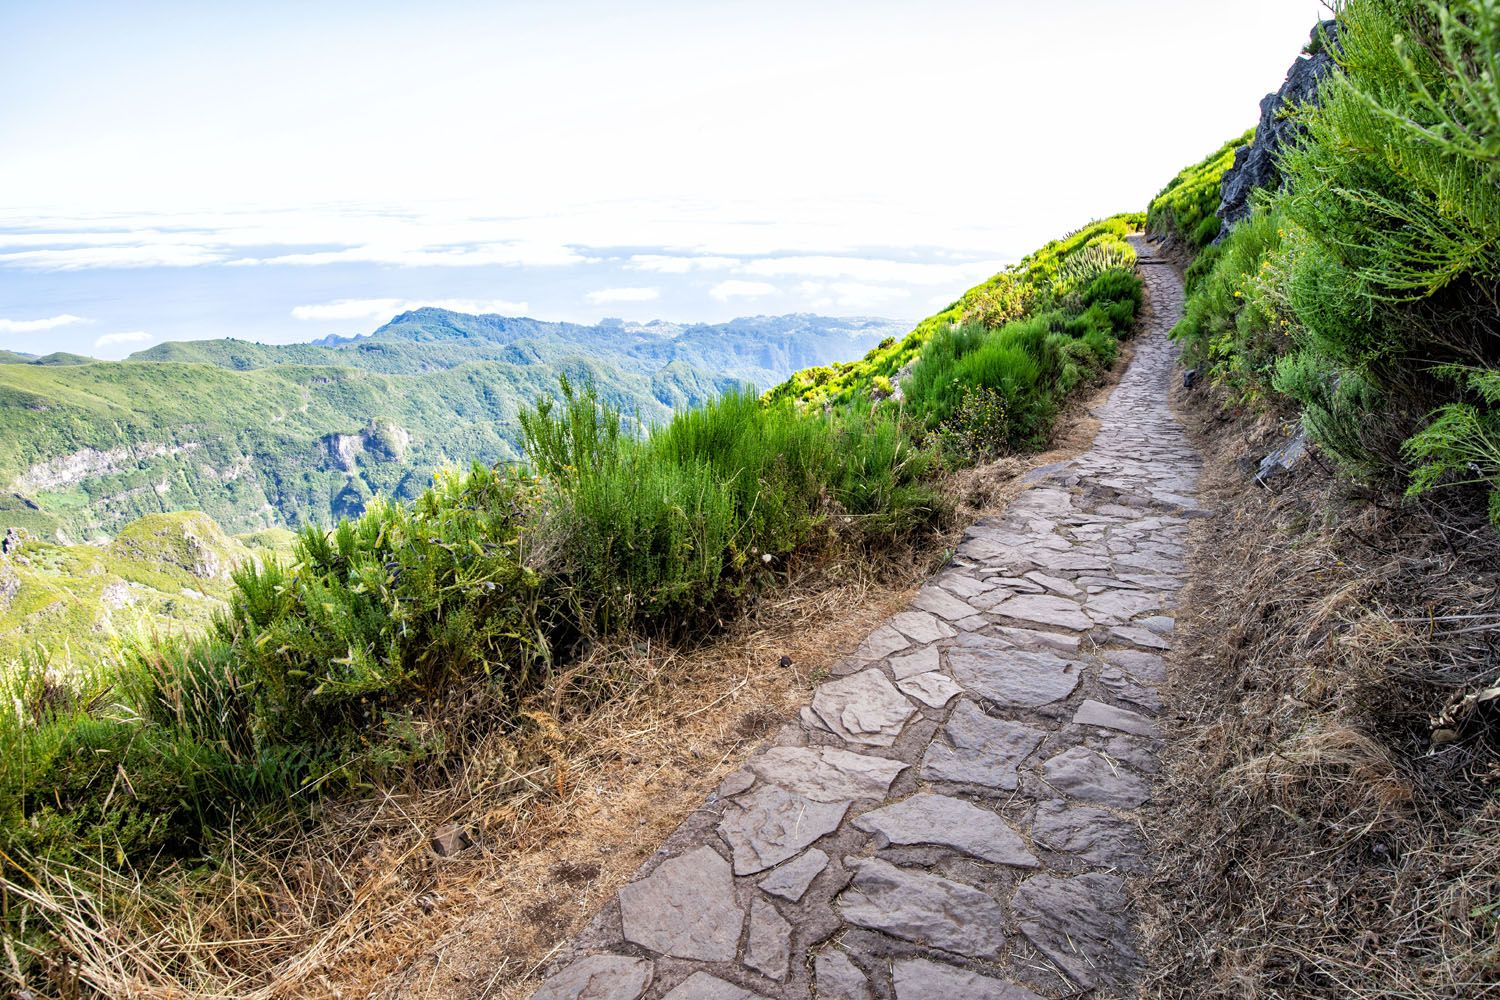
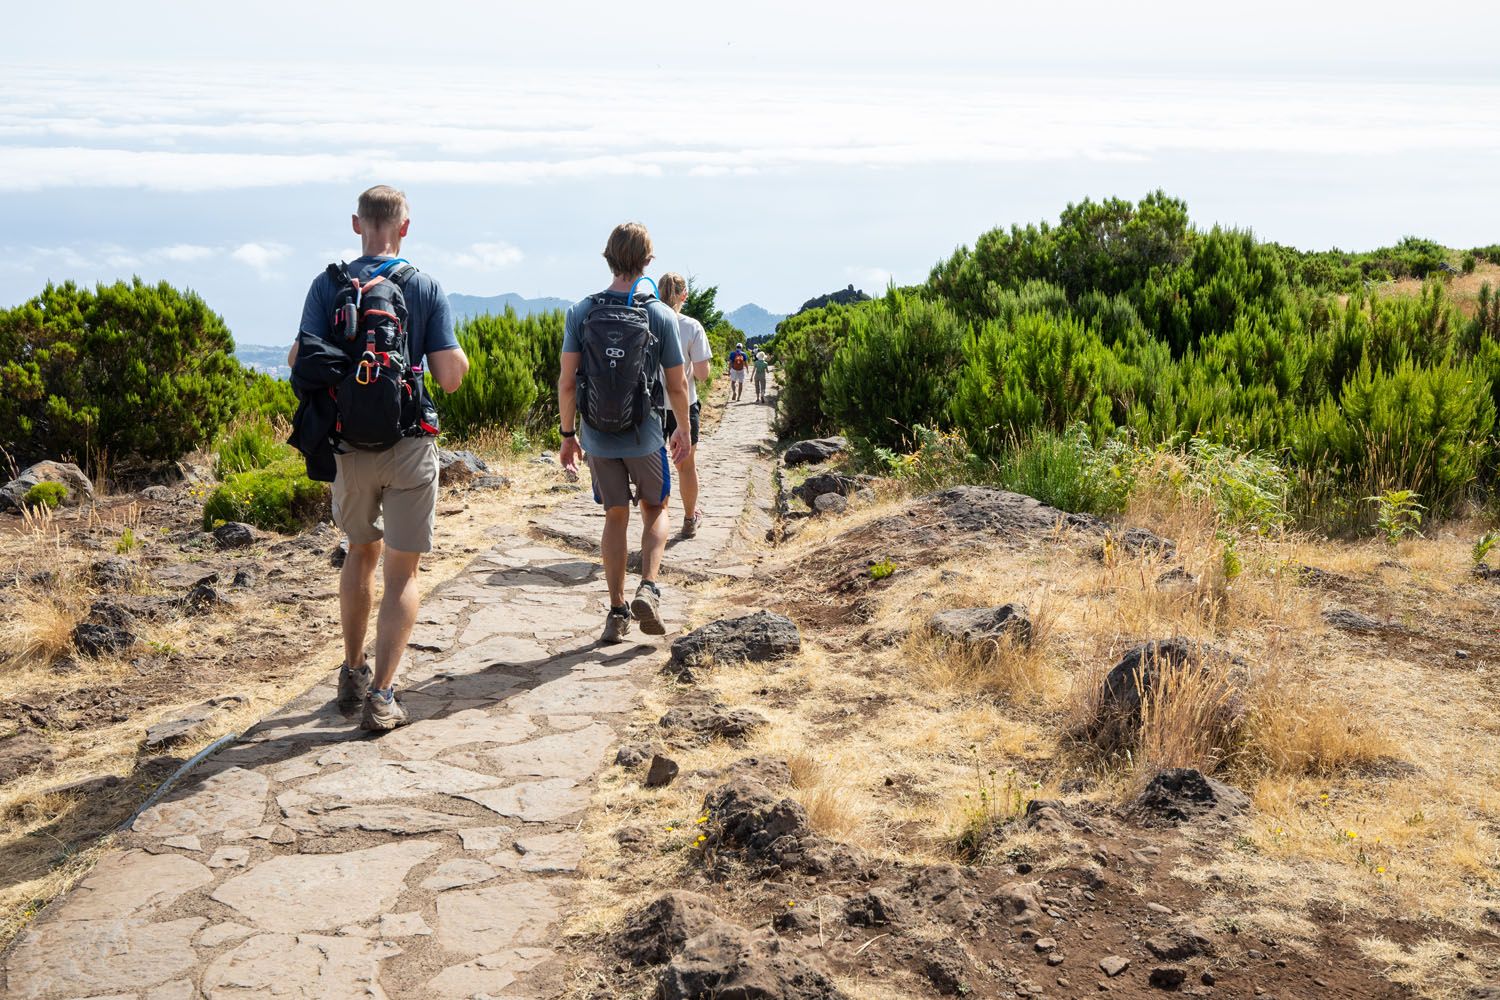
At Achada do Teixeira, there is a parking lot, cafe, and bathrooms. The cafe offers sit-down meals and take-away pastries and drinks. You’ll need a 50-cent coin to enter the bathrooms, which they will give you if you order something from the cafe.
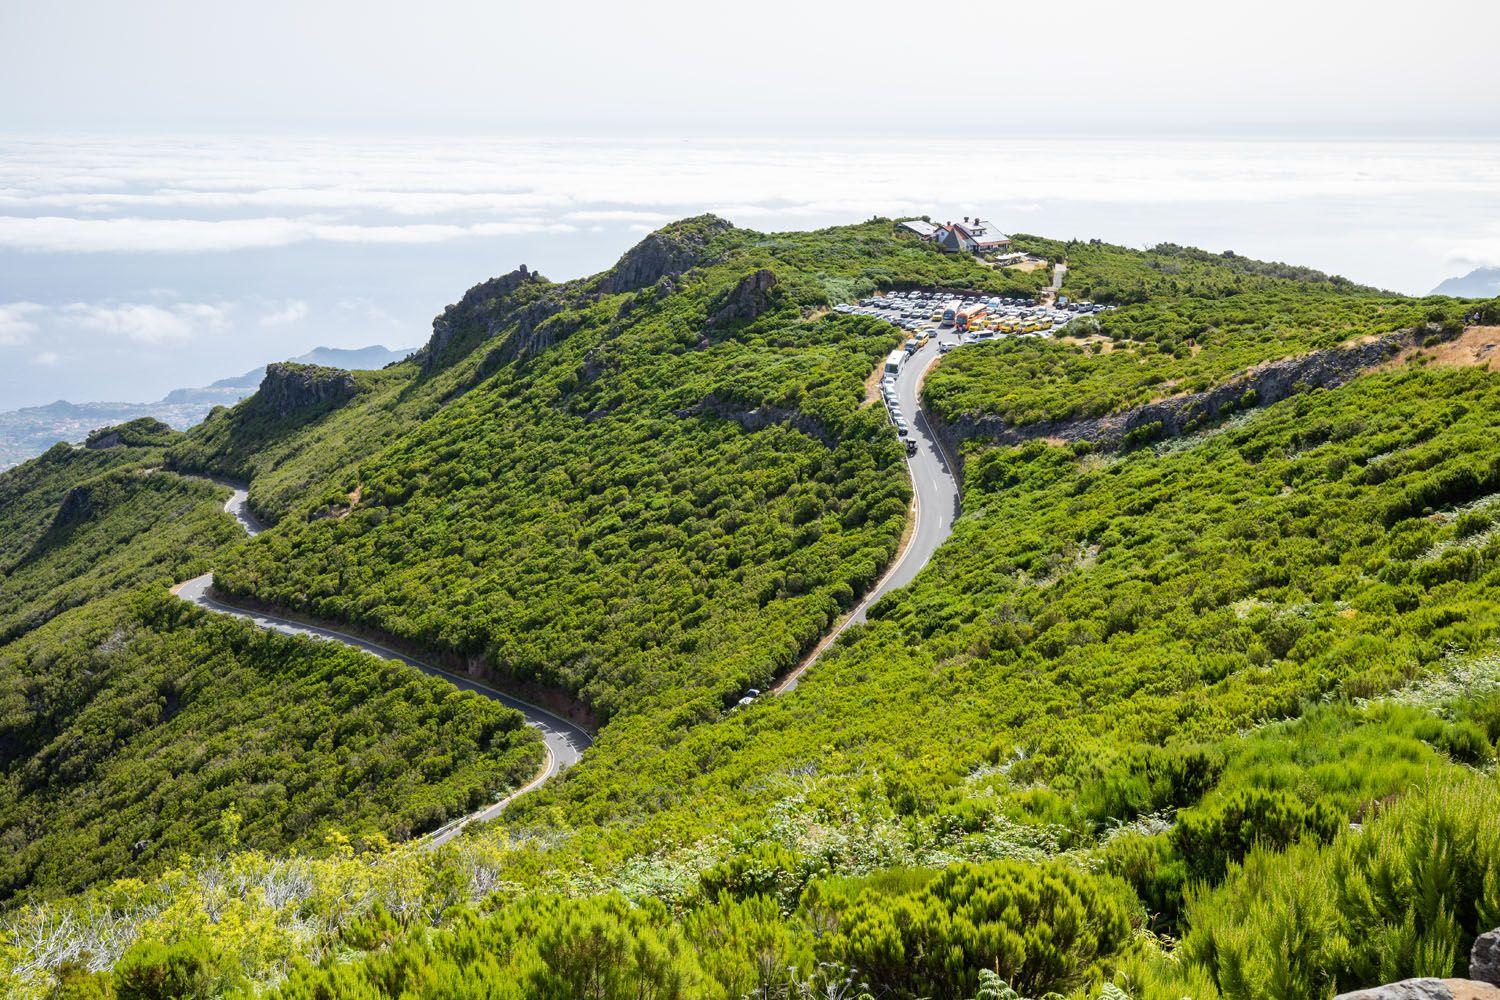
Achada do Teixeira
If you plan to do this, bring plenty of water. We did this in July and each of us drank 3 liters of water on the hike and still felt a little dehydrated. Bring at least 3 liters of water per person.
And don’t underestimate the summer heat. In July, it can feel hotter on the mountain peaks than down by the water, and when we did this, there was a heat alert for the mountains.
It may seem like a hassle and extra time and money to arrange a transfer, but it is time and money well spent in our opinion, especially during the busier, hotter months.
Please practice the seven principles of Leave No Trace: plan ahead, stay on the trail, pack out what you bring to the hiking trail, leave areas as you found them, minimize campfire impacts, be considerate of other hikers, and do not approach or feed wildlife.
How to Get to Pico do Arieiro
Driving to Pico do Arieiro
While Google Maps often suggests the shortest route, it might not be the safest option for reaching Pico do Arieiro. The route Google recommends may include steep hills that are difficult and unsafe for many drivers. This happened to us and we witnessed a car needing to be pushed up the hill, which highlights the challenges of some of the routes Google may suggest.
Instead of following your GPS’s default route, opt for roads that are less steep and more manageable. After exploring the area, we strongly recommend driving the following route even if Google says it takes more time:
From E101 in Funchal, take ER102 to ER203. At the end of ER203 you will merge right onto ER103. Roughly half a kilometer on ER103 you will pass Abrigo do Poiso Restaurant on your left. Immediately past this restaurant turn left and that road will take you up to Pico do Arieiro (there is signage at the turn).
Know that the restaurant is labeled on Google Maps but the road you turn left onto just past the restaurant doesn’t currently have a name on Google Maps.
Parking
There are two parking areas at Pico do Arieiro.
The upper paved parking lot at Pico do Arieiro, the parking lot near the end of the road at the top of the mountain, offers 1-hour spots intended for those watching the sunrise or just checking out the view.
For those wanting to spend more time, such as those hiking, there is a lower dirt parking lot 1.3 km (0.8 miles) back down the road from the upper paved lot. This parking lot is labeled as “Parque de Pico do Areeiro” on Google Maps.
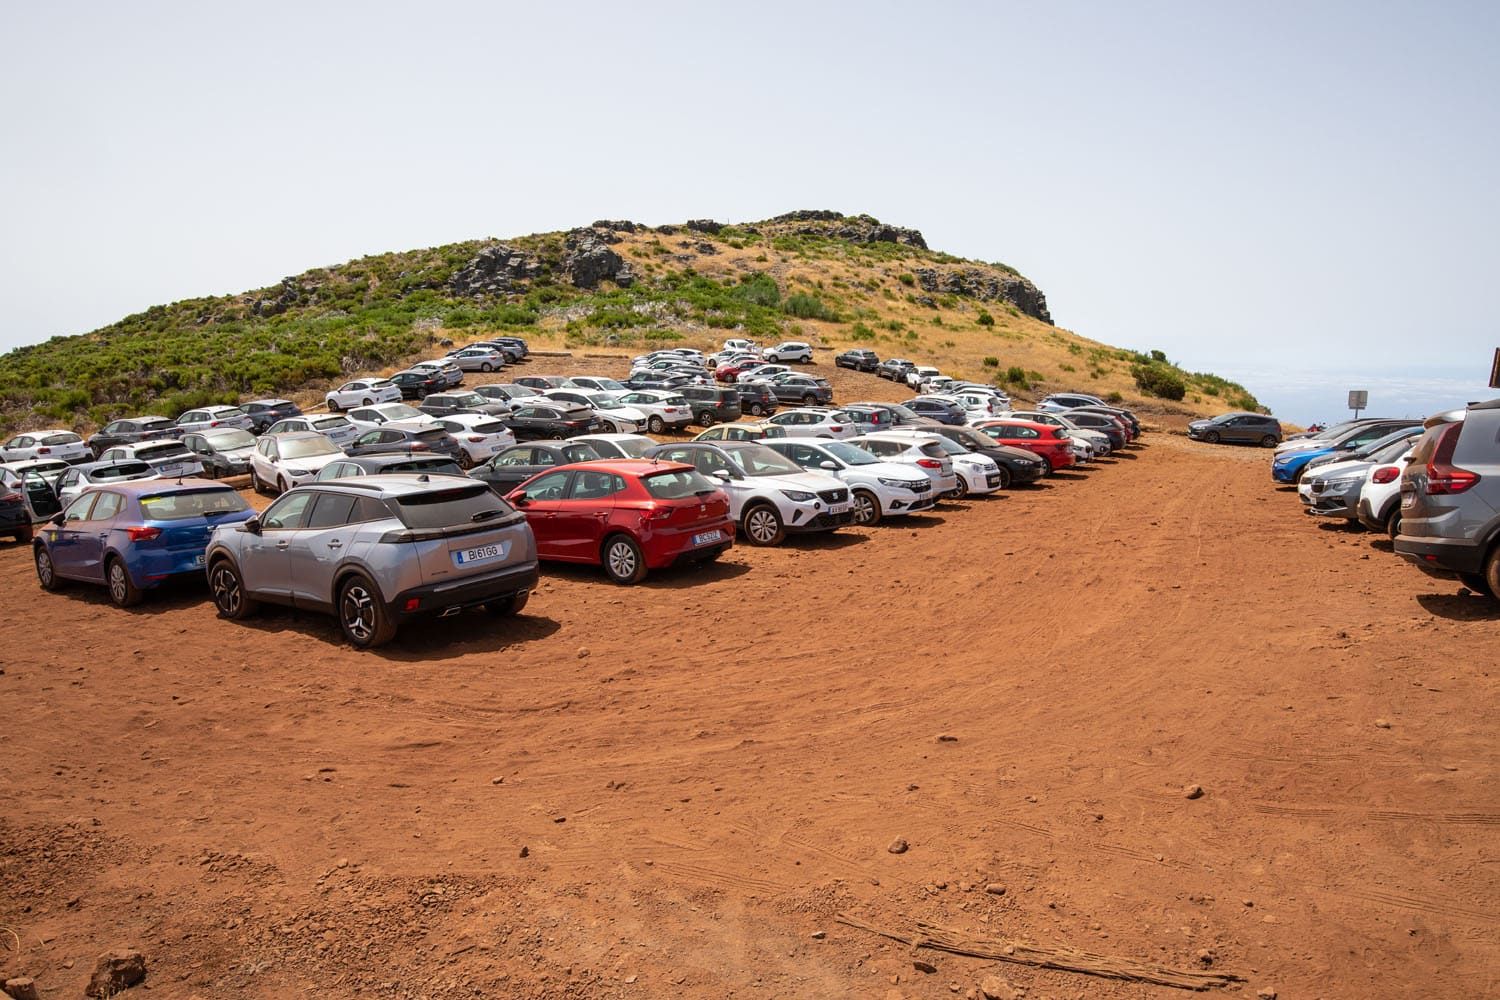
Across the street from the lower parking lot is a dirt trail you can follow straight up to the viewing area. This portion of the trail is about 0.8 km (0.5 miles) long. Follow this trail as walking along the road is not recommended. The road takes longer and can be dangerous with passing vehicles. And if you are here before sunrise, it will be dark. Our flashlights on our iPhones were sufficient but a headlamp would be great, too.
We parked at the lower lot 60 minutes before sunrise and we were able to get a parking space, but a lot of cars were coming in at the same time so the lot was filling up quickly. We reached the upper parking lot about 45 minutes before sunrise and it was completely full. There was also already a large number of people at the viewing platforms 45 minutes before sunrise.
Shuttles, Taxis & Tours
If you plan to hike from Pico do Arieiro to Pico Ruivo to Achada do Teixeira point-to-point, you will need to arrange transportation. You can either arrange a pickup at Achada do Teixeira back to Pico do Arieiro or hire a shuttle service that handles all of your transportation for the hike.
We strongly suggest pre-arranging any transportation service you plan to utilize. Don’t rely on calling an Uber or expect there to be available taxis just waiting for fares (it is possible that there will be taxis available but arranging one in advance is very easy). You are at the top of a mountain and it can take a while for taxis to get here from the main towns.
Taxi
We used the following taxi service, which operates a fleet of taxis and drivers, and we were happy with the service they offered. We communicated with them via WhatsApp and they were responsive and professional.
Nelson Lala Taxi Service
Tel: (351) 964 487 595
Email: nelsonlalataxi@hotmail.com
We drove to Pico do Arieiro and hiked to Achada do Teixeira, so we pre-arranged our taxi to return us from Achada do Teixeira to Pico do Arieiro. We set a pickup time in advance and messaged the taxi service just before leaving Pico Ruivo, the only place on the trail where we had cellular service. This was just a friendly notice of how we were doing relative to our scheduled pickup time. Allow 45 minutes to hike from Pico Ruivo to Achadas do Teixeira.
It took a little more than an hour to drive from Achada do Teixeira to Pico do Arieiro. This becomes a long day, with 3 to 5 hours of hiking, an hour drive back to Pico do Arieiro, and then the drive to your hotel.
Another option to consider is having a taxi take you from your hotel to Pico do Arieiro and a taxi take you from Achada do Teixeira back to your hotel. This saves the hassle of getting a parking space and having to return back to Pico do Arieiro to pick up your car.
Shuttle Service
GetYourGuide has multiple transportation options.
If you do this hike as we outline in this guide, this shuttle service will pick you up at Achada do Teixeiro and drive you back to the parking lots at Pico do Arieiro.
This shuttle service picks you up in Funchal, drops you off at Pico do Arieiro, picks you up at Achada do Teixiera, and drives you back to Funchal. It is a great option because it handles all of your transportation. This is another shuttle service with the same route.
If you are not staying in Funchal but want to and from transportation to the hike, this shuttle service offers multiple pickup locations on the island.
Pico do Arieiro to Pico Ruivo Guided Hike
This guided hike includes your transportation and hiking guide. It does the hike how we outline it in this guide, hiking from Pico do Arieiro to Pico Ruivo to Achada do Teixeira.
Sunrise at Pico do Arieiro
Pico do Arieiro is Madeira’s most popular sunrise location, offering stunning views without the need for hiking. However, its location deep in the mountains often brings low-hanging clouds, which can obscure some of the vibrant sunrise colors.
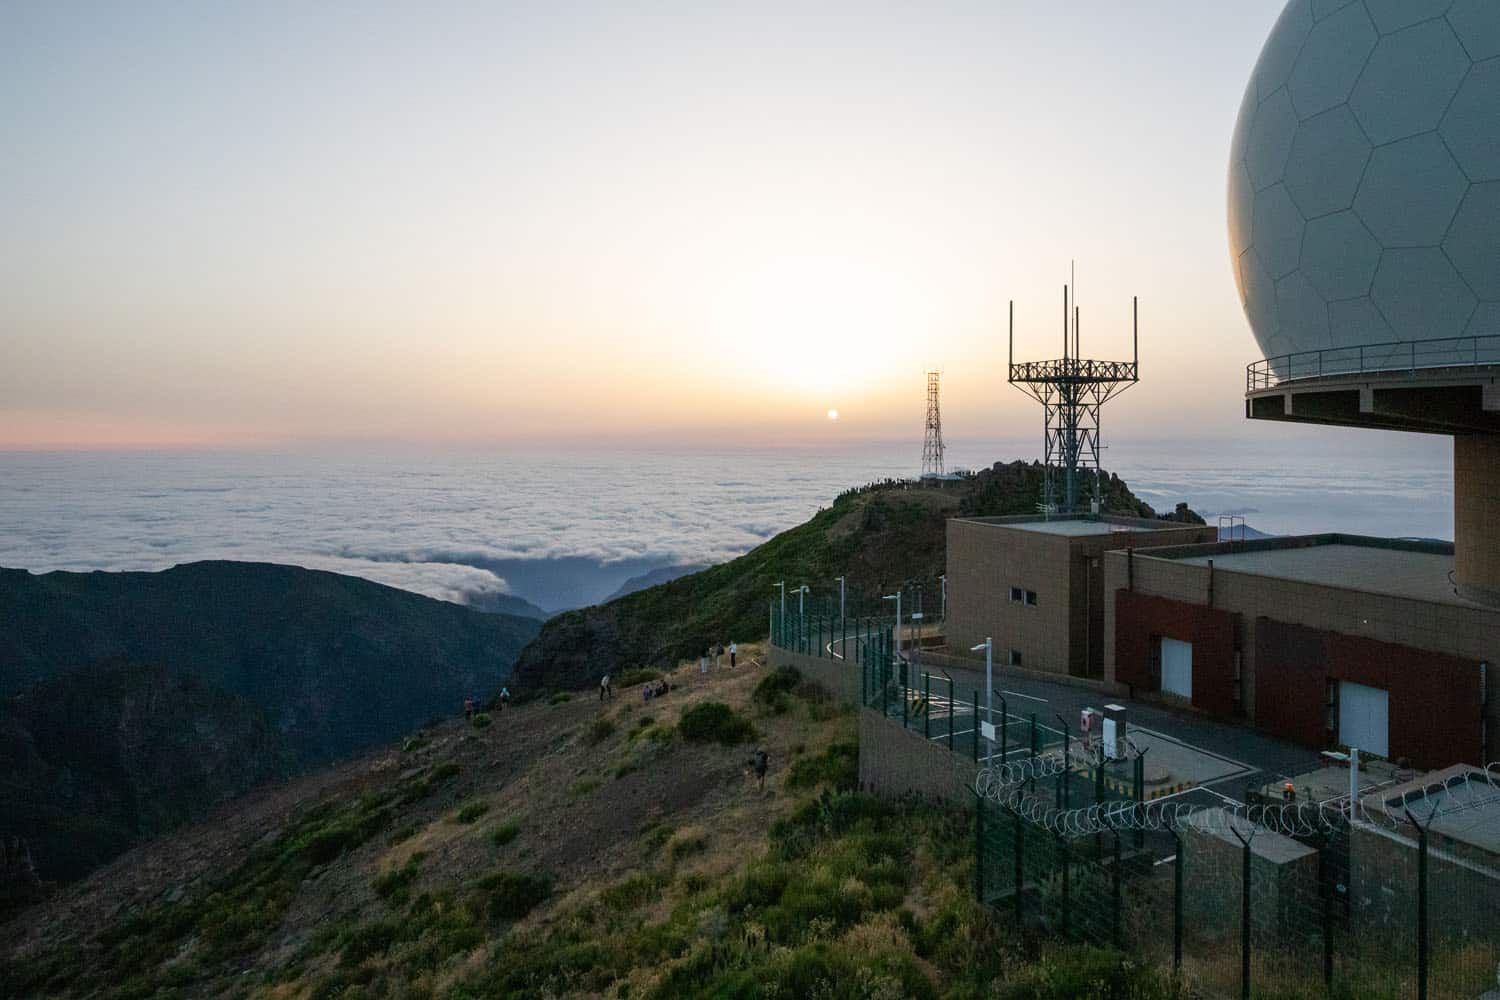
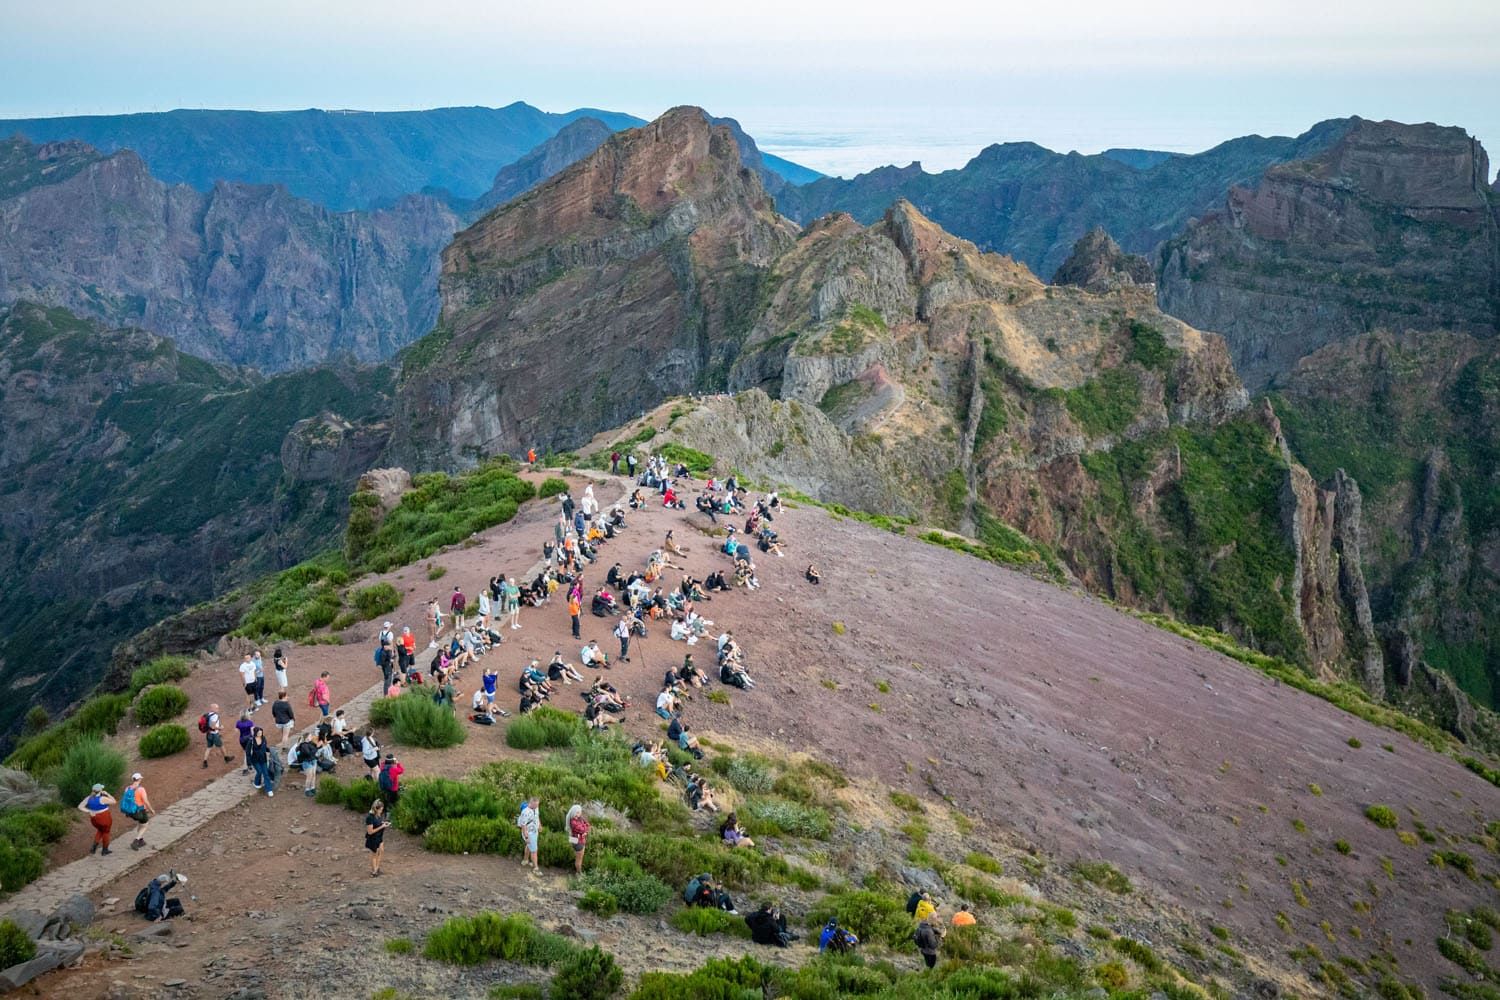
People awaiting the sunrise at Pico do Arieiro
It is the most crowded sunrise viewpoint on the island and has multiple viewing areas. While it has a sizable parking lot, it’s best to arrive an hour before sunrise to secure a parking space.
You’ll want to arrive early regardless, as seeing the warm glow of the sky change before the sun peeks over the horizon is part of the show.
Check sunrise times here.
Weather Conditions
Be sure to check the weather before doing this hike. Hiking in cloudy or foggy conditions can be hazardous and obscure the stunning views that make this trail worthwhile. So, we recommend only doing this hike if the forecast shows sunny or partly sunny conditions. You can check the forecast here.
If the forecast isn’t favorable for a sunrise hike then check the webcam to see if conditions improve for hiking later in the day. But be mindful of the afternoon temperatures as there can be midday heat advisories in the summer.
What to Bring on the Hike
- Flashlight or headlamp: This will be helpful walking around before sunrise and in the tunnels along the hike. An iPhone or smartphone flashlight can be used as backup.
- Plenty of water (at least 3 liters of water per person in the summer)
- Snacks
- Sunscreen
- Hiking shoes
- Jacket and long pants. It can be cool during sunrise in the summer and it can be cold other times of year. Be prepared for strong winds and cold temps just in case.
- 50 cent coins to use the toilets
Essential Hiking Gear: What Should You Bring on a Day Hike?
If you are new to hiking or are curious about what you should bring on a hike, check out our Hiking Gear Guide. Find out what we carry in our day packs and what we wear on the trails.Things to Do After the Hike
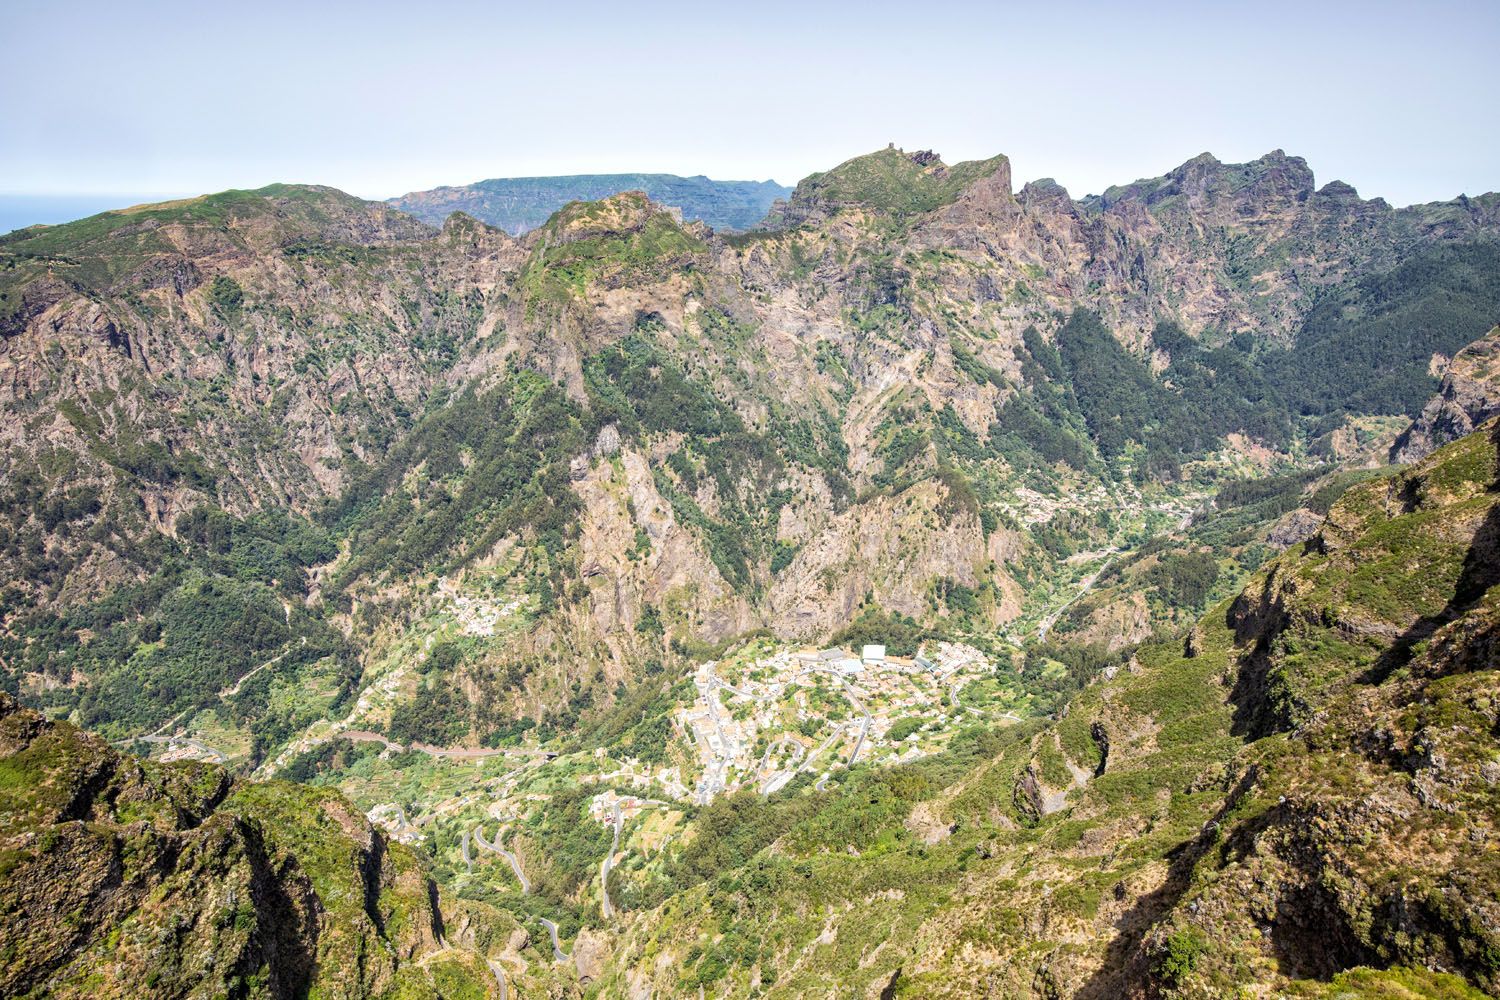
Miradouros do Paredão. It is an easy drive from Pico do Arieiro to this viewpoint. The viewpoint overlooks the Valley of the Nuns and is generally much less crowded than Miradouro da Eira do Serrado which also overlooks the Valley of the Nuns. There is a parking area at this miradouro.
Alforno Madeira. Head to São Martinho, in the municipality of Funchal, for lunch at this Italian restaurant.
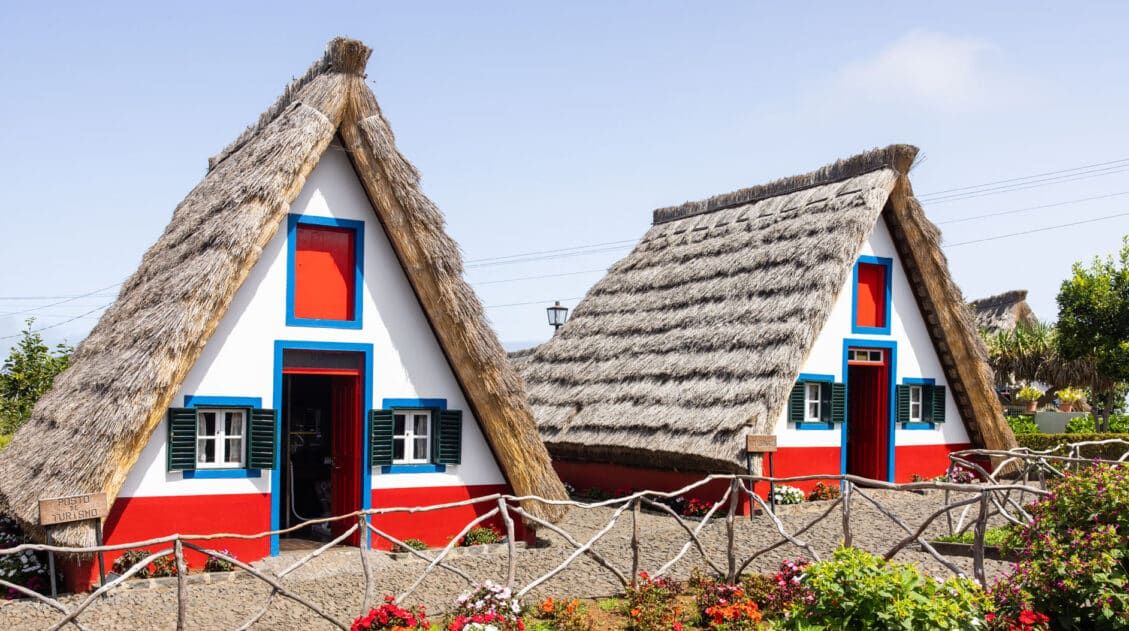
Casas Típicas de Santana. If you opt for the shorter version of the hike to Pico do Ruivo, out and back from Achada do Teixeira, then on the way down the mountain you can stop here and see the traditional Santana houses.
Frequently Asked Questions
When is the best time to hike from Pico do Arieiro to Pico Ruivo?
Hiking in Madeira can be done all year. However, the best time is in the spring and fall when temperatures are a little cooler and crowds are thinner. Summer is Madeira’s peak season and trails become overcrowded. Meanwhile, the winter offers colder temperatures but hiking is still possible when conditions are favorable. Just be aware that clouds and rain are more common from late fall through spring, so do this hike on the day with the clearest weather forecast.
Is the Pico do Arieiro to Pico Ruivo hike worth it?
Of all the hikes we did on Madeira, this one provides the most beautiful views and the most unique trail. Walking on narrow ridges over the deep valley below is spectacular and enjoyable. The only downside is the extreme crowds this hike attracts. Expect to be hiking in a long line of people slowly making their way with no way to pass, if you will be in Madeira during the busy summer months. If that does not bother you, then this hike will be worth it.
Do I have to do this as a sunrise hike?
No! While it is generally done in combination with watching the sunrise from Pico do Arieiro, you can wait until after sunrise to hike this trail. That allows you to check the Pico do Arieiro webcam for current conditions, but there are some disadvantages to consider. Parking lots will likely be full from the sunrise hikers and you’ll likely experience hot/sunny conditions (heat advisories) especially in the summer. For the best experience, hire a shuttle service, which eliminates the parking issues.
How long does the Pico do Arieiro to Pico Ruivo hike take?
Due to the crowded and steep path, plan on the one way, point-to-point hike to take 3 to 5 hours to complete. A taxi back to Pico do Arieiro will then take another hour, plus you’ll need time to drive back down the mountain to your next destination.
Is it doable for people of all ages?
This hike features a very steep cliffside descent down staircases, and a tiring ascent to Pico Ruivo. It is a difficult hike that is best suited for individuals without mobility issues and with a good level of fitness. Children with hiking experience on trails with similar hiking stats can do this hike but should be accompanied by adults. Those looking for a less challenging option should consider the Achada do Teixeira to Pico Ruivo roundtrip route.
If you have any questions about how to hike from Pico do Arieiro to Pico Ruivo, or if you want to share your experience, let us know in the comment section below.
More Madeira & Portugal Travel Guides
We have TONS more information about Portugal in our Portugal Travel Guide, including Lisbon, Sintra, Porto, the Algarve, the Douro Valley, and Madeira.




Comments 19