Traveling and photography go hand in hand. When you are in a new place and experiencing new things, it’s only normal that you would want to get that perfect photo, something to remember the moment by.
I love photography. When I travel, one of the things I look forward to most is having a memory card full of beautiful images at the end of a trip.
I am not a professional photographer. Everything I know about photography I learned from books, followed by lots and lots of practice. Now, we sell these photos online and some of our photos have even been featured in National Geographic, the Baltimore Sun, and other publications.
Here are my travel photography tips and tricks to help you take a better photograph.
Travel Photography Tips
1. Know How to Use Your Camera
This one might seem obvious, but really, you should know the functions of your camera. Get to know your camera before you travel. Read the manual cover to cover, read a few photography guides (see our suggestions here), or take a photography class.
Learn all of the controls on your camera and practice using them as much as possible. If you want to take truly great photos, you have to take your camera out of its automatic mode, and start shooting in aperture, shutter, or manual mode.
When I was first learning, I used my camera almost every single day for several years. I started with photographing my kids, their sporting events, objects around our house, and then out traveling the world. During our year around the world, my photography got better.
Practice makes perfect, and that applies to photography.
2. Rule of Thirds
One of the easiest ways to make your photos visually interesting is to follow the Rule of Thirds. Imagine the photograph is overlaid with a grid dividing it into thirds both horizontally and vertically (some LCD displays on cameras will do this for you). The four points where these lines intersect are the places you should put your point of interest, such as someone’s eyes, the main subject of the photo, or an element you want to stand out.
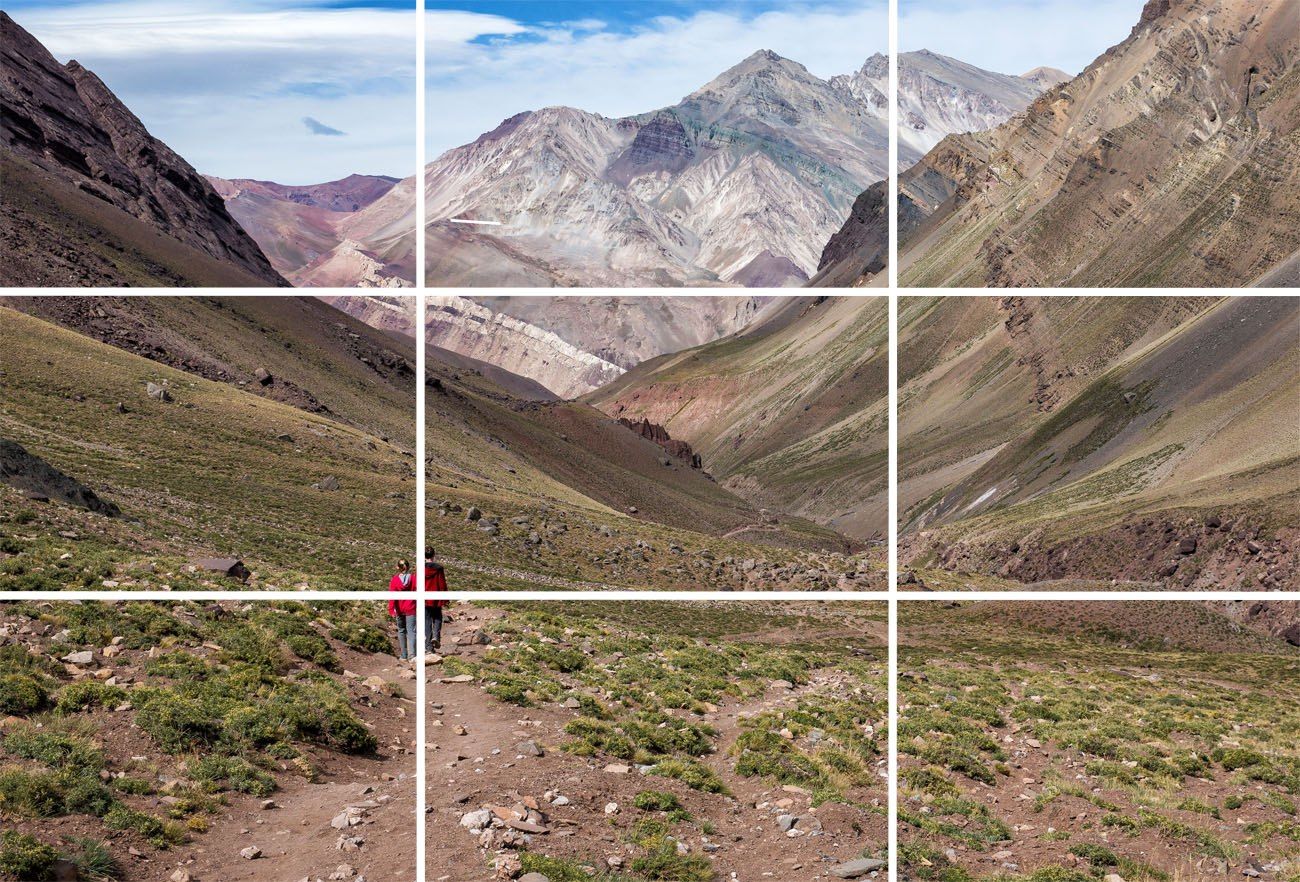
You can also position the horizon on one of the two horizontal lines.
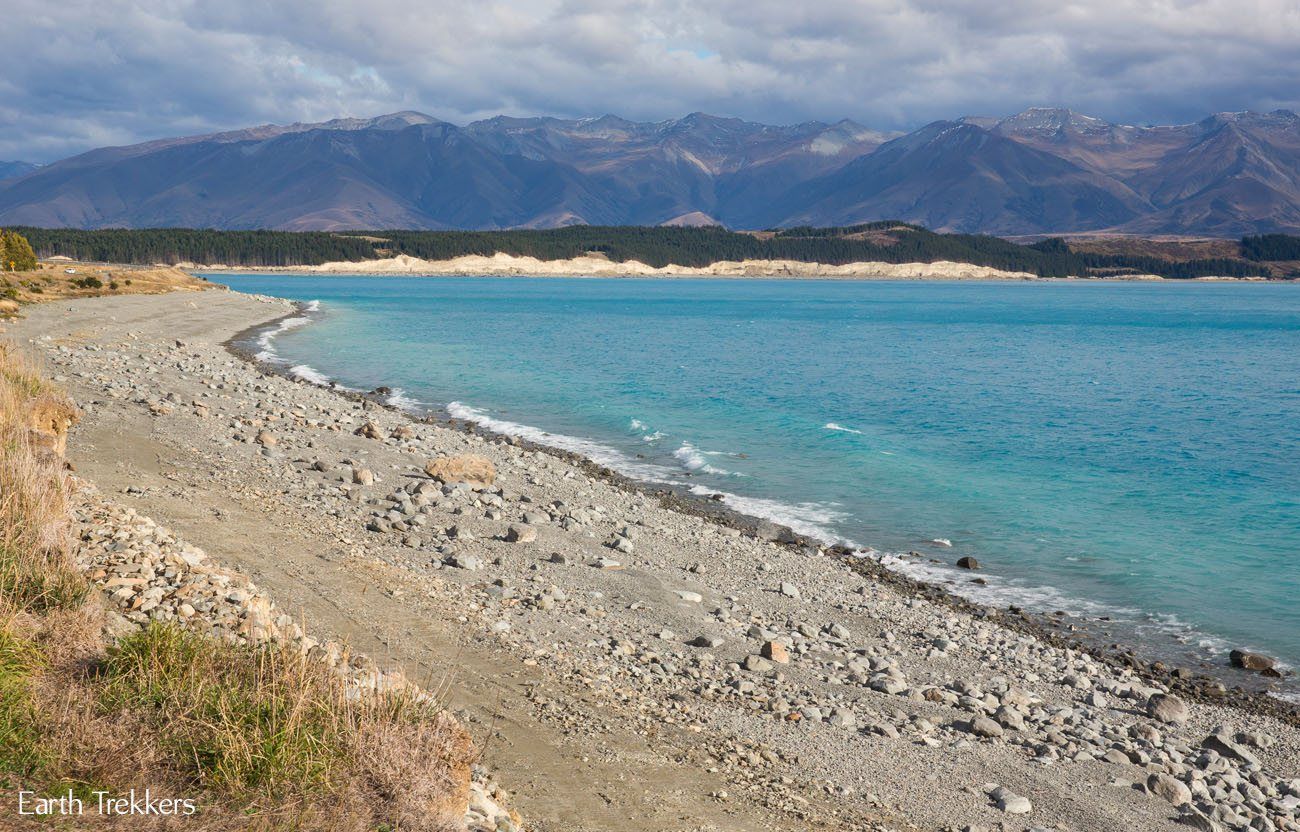
Basically, you want to avoid putting the person, horizon, or subject of interest smack in the middle of the photograph. Asymmetry adds visual interest to your photos.
3. Do Your Research
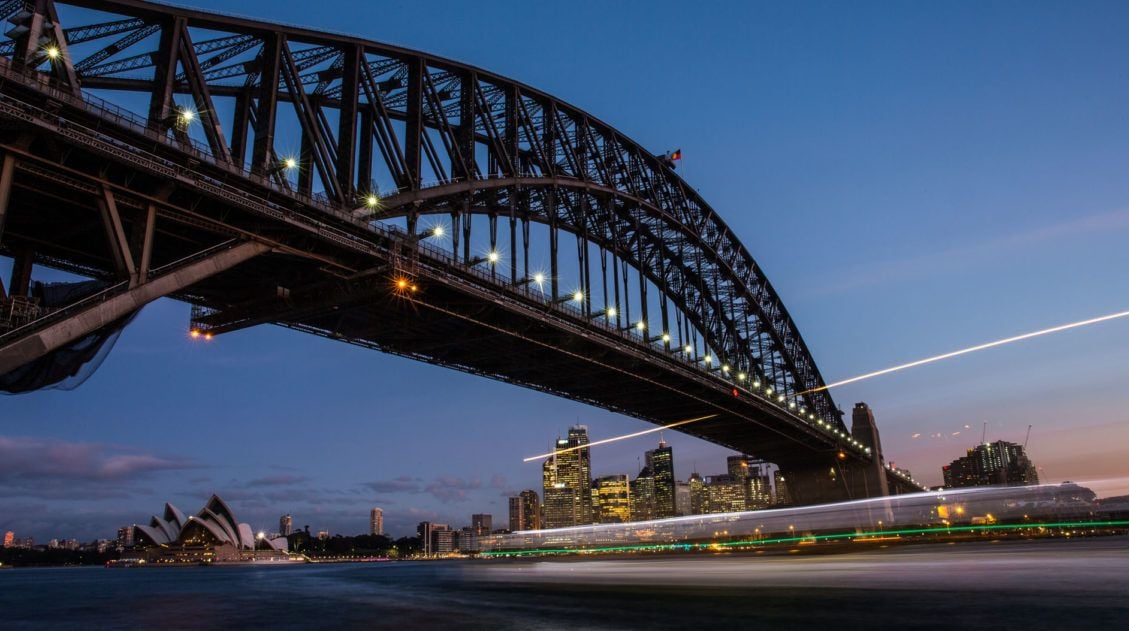
Let’s say you are going to Sydney, Australia and you want to take some awesome photos of the Sydney Harbor Bridge and the Opera House. Before you arrive, do your research: do a Google image search, look at the photos in your travel guide, and read travel photo blogs like this one! There are a lot of photography blogs that will tell you where to go to get the shot you want, or one that you didn’t even know was possible.
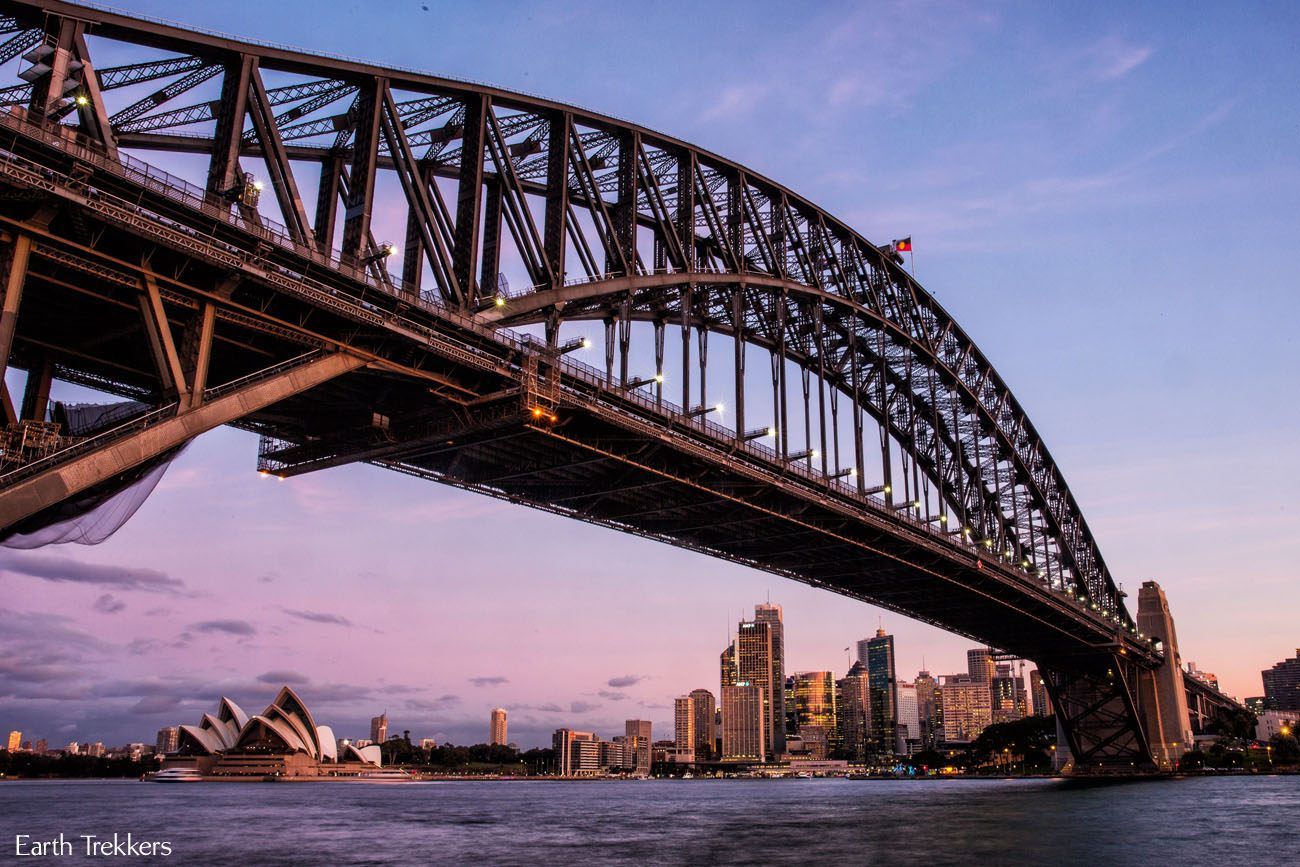
Once you are in town, take a look at postcards and souvenir books for unique views of the most popular landmarks. Use these images as inspiration for taking your own photos.
It’s worth this little bit of effort to capture those amazing photos you will always cherish.
4. Book a Hotel with a Great View
On more than one occasion we booked a hotel purely for the epic view it provided. In Budapest, we stayed at the Hilton just for the view of the Parliament Building and the Danube River.
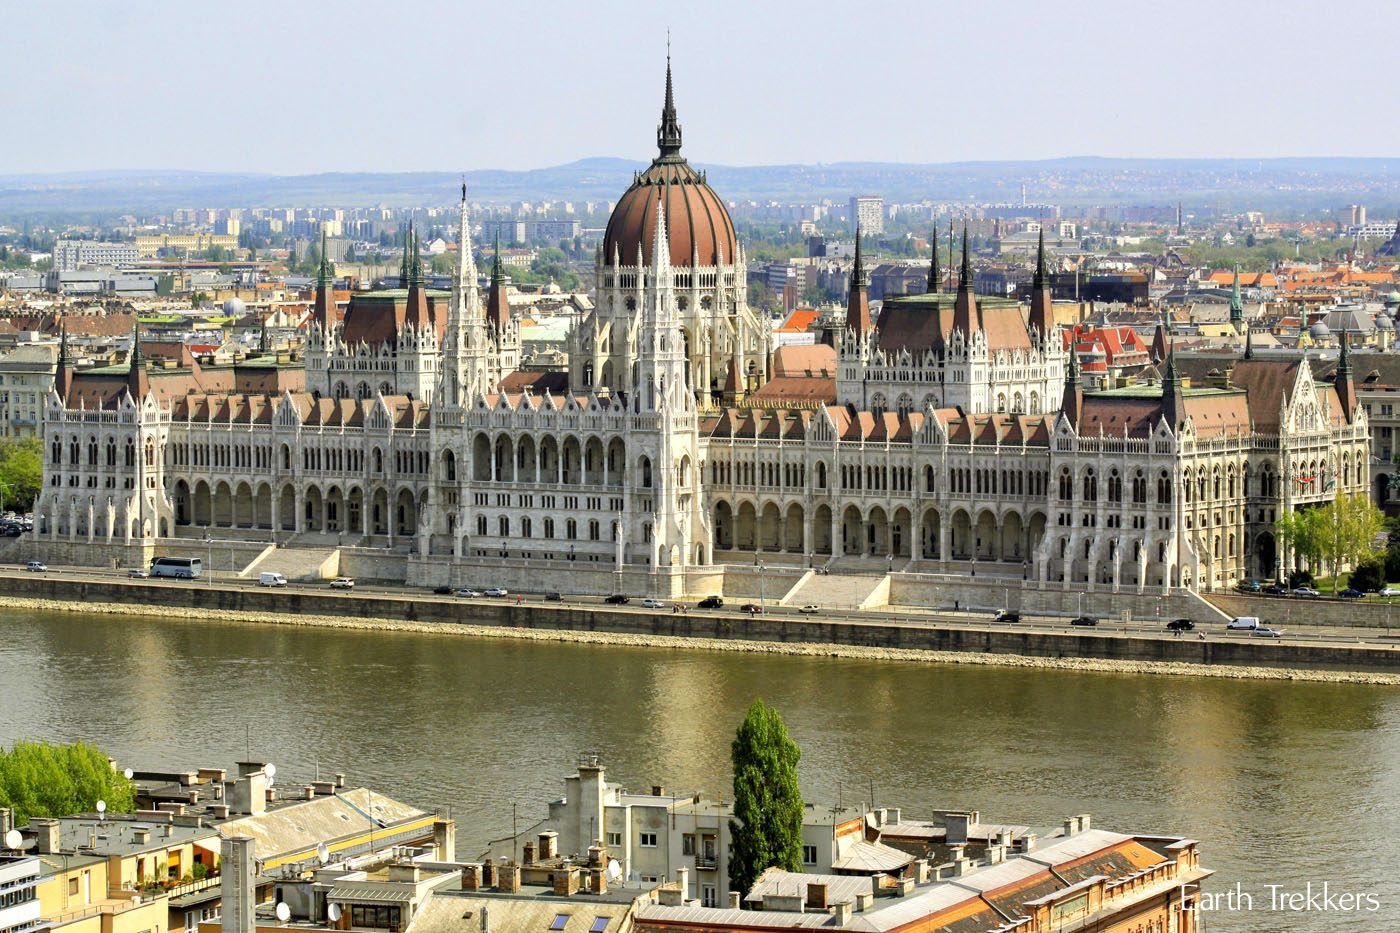
By staying in a hotel with a view, it’s easier to take sunrise and sunset photos of that awesome spot you are overlooking. Plus, it’s pretty sweet looking out at a famous landmark to start and end your day.
5. Have You Heard of the “Golden Hour?”
The “Golden Hour” is the first hour of light at sunrise and the last hour of light at sunset. During these times, the lighting is perfect for outdoor photography. The soft, warm light illuminates the landscape in a much more favorable way than the harsh, midday sun.
It can take some planning, and an early wake up call, to be ready to photograph during these times, but it is worth it. Plus, most sites are usually empty during the early morning hours, another advantage to getting up and out early.
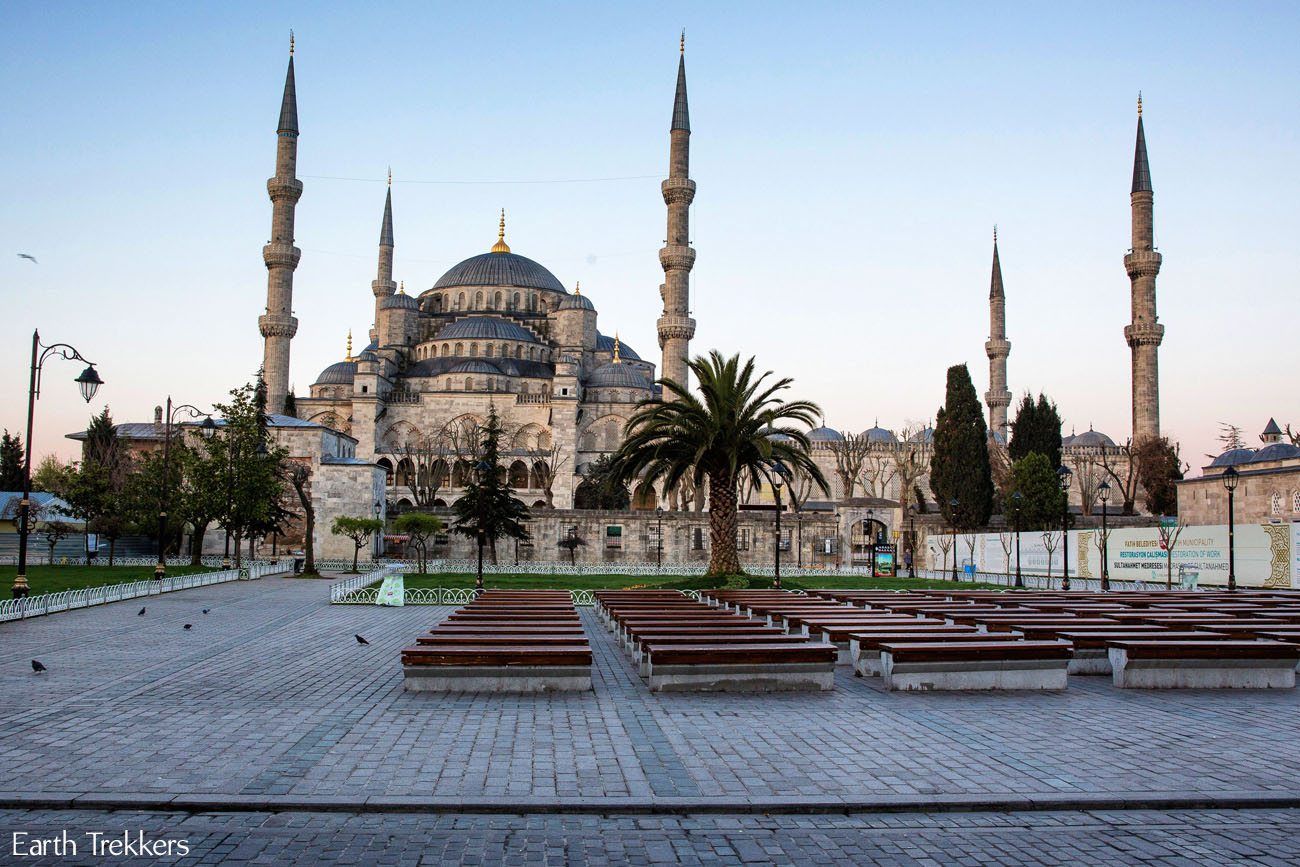
Blue Mosque in Istanbul at dawn
6. Bring a Tripod
If you know you will be photographing during lower light, such as at sunrise or sunset, you will need a lightweight tripod. This is absolutely necessary for holding your camera stable while you set the appropriate exposure settings.
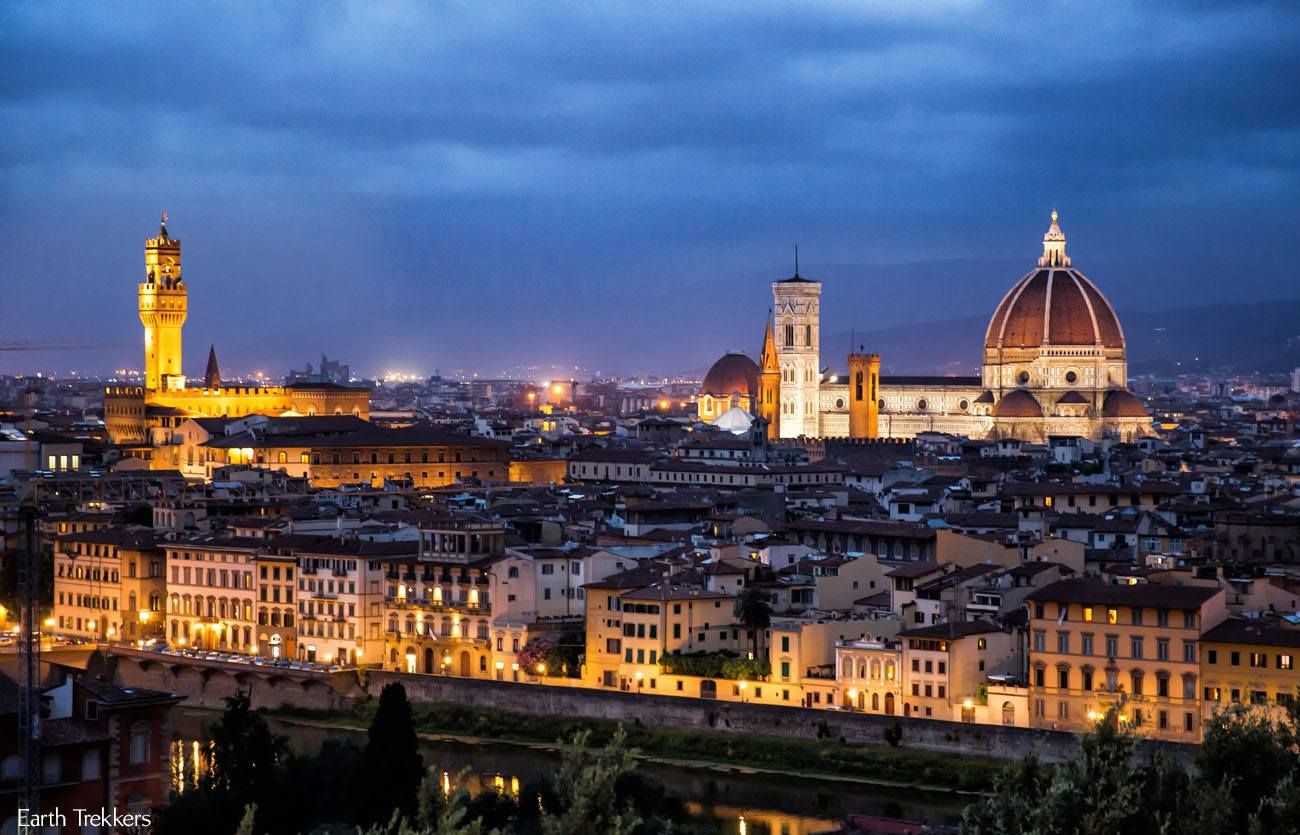
Sunset in Florence
A tripod also helps to photograph flowing water scenes and portraits. If you are traveling as a family, having tripod allows to get everyone in the photo, since no one has to operate the camera.
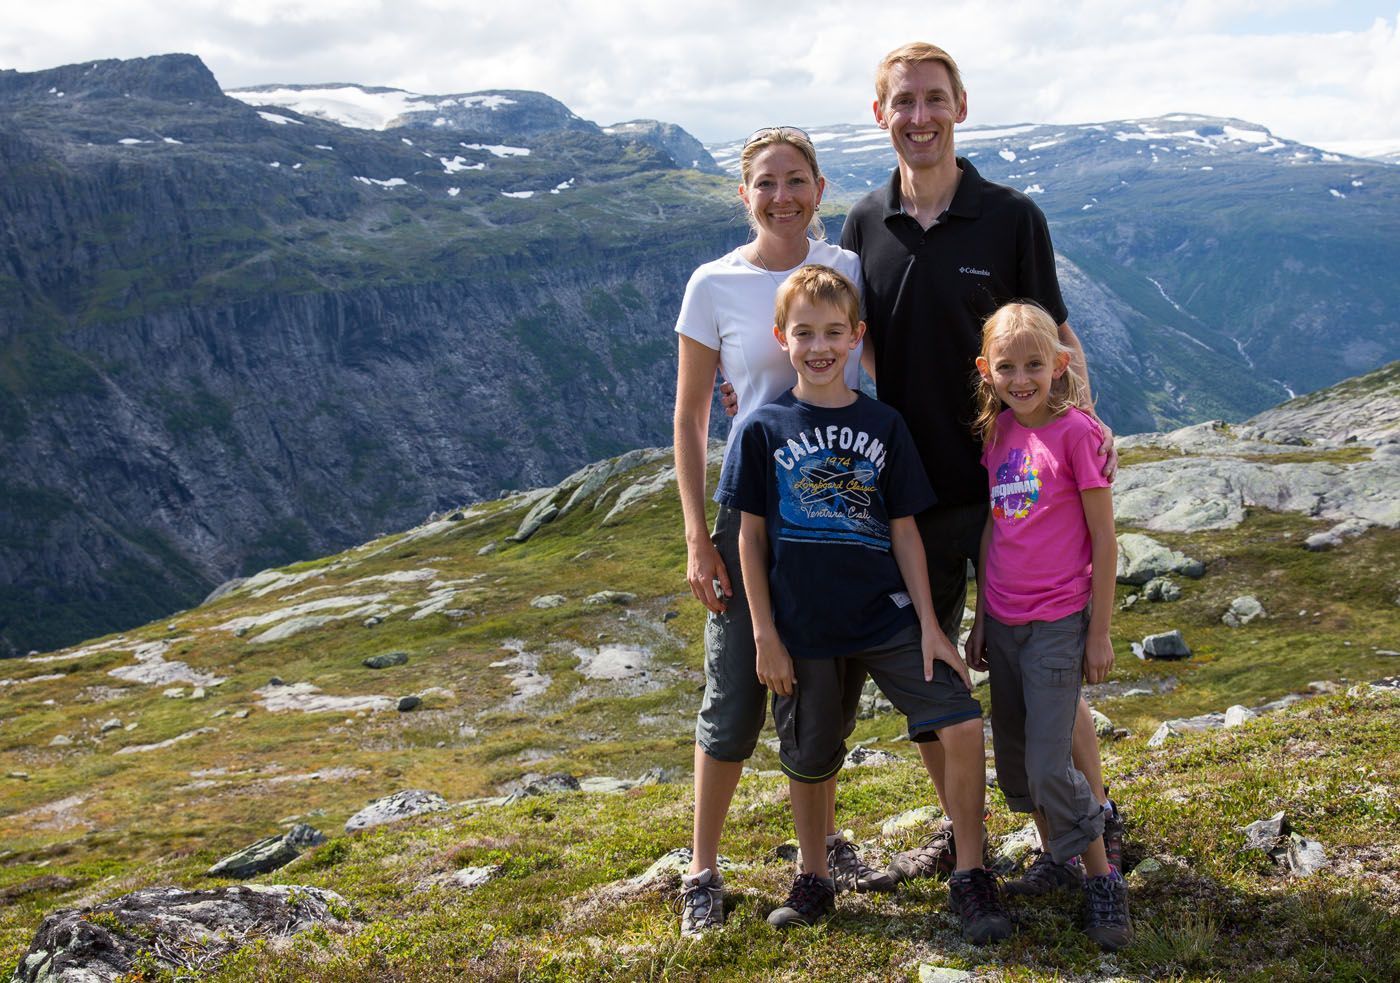
Don’t have a tripod? Find a sturdy, stable alternative, such as a rock wall, fence, etc. This works well…speaking from lots of experience.
7. Tell a Story with Your Photos
They say a photo is worth a thousand words. A collection of photos can tell a whole story.
Let’s say you are walking through the city streets of Hanoi. Capture as many details about this scene as you can. Take wide angle shots of the streets, capture people in motion, and zoom into the smaller details, such as what is for sale in shop windows and street stalls.
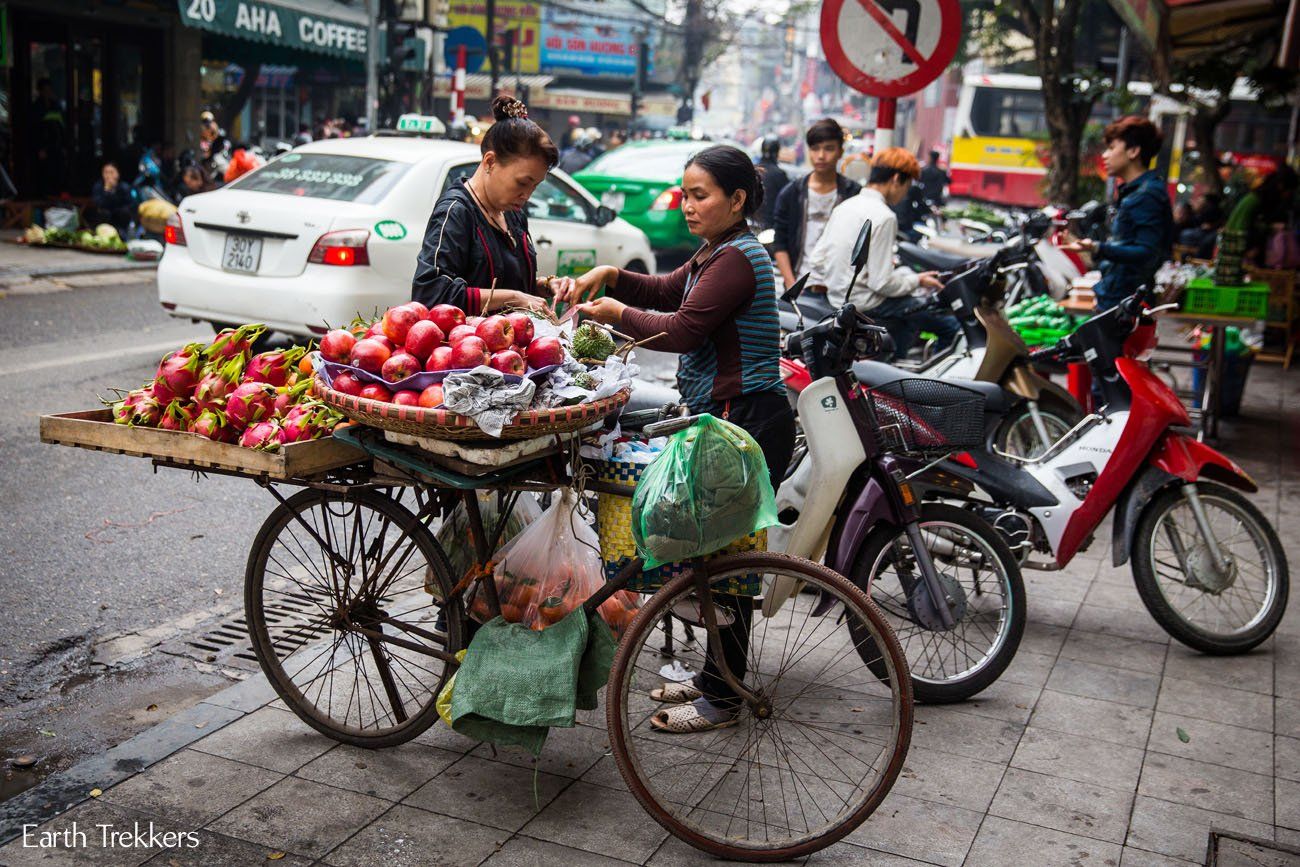
If you capture all of elements of the scene your photos will tell a colorful story.
8. Photographing People
This can be tricky, as some people and some cultures are resistant to having their photos taken. Again, do your research before arriving in the country, familiarizing yourself with their customs.
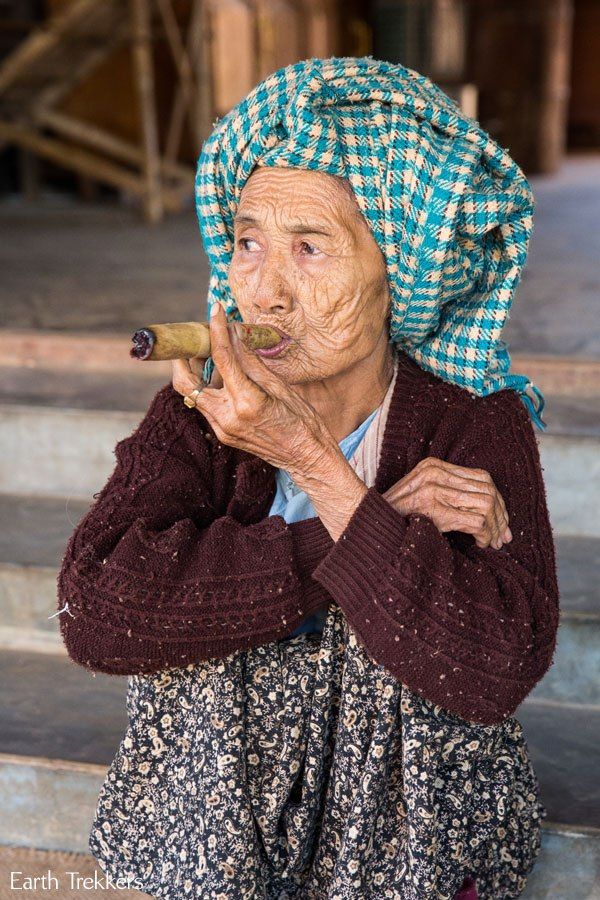
Before photographing someone, I always ask for permission first. Greet them with a smile and try to strike up a conversation (if you speak the same language). This opens them up to being photographed. Politely ask if you can take their photo, or hold up your camera and point to them if you don’t speak their language. Sometimes, they will say no. Don’t take it personally, just say thank you and move on. The more you do this, the easier it gets, and being “rejected” is not so bad.
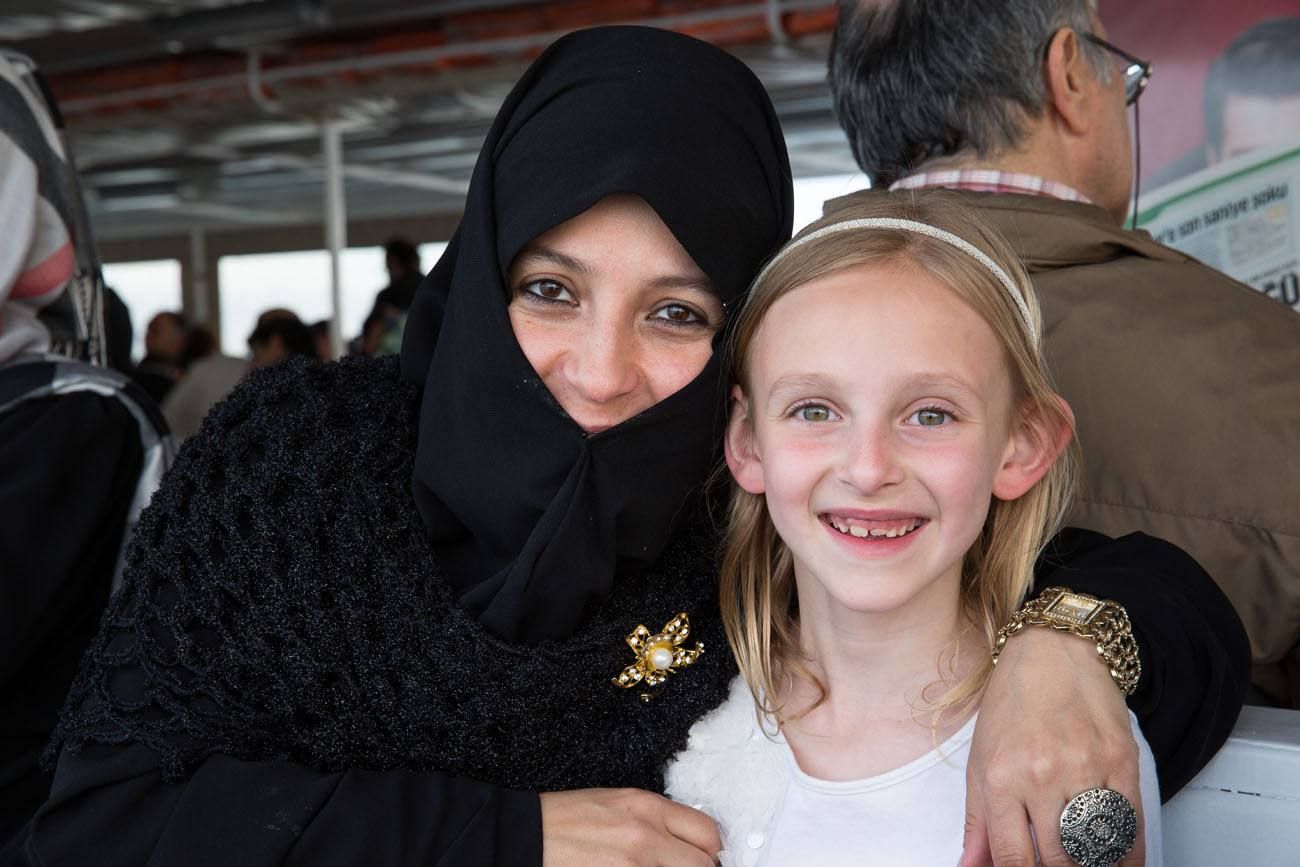
9. Buy Something
Many shopkeepers do not like it when you blatantly photograph what they have for sale without purchasing something. If you buy something, even something small and inexpensive, this opens you up to a conversation with the shopkeeper. Most likely they will permit you to photograph them or their items.
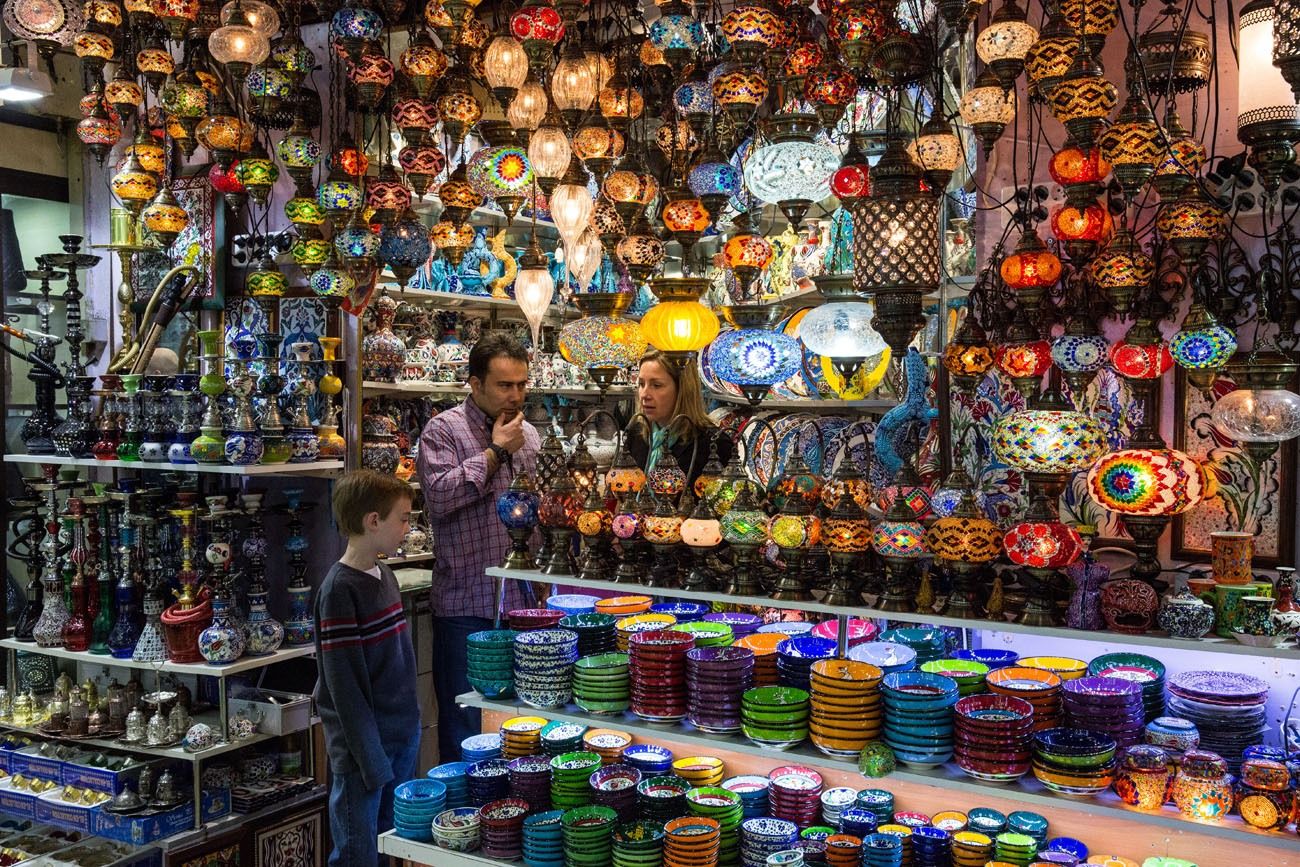
10. Wander Off the Main Tourist Trail
Sometimes, the best photos are those of people in their natural element. The “real” city streets, where people live, hang out, and kids play. Sure, it’s great to see the big city sites, but sometimes the best moments, and the best photographs, come from exploring the local neighborhoods.
Ideas of where to go include the local market, a local neighborhood, or even just a few blocks off of the main tourist trail.
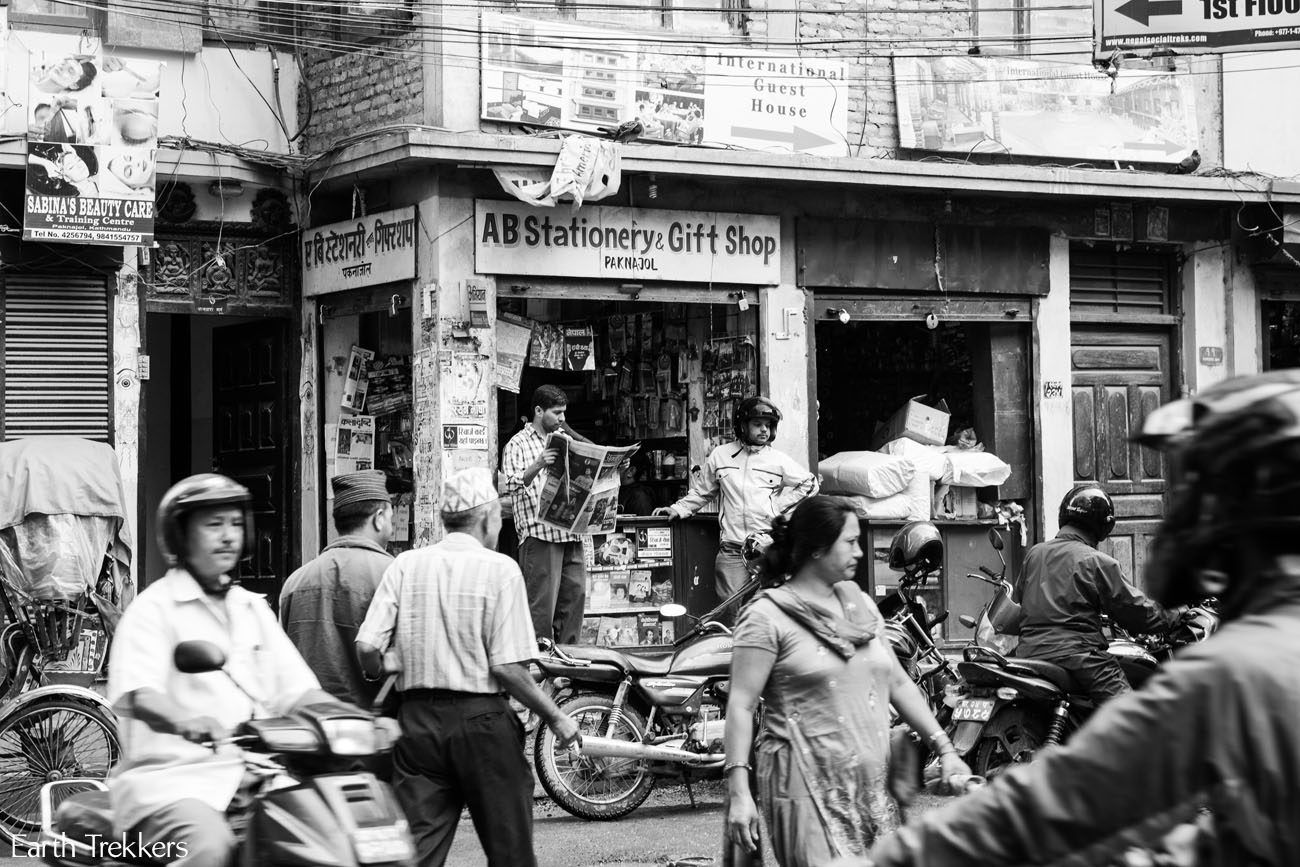
Walking through Kathmandu
Now, I am not saying that you should wander into inner city streets, into areas that may be dangerous or unsafe. Always check with your hotel staff or people in the area to find out if the area is safe. And trust your instincts. If you have an uneasy feeling, leave. The last thing you want to do is to put yourself in a dangerous situation.
If you are where somewhere you don’t belong, the local people will usually let you know.
11. Dealing with Anxiety
There’s nothing like pulling your camera out of its bag to draw attention to yourself. Sometimes, even now, when I first arrive in a new place, I feel just a little bit shy and anxious about using my camera. Does this happen to you?
It really helps to have Tim by my side. I don’t know why, but I am much more comfortable having someone with me. It’s not that I feel unsafe, that’s usually not the case at all. It’s just the act of drawing attention to myself. Having Tim by my side calms me down and helps feel more confident. Then, after a few photos, I am in my element and feeling confident again.
If you experience a similar anxiety, start off by taking photos of your hotel and then wider-angle views of the places you are visiting. After a little bit, once you loosen up, it tends to be easier to engage with other people and get those close up shots that really tell the story.
12. Don’t Forget to Live in the Moment
I know that this is a post about photography, but when you are traveling, do not get hung up in photographing every moment of the day. Sometimes, you just have to put down your camera and enjoy the moment.
Do you want to learn about the gear we use to take our photos? Head over to our Travel Photography Gear Guide.
Do you have any questions about what you read? Feel free to comment or send us an email. We love talking about photography!
You Might Also Like
Comments 21